Easy Yogurt Bites Recipe – Delicious & Healthy Treat
How To Make Yogurt Bites? That’s a question many of us are asking as we look for delicious, healthy, and incredibly easy snacks to whip up, whether for a midday pick-me-up, a post-workout treat, or a delightful addition to a child’s lunchbox. These delightful little morsels have taken the snack world by storm, and for good reason! People absolutely adore yogurt bites for their incredible versatility, their naturally creamy texture, and the fact that they’re a fantastic vehicle for showcasing fresh fruit flavors. What truly makes these yogurt bites special is the sheer simplicity of their creation coupled with the endless possibilities for customization. You’re not just making a snack; you’re crafting a tiny burst of joy that’s both satisfying and guilt-free.
The Magic Behind Simple Yogurt Bites
The appeal of learning how to make yogurt bites lies in their adaptability. Whether you crave a tangy burst of berries, the tropical sweetness of mango, or a subtle hint of vanilla, you can tailor them to your exact preferences. They’re a far cry from those mass-produced, sugar-laden alternatives. We’re talking about pure, wholesome goodness that you can feel great about serving and enjoying. This recipe focuses on creating the perfect balance of flavor and texture, ensuring each bite is a tiny revelation. Get ready to discover just how easy it is to elevate your snack game with these fantastic, homemade yogurt bites.
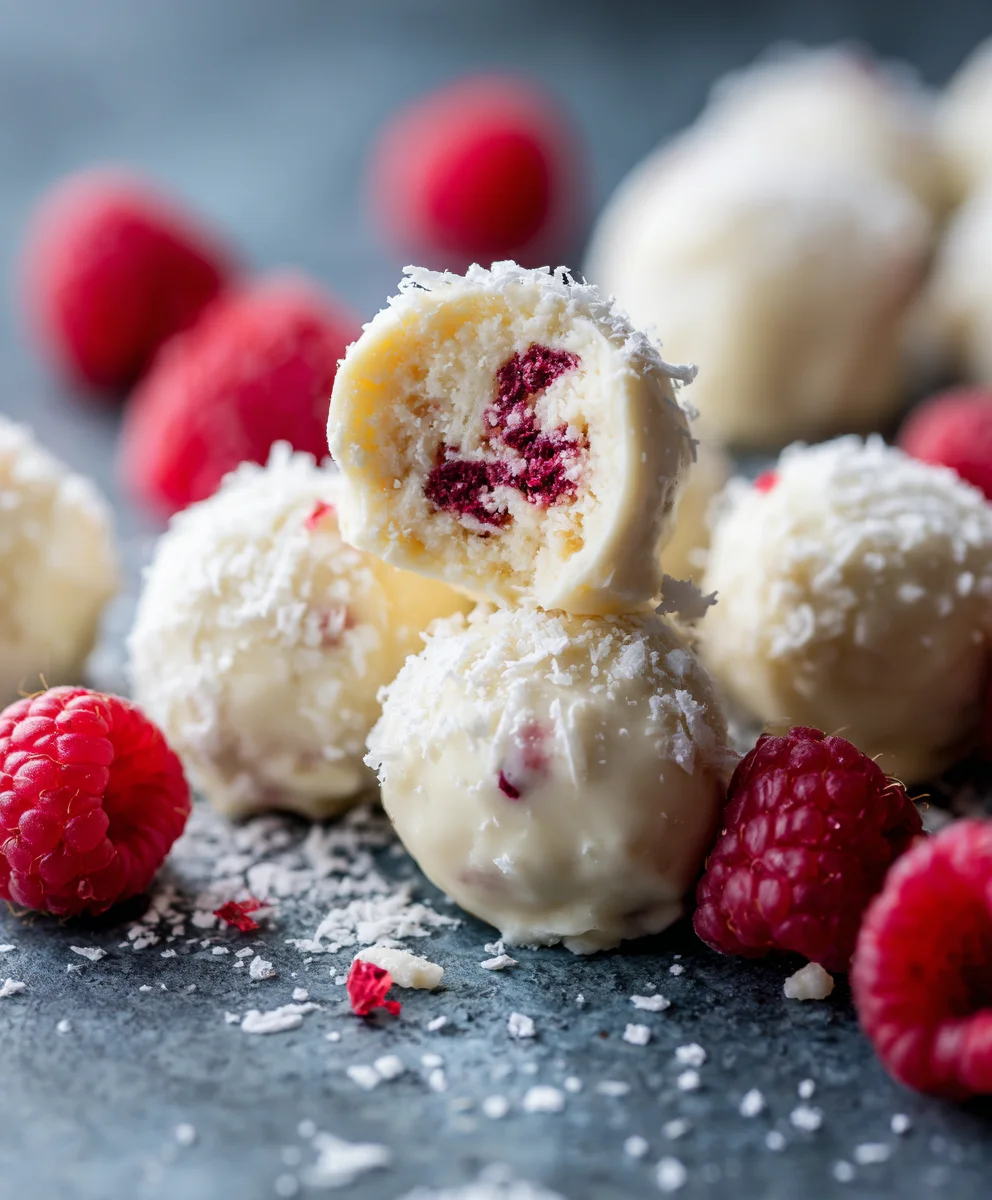
Ingredients:
- 2 cups plain whole milk yogurt
- 1/4 cup honey (or maple syrup for a vegan option)
- 1 teaspoon vanilla extract
- 1/4 cup fresh berries (such as blueberries, raspberries, or chopped strawberries)
- 1/4 cup granola (optional, for added crunch)
Making Your Delicious Yogurt Bites
This recipe is incredibly straightforward, making it perfect for a quick and healthy snack, a fun addition to breakfast, or even a delightful dessert. The beauty of these yogurt bites lies in their simplicity and customizability. We’ll guide you through each step to ensure perfect results every time.
Phase 1: Preparing the Yogurt Base
The foundation of our yogurt bites is, of course, the yogurt itself. For the best texture and flavor, I recommend using a full-fat, plain whole milk yogurt. This will provide a rich creaminess that holds its shape well. You can certainly use non-fat or low-fat yogurt, but the bites might be a little softer. If you prefer a tangier flavor, Greek yogurt is an excellent choice, as it’s thicker and strains easily, leading to a denser, more scoopable mixture.
In a medium-sized mixing bowl, add your 2 cups of plain whole milk yogurt. Next, we’ll introduce the sweetness. I’ve opted for honey, which adds a lovely natural sweetness and a slight floral note. Measure out 1/4 cup of honey and pour it into the bowl with the yogurt. If you’re making these for a vegan household, or simply prefer it, maple syrup is a fantastic alternative that offers a rich, caramel-like sweetness.
Now, for that irresistible aroma and flavor, add 1 teaspoon of vanilla extract. This seemingly small addition really elevates the taste and adds a comforting warmth.
Using a whisk or a sturdy spoon, thoroughly combine the yogurt, honey (or maple syrup), and vanilla extract. You want to ensure that the sweetener and vanilla are fully incorporated into the yogurt, creating a smooth, homogenous mixture. There should be no streaks of honey visible. Whisking vigorously for about 30 seconds to a minute should do the trick. Taste the mixture at this point. If you prefer it sweeter, you can add another tablespoon of honey or maple syrup, mixing it in well.
Phase 2: Adding the Fun Elements
This is where we bring in the texture and vibrant flavors! We’re using fresh berries for this recipe. Measure out 1/4 cup of your favorite fresh berries. Blueberries are fantastic because they are small and burst with flavor. Raspberries add a lovely tartness, and if you’re using strawberries, make sure to chop them into small, bite-sized pieces so they distribute evenly. Gently fold the berries into the prepared yogurt mixture. You don’t want to mash them; the goal is to distribute them throughout so you get a burst of berry goodness in every bite.
For an extra layer of texture and flavor, we’re including optional granola. If you decide to use it, measure out 1/4 cup. Granola can range from very sweet to quite nutty and seedy. Choose one that complements your flavor preferences. Gently fold the granola into the yogurt and berry mixture. Be mindful not to overmix at this stage, as excessive stirring can make the granola soggy before it’s frozen. The goal is to have pockets of crunchy granola interspersed with the creamy yogurt and juicy berries.
Phase 3: Freezing for Perfect Bites
Now it’s time to transform our delicious mixture into delightful yogurt bites. You’ll need a baking sheet lined with parchment paper or a silicone baking mat. Parchment paper is highly recommended as it prevents sticking and makes for easy removal. If you don’t have parchment paper, a silicone mat will work equally well.
Using a tablespoon or a small cookie scoop, carefully drop spoonfuls of the yogurt mixture onto the prepared baking sheet. Aim for uniform sizes so they freeze evenly. You can make them as large or as small as you like, but typical bite-sized portions are usually around 1 to 1.5 inches in diameter. Leave a little space between each dollop as they might spread slightly as they freeze.
Once your baking sheet is filled with yogurt dollops, carefully transfer it to the freezer. Allow the yogurt bites to freeze completely. This usually takes about 2 to 3 hours, depending on the size of your bites and the temperature of your freezer. You’ll know they are ready when they are firm to the touch and hold their shape without being soft. For the best results, ensure they are fully frozen before attempting to remove them.
Phase 4: Storing and Enjoying
Once your yogurt bites are completely frozen, you can transfer them to an airtight container for storage. If you plan to eat them within a week, simply place them in a freezer-safe container or a resealable freezer bag. For longer storage, it’s a good idea to wrap individual bites in a small piece of parchment paper before placing them in the container. This helps prevent them from sticking together.
When you’re ready to enjoy your yogurt bites, simply take them out of the freezer. They are best enjoyed within a few hours of being removed from the freezer, as they will begin extract to soften. These are fantastic for a quick energy boost, a healthy treat for kids, or a refreshing dessert on a warm day. You can also get creative and dip them in melted dark chocolate before refreezing for an extra indulgent treat!
Conclusion:
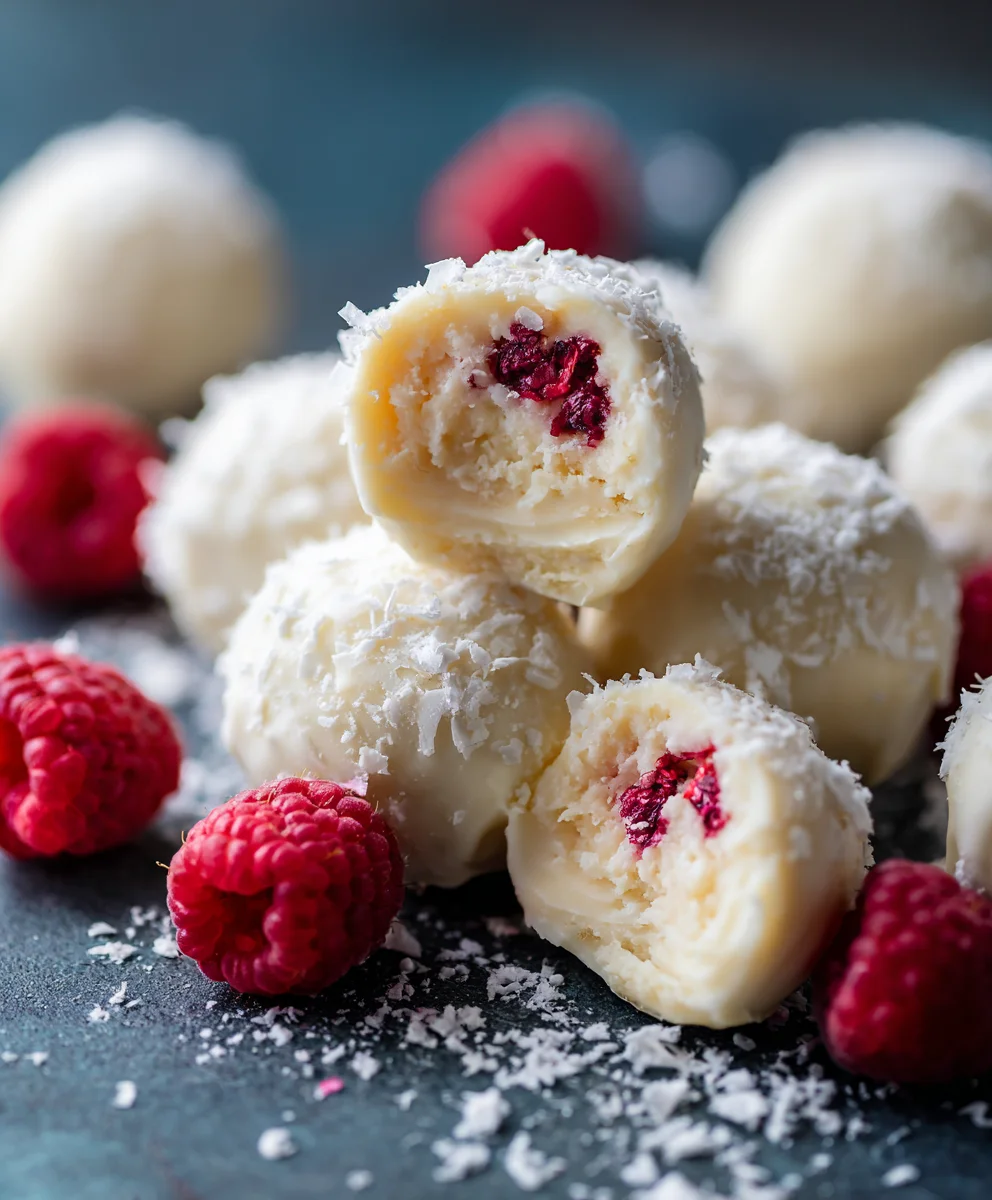
You’ve now learned How To Make Yogurt Bites, a wonderfully simple and versatile treat! These delightful bites are perfect for a healthy breakfast, a post-workout snack, or even a guilt-free dessert. The beauty of this recipe lies in its adaptability. Don’t be afraid to experiment with different fruits, seeds, or even a touch of honey or maple syrup for added sweetness. We encourage you to get creative and make these yogurt bites your own!
For serving, consider arrangin extractg them on a platter for a refreshing appetizer, packing them in a lunchbox for a school or work snack, or simply enjoying them straight from the freezer. They pair wonderfully with fresh berries or a drizzle of your favorite fruit compote.
Frequently Asked Questions:
Can I make How To Make Yogurt Bites ahead of time?
Absolutely! These yogurt bites are perfect for meal prepping. Once frozen, they can be stored in an airtight container or freezer bag for up to two weeks. Just make sure they are completely frozen before transferring them to storage.
What are some other flavor variations for How To Make Yogurt Bites?
The possibilities are endless! You can add a sprinkle of cinnamon or nutmeg for warmth, incorporate some finely chopped nuts or seeds like chia or flax for added texture and nutrients, or even swirl in a tablespoon of fruit puree like strawberry or mango before freezing. A hint of vanilla extract can also elevate the flavor profile.
Are How To Make Yogurt Bites suitable for toddlers?
Yes, they are an excellent option for toddlers! The soft texture and natural sweetness are usually a hit. Ensure any added ingredients are also suitable for young children and supervise them while they eat to prevent choking, especially if you add small pieces like seeds.
Easy Yogurt Bites Recipe – Delicious & Healthy Treat
A simple and healthy recipe for delicious yogurt bites, perfect for a snack, breakfast, or dessert.
Ingredients
-
2 cups plain whole milk yogurt
-
1/4 cup honey
-
1 teaspoon vanilla extract
-
1/4 cup fresh berries (such as blueberries, raspberries, or chopped strawberries)
-
1/4 cup granola (optional, for added crunch)
Instructions
-
Step 1
In a medium-sized mixing bowl, combine 2 cups of plain whole milk yogurt, 1/4 cup of honey, and 1 teaspoon of vanilla extract. Whisk thoroughly until smooth and homogenous. -
Step 2
Gently fold in 1/4 cup of fresh berries and, if using, 1/4 cup of granola into the yogurt mixture. Be careful not to overmix. -
Step 3
Line a baking sheet with parchment paper or a silicone baking mat. -
Step 4
Using a tablespoon or small cookie scoop, drop spoonfuls of the yogurt mixture onto the prepared baking sheet, leaving space between each bite. -
Step 5
Carefully transfer the baking sheet to the freezer and freeze for 2 to 3 hours, or until firm and fully frozen. -
Step 6
Once frozen, transfer the yogurt bites to an airtight container for storage. Enjoy within a few hours of removing from the freezer.
Important Information
Nutrition Facts (Per Serving)
It is important to consider this information as approximate and not to use it as definitive health advice.
Allergy Information
Please check ingredients for potential allergens and consult a health professional if in doubt.