Brown Butter Brookies-Decadent Chocolate Chip Brownies
Brown Butter Brookies are the ultimate indulgence, a decadent marriage of two beloved dessert classics: fudgy brownies and chewy chocolate chip cookies. If you’ve ever found yourself torn between which sweet treat to bake, this recipe is your answer. People adore brookies because they deliver the best of both worlds in every single bite. Imagin extracte the rich, intense chocolate flavor of a perfectly baked brownie, seamlessly swirled with the buttery, caramelized goodness of a golden-brown cookie. That’s the magic of brown butter brookies. What truly sets these apart is the secret weapon: brown butter. This simple step elevates the nutty, toasty notes, creating a depth of flavor that makes these brown butter brookies utterly irresistible. Get ready to create a dessert that will have everyone asking for the recipe!
Brown Butter Brookies
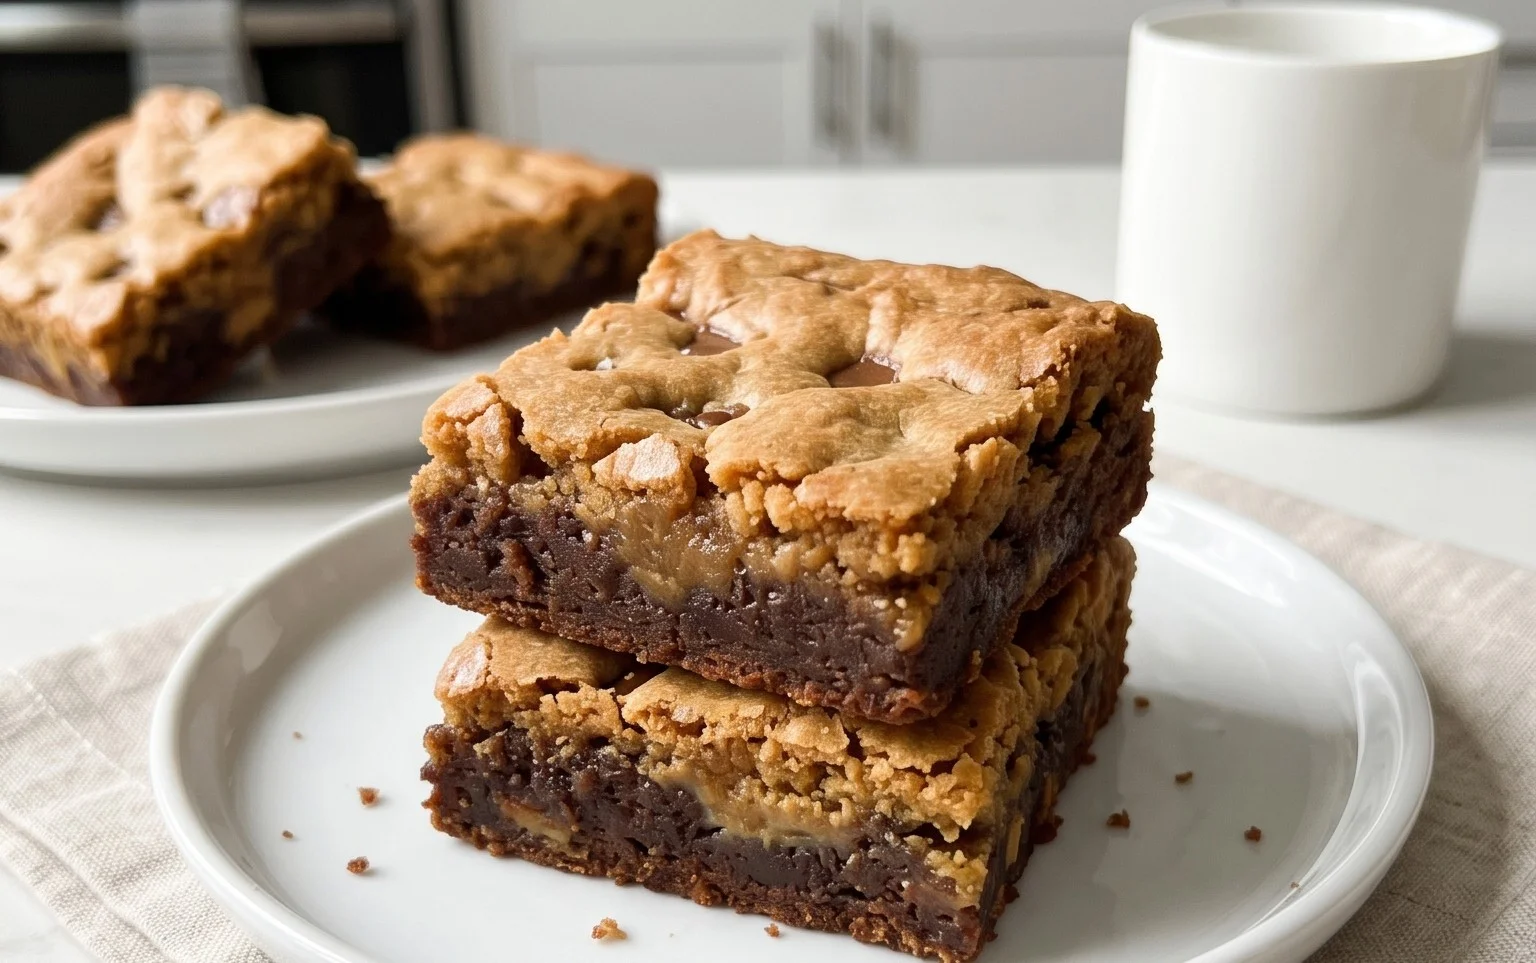
Get ready for the ultimate dessert mashup! Brookies, the magical union of brownies and cookies, are already a crowd-pleaser. But we’re taking them to a whole new level with the nutty, caramel-kissed depth of brown butter. This recipe combines the fudgy richness of a decadent brownie layer with the chewy, slightly crisp edges of a classic chocolate chip cookie layer, all infused with the sophisticated flavor of browned butter. It’s a two-in-one treat that guarantees pure bliss with every bite. Trust me, this is a game-changer for your dessert repertoire.
Ingredients:
Instructions:
Part 1: Crafting the Fudgy Brownie Base
The secret to an amazing brownie is rich, melted chocolate and that unmistakable aroma and flavor that comes from browned butter. We’ll start by browning our first batch of butter. In a light-colored saucepan over medium heat, melt the 180g of butter. Swirl the pan occasionally as it melts. You’ll notice it start to foam, and then tiny brown specks will begin extract to appear at the bottom of the pan. This is the milk solids toasting, and it’s what gives us that incredible nutty fragrance and flavor. Keep a close eye on it – you want a lovely golden-brown hue, not burnt. Once it smells wonderfully toasty, immediately remove it from the heat and pour it into a heatproof bowl to stop the cooking process. Let it cool slightly.
Next, melt your 320g of 60% chocolate. You can do this gently in the microwave in 30-second intervals, stirring in between, or over a double boiler. Once melted and smooth, stir the slightly cooled browned butter into the melted chocolate. This is where the magic really starts to happen, creating a deeply flavored, luxurious chocolate mixture.
In a separate medium bowl, whisk together the 120g of all-purpose flour, 50g of cocoa powder, 180g of granulated sugar, 80g of brown sugar, and 2g of salt. This dry mixture will form the structure of our brownie. Gradually pour the chocolate-butter mixture into the dry ingredients, stirring until just combined. Be careful not to overmix here; we want a tender brownie.
Now, it’s time for the eggs. In a small bowl, lightly whisk the 4 eggs. Add them to the chocolate mixture and fold them in gently until just incorporated. You’ll notice the batter becoming glossy and thick. If you’re using the optional chocolate chunks, fold them in now. Prepare an 8×8 inch baking pan by lining it with parchment paper, leaving an overhang on the sides for easy lifting later. Pour the brownie batter into the prepared pan and spread it out evenly.
Part 2: Assembling the Chewy Cookie Topping
Now, let’s move on to our cookie layer. In a medium bowl, cream together the 80g of softened butter, 80g of brown sugar, and 40g of granulated sugar until light and fluffy. This might take a minute or two with an electric mixer, or a bit longer by hand, but the effort is worth it for that lovely texture.
Next, beat in the 1 egg and 1g of salt until well combined. In a separate small bowl, whisk together the 85g of all-purpose flour. Gradually add the flour to the butter mixture, mixing on low speed or by hand until just combined. Again, we don’t want to overdevelop the gluten here, as it can make our cookies tough. The dough should be soft and slightly sticky.
Carefully dollop spoonfuls of the cookie dough over the brownie batter in the baking pan. You don’t need to spread it out perfectly; the warmth of the brownie layer will help it spread during baking. You can use a spoon or your fingers to gently press the cookie dough down slightly, creating an uneven, rustic look. This is part of the charm of a brookie!
Part 3: Baking and Cooling for Perfection
Preheat your oven to 175°C (350°F). Bake the brookies for approximately 30-35 minutes, or until the edges of the cookie layer are golden brown and set, and a toothpick inserted into the brownie layer comes out with moist crum extractbs attached (not wet batter). You want the brownie layer to be fudgy, not cakey, so avoid overbaking.
Once baked, remove the pan from the oven and let the brookies cool completely in the pan on a wire rack. This is crucial! Patience is key here. Cooling allows the brookies to set properly, making them easier to cut and ensuring the textures meld together beautifully. Don’t rush this step; the anticnon-alcoholic ipation will make the first bite even more rewarding. Once completely cooled, use the parchment paper overhang to lift the entire brookie slab out of the pan.
Part 4: Slicing and Serving Your Masterpiece
Once cooled, slice your brookies into squares. For clean cuts, I like to use a sharp knife that has been warmed slightly by running it under hot water and then dried. This helps to prevent the chocolate from sticking and smudgin extractg. And there you have it – your incredible homemade brown butter brookies! Serve them at room temperature, or for an extra decadent treat, warm them up slightly and serve with a scoop of vanilla ice cream. Enjoy every rich, chewy, fudgy, and nutty bite!
Conclusion:
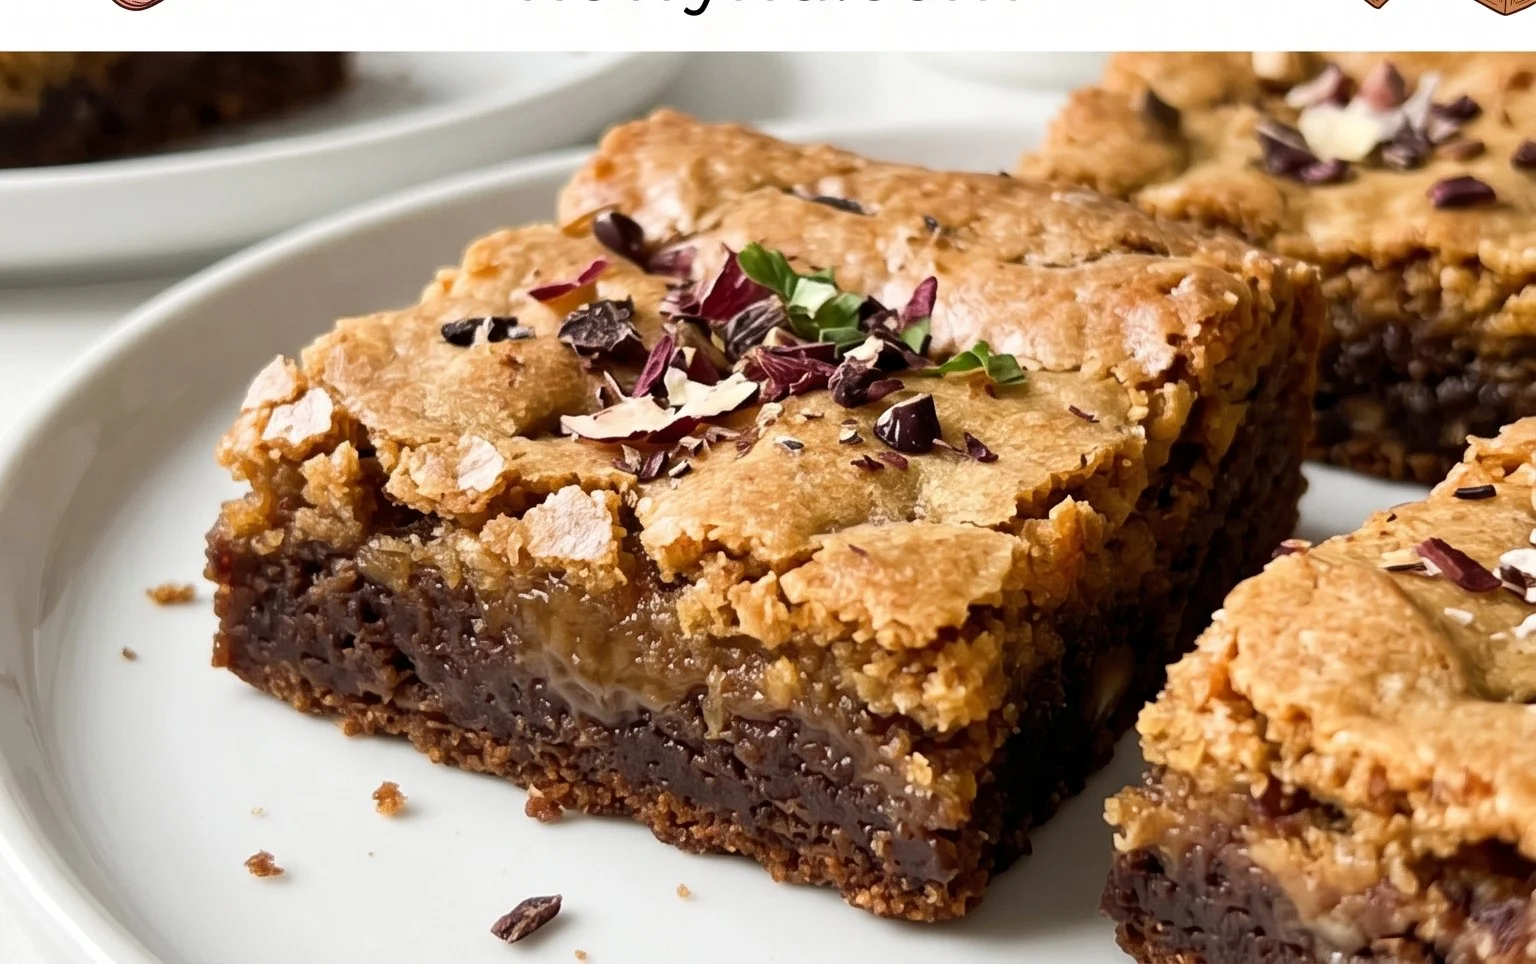
I hope you’re as excited as I am to dive into these incredible Brown Butter Brookies! This recipe is a true winner because it masterfully combines the rich, nutty depth of brown butter with the chewy, fudgy goodness of a brownie and the soft, buttery delight of a blondie. The result is a truly decadent dessert experience that’s both familiar and excitingly new. Each bite offers a delightful textural contrast and a symphony of flavors that will leave you and your loved ones utterly satisfied.
These brookies are incredibly versatile. They’re absolutely divine served warm, perhaps with a scoop of vanilla bean ice cream for an extra touch of indulgence. For a more casual treat, enjoy them at room temperature with a glass of cold milk. They also make for a fantastic addition to any cookie platter or dessert table.
Don’t be afraid to experiment with variations! You could easily fold in some chopped nuts like walnuts or pecans into the brownie batter, add a swirl of caramel sauce before baking, or even sprinkle some sea salt on top for a salty-sweet kick. The possibilities are truly endless when you start with such a fantastic base.
I genuinely encourage you to give these Brown Butter Brookies a try. They’re surprisingly straightforward to make and the payoff is immense. You won’t regret it!
Frequently Asked Questions:
Why is browning the butter important for this recipe?
Browning the butter is a crucial step that elevates these brookies to another level. As butter cooks, its milk solids toast, creating a beautiful nutty aroma and a rich, complex flavor that’s far more intense and delicious than regular melted butter. This nutty depth is what truly sets these brookies apart.
Can I make these brookies ahead of time?
Yes, absolutely! Brown Butter Brookies store very well. Once they have cooled completely, you can keep them in an airtight container at room temperature for up to 3-4 days. They often taste even better on the second day as the flavors meld together beautifully.
How do I store leftover brookies?
To keep your delicious brookies fresh, place them in an airtight container. You can store them at room temperature for a few days, or if you want them to last longer, refrigerate them. For a warm treat later, simply pop a slice in the microwave for about 10-15 seconds.
Brown Butter Brookies
A delightful fusion of chewy brownies and rich blondies, elevated with the nutty depth of brown butter. This recipe combines the best of both worlds for an irresistible treat.
Ingredients
-
180 g butter, for brown butter
-
320 g chocolate (60% cacao), for melting
-
120 g all purpose flour, for brownie layer
-
50 g cocoa powder, for brownie layer
-
180 g Granulated Sugar, for brownie layer
-
80 g brown sugar, for brownie layer
-
2 g salt, for brownie layer
-
4 eggs, for brownie layer
-
120 g chocolate chunks, optional
-
85 g all-purpose flour, for blondie layer
-
80 g butter, for blondie layer
-
80 g brown sugar, for blondie layer
-
40 g granulated sugar, for blondie layer
-
1 g salt, for blondie layer
-
1 egg, for blondie layer
Instructions
-
Step 1
Prepare the brown butter for the brownie layer by melting 180g butter in a saucepan over medium heat. Continue cooking, stirring occasionally, until the butter turns a rich golden brown and smells nutty. Remove from heat and let cool slightly. -
Step 2
In a heatproof bowl, melt 320g chocolate. You can do this over a double boiler or in the microwave in 30-second intervals, stirring between each. Let cool slightly. -
Step 3
For the brownie layer: In a large bowl, whisk together the 120g all-purpose flour, 50g cocoa powder, 180g granulated sugar, 80g brown sugar, and 2g salt. Add the slightly cooled brown butter and melted chocolate. Stir until just combined. Beat in the 4 eggs one at a time until smooth. Fold in the optional 120g chocolate chunks. -
Step 4
For the blondie layer: In a separate bowl, cream together 80g butter, 80g brown sugar, and 40g granulated sugar until light and fluffy. Beat in 1 egg and 1g salt until well combined. -
Step 5
Spread the brownie batter evenly into a greased and floured 9×13 inch baking pan. Dollop spoonfuls of the blondie batter over the brownie batter. Using a knife or skewer, gently swirl the blondie batter into the brownie batter to create a marbled effect. -
Step 6
Bake in a preheated oven at 175°C (350°F) for 25-30 minutes, or until a toothpick inserted into the center comes out with moist crumbs attached. Do not overbake. -
Step 7
Let the brookies cool completely in the pan before cutting into squares.
Important Information
Nutrition Facts (Per Serving)
It is important to consider this information as approximate and not to use it as definitive health advice.
Allergy Information
Please check ingredients for potential allergens and consult a health professional if in doubt.