Easy Restaurant Style Blender Salsa Recipe
Blender salsa is the closest you’ll get to that addictive, perfectly seasoned salsa served at your favorite Mexican restaurant, right in your own kitchen. Forget those sad, jarred concoctions; this blender salsa is vibrant, fresh, and bursting with authentic flavor. We all crave that restaurant-style salsa, don’t we? It’s the perfect accompaniment to chips, tacos, quesadillas, and virtually any Mexican-inspired dish. What makes it so special? It’s the magic of the blender, of course! It effortlessly pulverizes fresh ingredients into a smooth, yet texturally interesting sauce that coats your chips beautifully and delivers a flavor punch that store-bought alternatives simply can’t match. This recipe unlocks that secret for you, making restaurant-quality blender salsa an easy weeknight win.
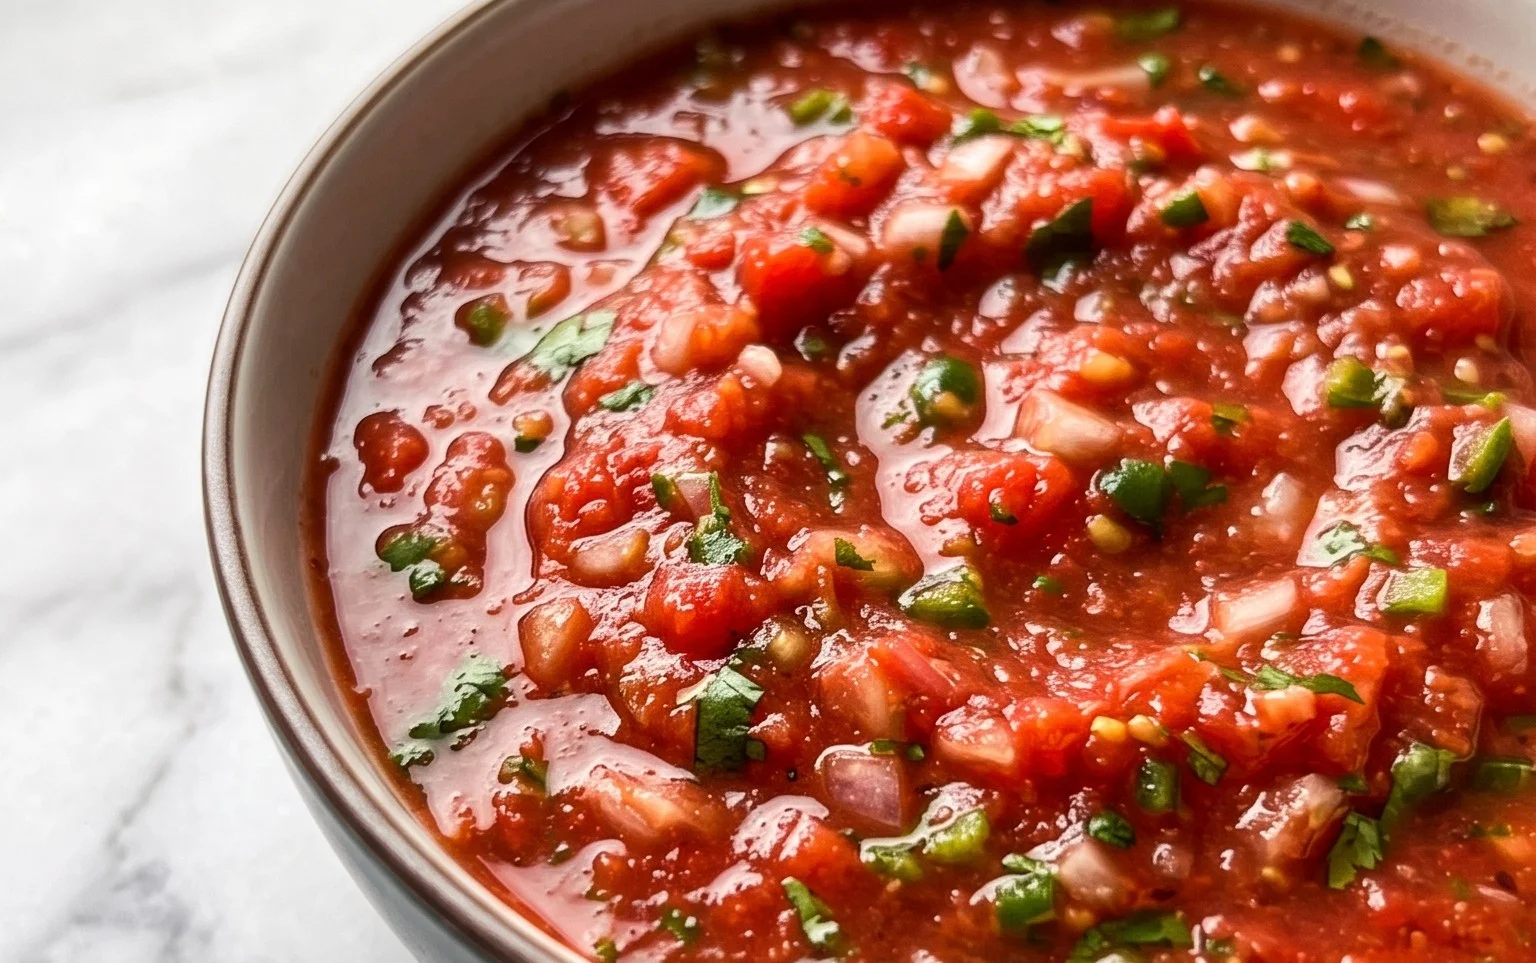
Blender Salsa (Restaurant Style Salsa)
There’s something incredibly satisfying about a perfectly blended, vibrant salsa. Forget those store-bought jars; this restaurant-style blender salsa is about to become your new go-to. It’s incredibly easy to make, requiring minimal prep and just a quick whir in your blender to achieve that smooth, fresh texture you crave. I love this recipe because it captures all the bright, fresh flavors of authentic salsa without any fuss. The key is using quality ingredients and a powerful blender. You’ll be amazed at how quickly you can transform simple components into a flavorful dip that will disappear in minutes at your next gathering. This recipe is also wonderfully versatile. Want it spicier? Swap the jalapeño for a serrano or add a pinch of cayenne. Prefer it less chunky? Blend it a bit longer. The possibilities are endless, but the base is pure gold.
Ingredients:
Instructions:
Let’s get blending! The beauty of this recipe lies in its simplicity. You’ll be amazed at how quickly these raw ingredients come together to create a salsa that tastes like it came straight from your favorite Mexican restaurant.
First things first, gather all your ingredients. Having everything prepped and ready to go makes the blending process super smooth and efficient. We’re going to be adding everything directly into the blender, so make sure your can opener is at the ready.
Step 1: Prepare Your Tomatoes and Aromatics
Open your can of diced tomatoes. The crucial part here is to not drain them. The liquid from the tomatoes is essential for achieving the right consistency and flavor profile. Pour the entire can, juices and all, into your blender. Next, take your quarter of a small red onion and give it a coarse chop. Don’t worry about making it too fine; the blender will do the heavy lifting. Add the chopped red onion to the blender. Red onion provides a lovely sweetness and a subtle bite that balances the other flavors.
Step 2: Add the Fresh Herbs and Citrus Zest
Now it’s time for the vibrant green elements. Measure out your fresh cilantro. Again, a coarse chop is perfectly fine. Cilantro is a star in any salsa, lending its distinctive fresh, herbaceous notes. Add the cilantro to the blender. Next, we’re going to zest the lime. Use a microplane or the fine side of your grater to get the flavorful oils from the peel. Avoid grating the white pith, as it can be bitter. Add the lime zest to the blender. This step adds an incredible burst of citrus aroma and flavor that truly elevates the salsa.
Step 3: Introduce the Heat and Garlic
For that signature kick, we’ll add the jalapeño pepper. I recommend seeding and coarsely chopping it. This allows you to control the spice level. If you’re sensitive to heat, remove all the seeds and membranes. If you like it hotter, leave some of the seeds in, or even consider using a serrano pepper for more intensity. Add the chopped jalapeño to the blender. Then, take your two cloves of garlic and give them a coarse chop. Raw garlic can be quite pungent, so the blender will help break it down and distribute its flavor evenly. Add the chopped garlic to the blender.
Step 4: Season and Blend!
Now for the seasonings that bring it all together. Sprinkle in the ground cumin. Cumin adds a warm, earthy depth that is characteristic of many authentic salsas. Add a good pinch of salt to taste. You can always add more later, so start with a conservative amount. A little bit of freshly ground black pepper will also add a subtle complexity. At this point, your blender should be full of all the delicious ingredients. Now, secure the lid on your blender. Start by pulsing the ingredients a few times to break them down. Then, begin extract blending on a lower speed, gradually increasing to a higher speed. Blend until the salsa reaches your desired consistency. For a chunkier salsa, blend for a shorter time. For a smoother, more “restaurant-style” texture, blend until it’s quite smooth, but be careful not to over-blend to the point of becoming watery. You’re looking for a beautiful, vibrant texture with noticeable specks of the ingredients.
Step 5: Finish with Lime Juice and Final Adjustments
Once you’ve achieved your preferred consistency, turn off the blender. Squeeze in the fresh lime juice. The acidity of the lime juice is crucial for brightening all the flavors and adding a tangy finish. Give the salsa a quick stir with a spoon to incorporate the lime juice. Now is the time to taste and adjust your seasonings. Does it need more salt? A little more pepper? Perhaps you want to add a touch more lime juice for extra zing? This is your moment to make it perfect for your palate. If you find it a bit too thick, you can add a tablespoon or two of water or even a little more of the tomato juice from the can to thin it out slightly. Blend again briefly to incorporate any additions. Transfer your delicious homemade blender salsa to a serving bowl. For the best flavor, I highly recommend letting it sit in the refrigerator for at least 30 minutes before serving. This allows all the flavors to meld and deepen, resulting in an even more delicious salsa. Serve with your favorite tortilla chips, tacos, or as a topping for grilled meats and vegetables. Enjoy!
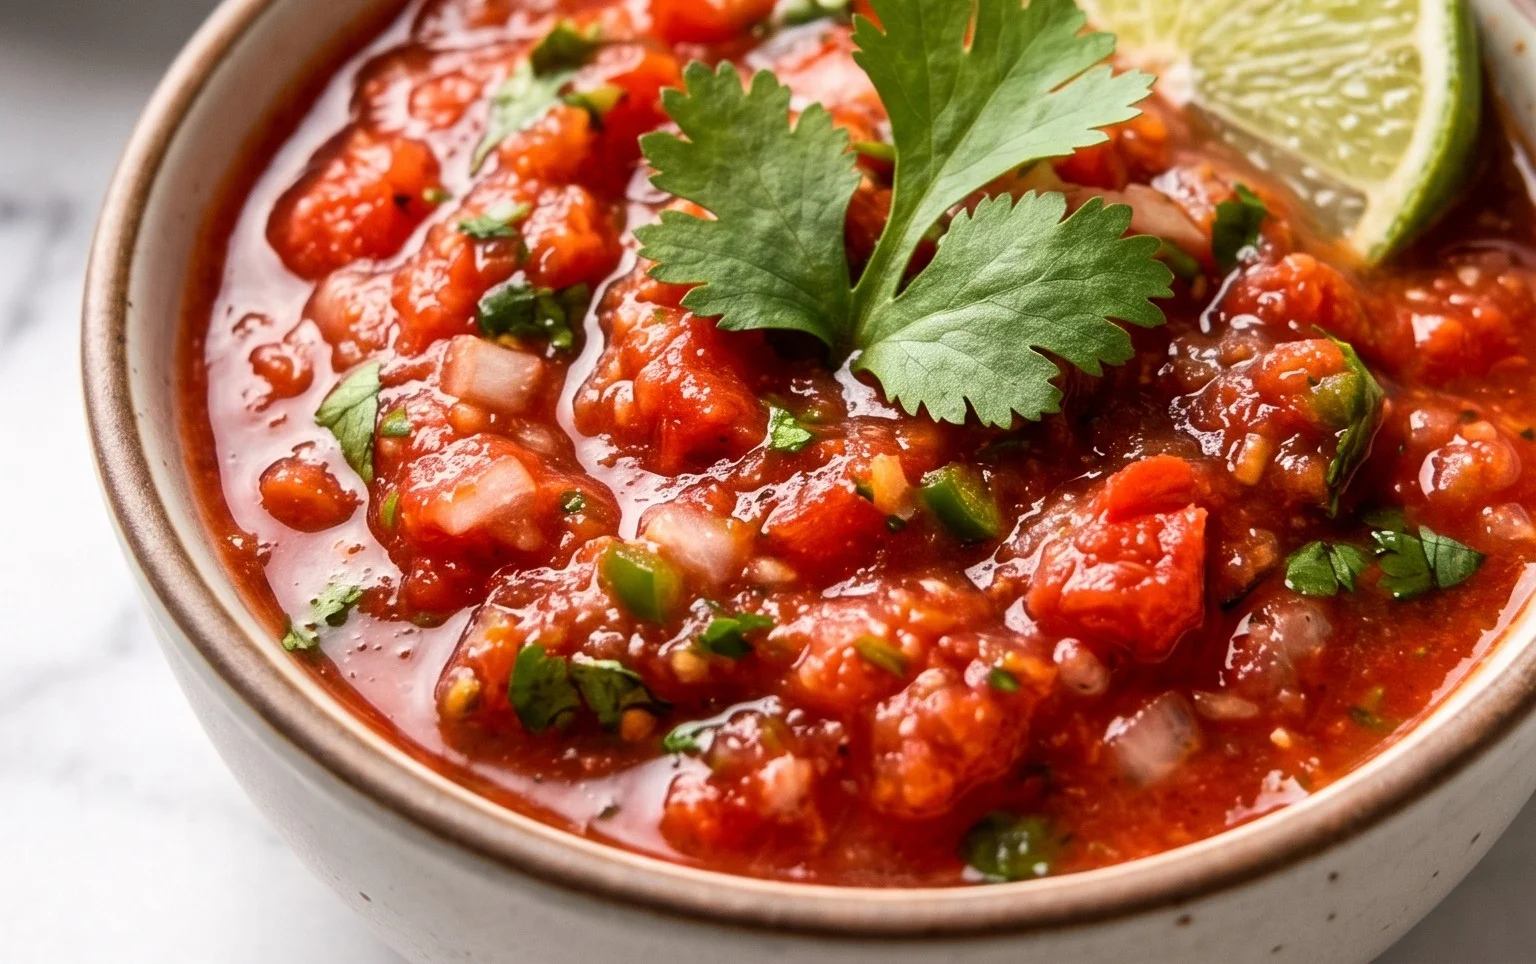
Conclusion:
There you have it! This blender salsa recipe truly delivers that fresh, vibrant, and perfectly balanced restaurant-style salsa you’ve been craving, right in your own kitchen. The beauty of this recipe lies in its simplicity and speed. Just a few pulses in the blender, and you’re minutes away from a flavour explosion. It’s incredibly versatile, far surpassing anything from a jar. Enjoy it as a dip with your favorite tortilla chips, as a topping for tacos, enchiladas, grilled chicken, or even mixed into scrambled eggs for a zesty breakfast boost. Don’t be afraid to experiment with variations! Add a pinch of smoked paprika for a deeper flavour, a dash of your favorite hot sauce for extra heat, or even a spoonful of roasted corn for added sweetness and texture. I truly encourage you to give this Blender Salsa a try; it’s a game-changer for any gathering or simple weeknight meal.
Frequently Asked Questions:
Q: Can I make this blender salsa ahead of time?
Absolutely! This salsa actually tastes even better after it has a chance to sit for at least 30 minutes, allowing the flavors to meld. You can make it a day or two in advance and store it in an airtight container in the refrigerator.
Q: My salsa is too chunky/smooth, how can I adjust the consistency?
The key to achieving your desired consistency is controlling the blending time. For chunkier salsa, pulse the ingredients only a few times until just combined. For a smoother salsa, blend for a bit longer until you reach your preferred texture. You can also add a tablespoon or two of water or lime juice to help achieve a smoother blend if needed.
Q: What kind of tomatoes work best for this recipe?
While you can use any ripe tomatoes, Roma tomatoes or vine-ripened tomatoes are generally preferred for their texture and flavour. They have a good balance of flesh and seeds, which contributes to the overall taste and consistency of the salsa.
Blender Salsa (Restaurant Style Salsa)
Quick and easy restaurant-style salsa made in a blender with fresh ingredients.
Ingredients
-
1 (14.5-ounce can) Diced Tomatoes (don’t drain)
-
1/4 small Red Onion (about 1/3 cup coarsely chopped)
-
1/4 cup Cilantro
-
1 Lime (zested and juiced)
-
1 Jalapeno Pepper (or Serrano Pepper) (seeded and coarsely chopped)
-
2 cloves Garlic (coarsely chopped)
-
1/4 teaspoon Ground Cumin
-
Salt (to taste)
-
Black Pepper (to taste)
Instructions
-
Step 1
Add the undrained diced tomatoes, red onion, cilantro, lime zest, lime juice, jalapeno pepper, and garlic to your blender. -
Step 2
Add the ground cumin, salt, and black pepper. -
Step 3
Pulse the ingredients in the blender until the salsa reaches your desired consistency. Start with short pulses and increase as needed. -
Step 4
Taste the salsa and adjust seasoning with more salt, pepper, or lime juice if necessary. -
Step 5
For best flavor, transfer the salsa to a bowl and let it chill in the refrigerator for at least 15-30 minutes before serving.
Important Information
Nutrition Facts (Per Serving)
It is important to consider this information as approximate and not to use it as definitive health advice.
Allergy Information
Please check ingredients for potential allergens and consult a health professional if in doubt.