Vegan Gluten-Free Chickpea Brownies – Rich & Fudgy
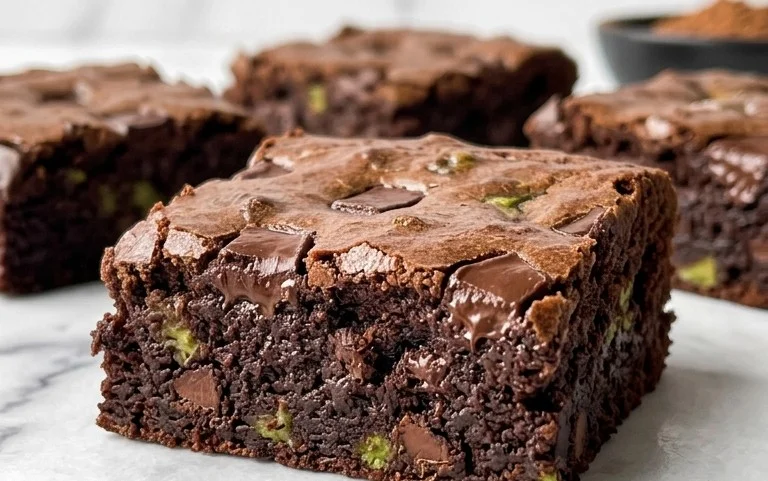
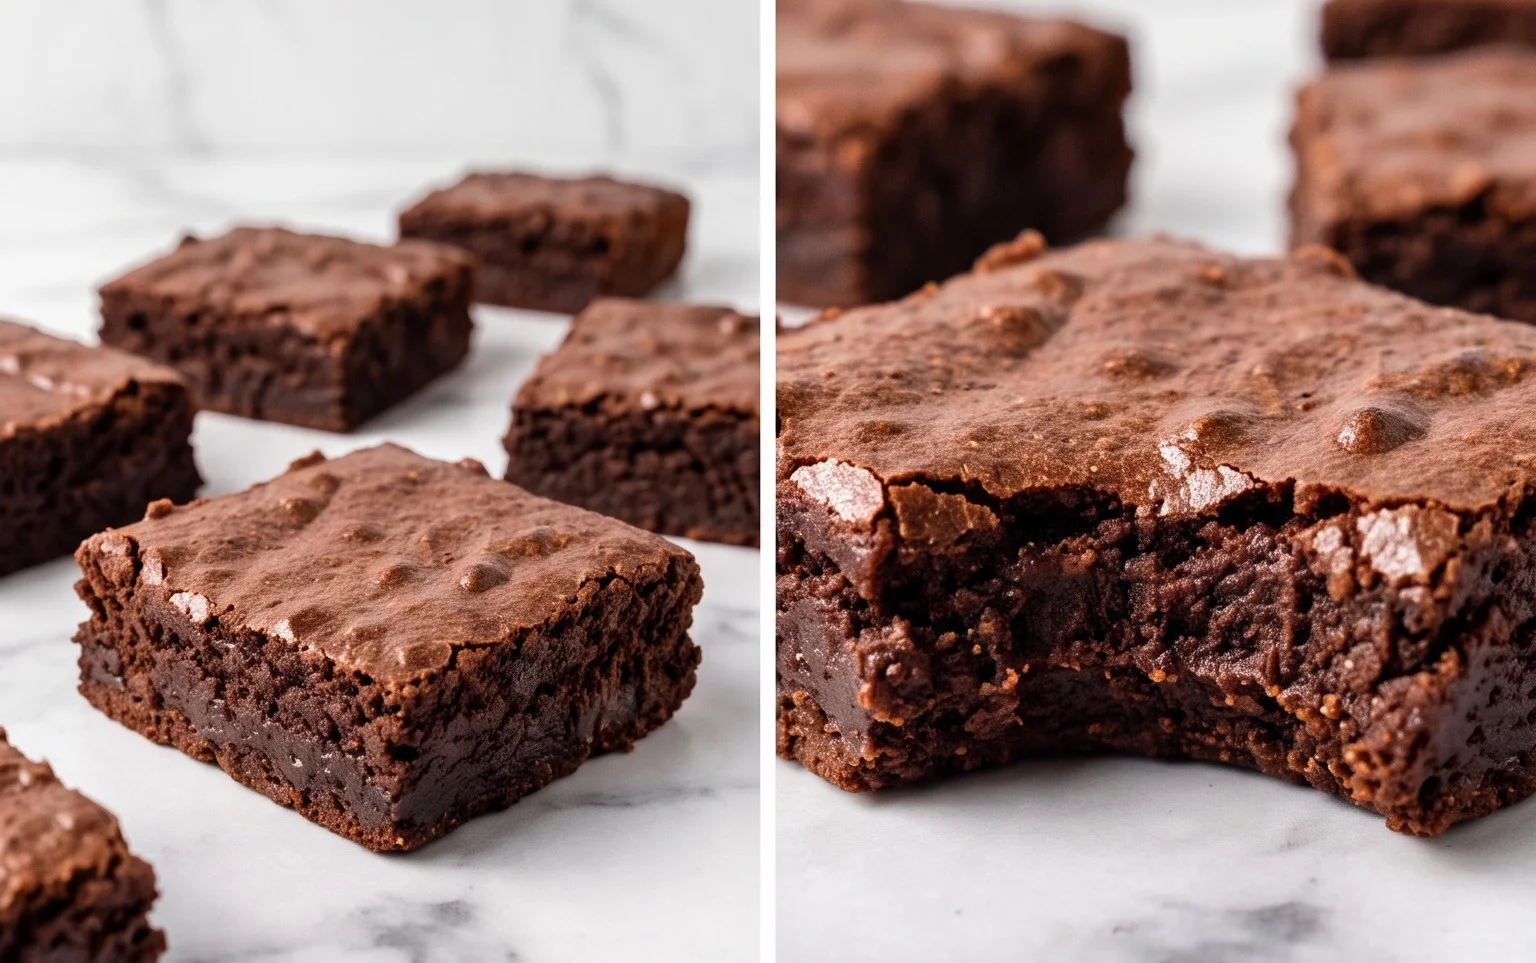
Flourless chickpea brownies are about to revolutionize your dessert game, and I’m so excited to share this incredible recipe with you. Forget everything you thought you knew about healthy baking; these fudgy, decadent treats prove that you don’t need traditional flour or dairy to achieve brownie perfection. They’re a magical concoction that satisfies every chocolate craving while being surprisingly good for you. The secret ingredient? Chickpeas! Don’t worry, you won’t taste them – they simply provide an amazing, moist, and dense texture that’s utterly addictive. People are falling head over heels for these flourless chickpea brownies because they’re not only incredibly delicious but also cater to a wide range of dietary needs, making them the perfect crowd-pleaser. Whether you’re vegan, gluten-free, or just looking for a guilt-free indulgence, this recipe is your new best friend. What makes them truly special is their ability to deliver that classic, intense chocolate flavor and rich, gooey center without any of the usual suspects, making them a testament to smart, wholesome ingredients.
Flourless Chickpea Brownies (Vegan & Gluten Free)
Get ready to indulge in the most surprisingly delicious brownies you’ve ever made! These Flourless Chickpea Brownies are not only completely vegan and gluten-free, but they also boast an incredibly fudgy and decadent texture that will have everyone asking for the recipe. The secret ingredient? Chickpeas! Don’t worry, you won’t taste them; instead, they provide an amazing base that creates a wonderfully moist and satisfying brownie without any need for flour. This recipe is a game-changer for anyone with dietary restrictions or simply looking for a healthier, yet still utterly delicious, dessert option. Plus, it’s incredibly simple to whip up, making it perfect for a quick craving fix or for entertaining.
Ingredients:
Cooking Instructions
Let’s get baking! This recipe is designed to be straightforward, focusing on simple steps that yield exceptional results.
1. Prepare Your Chickpeas and Wet Ingredients: The first crucial step is to prepare your chickpeas. After rinsing them thoroughly under cold water, make sure to drain them extremely well. You can even pat them dry with a paper towel to remove excess moisture, as too much water can affect the brownie’s texture. Next, add the drained chickpeas to a food processor. Along with the chickpeas, add your almond butter (or chosen nut/seed butter), pure maple syrup, and vanilla extract. Process these ingredients until the mixture is as smooth as possible. It might take a few minutes, and you may need to scrape down the sides of the food processor a couple of times to ensure everything is incorporated. We’re aiming for a creamy, almost paste-like consistency at this stage. This smooth base is what will give your brownies that characteristic fudgy texture without any grittiness.
2. Incorporate the Dry Ingredients: Once you have your smooth chickpea mixture, it’s time to add the dry components. To the food processor, add the baking powder, baking soda, sea salt, and unsweetened cocoa powder. Pulse the mixture a few times to begin extract incorporating the dry ingredients. Then, process continuously until everything is well combined and you have a thick, uniform batter. Again, you might need to scrape down the sides of the food processor to ensure no pockets of dry ingredients remain. The batter should look rich and chocolaty. This is also the point where you’ll add about half a cup of your mini chocolate chips directly into the batter. Pulse a few more times, just enough to gently distribute the chips throughout the batter without completely breaking them down. We want to have some lovely pockets of melted chocolate in our finished brownies!
3. Preheat Oven and Prepare Baking Pan: While you’re processing the batter, it’s the perfect time to preheat your oven. Set your oven to 350°F (175°C). Next, prepare your baking pan. This recipe is ideally suited for an 8×8 inch square baking pan. To ensure your brownies don’t stick and come out cleanly, line the pan with parchment paper. You can either cut a piece of parchment paper to fit the bottom and sides, or simply lay a large sheet in the pan, letting the excess hang over the edges. This overhang will act as handles, making it super easy to lift the entire block of brownies out of the pan once they’re baked and cooled. Lightly grease the parchment paper as well if you’re concerned about sticking, though parchment is usually sufficient.
4. Transfer Batter and Bake: Spoon the thick brownie batter into your prepared baking pan. Use a spatula to spread the batter evenly, ensuring it reaches all the corners. Don’t worry if the batter seems very thick; that’s exactly what we’re looking for. Once the batter is spread out, sprinkle the remaining ¼ cup of mini chocolate chips evenly over the top. This creates a beautiful, tempting crust of melted chocolate on your brownies. Place the pan in the preheated oven on the middle rack. Bake for approximately 25-30 minutes. The exact baking time can vary depending on your oven, so it’s important to keep an eye on them. They are done when the edges look set and slightly firm, and a toothpick inserted into the center comes out with moist crum extractbs attached, but not wet batter. Overbaking can lead to a drier brownie, so err on the side of slightly underbaked for maximum fudgin extractess.
5. Cool and Slice for Ultimate Fudgin extractess: This is arguably the hardest part – the waiting! Once they’re out of the oven, resist the urge to cut into them immediately. Let the brownies cool in the pan on a wire rack for at least 30 minutes. This allows them to set properly. For the absolute fudgiest texture, it’s best to let them cool completely, and some even prefer to chill them in the refrigerator for an hour or two before slicing. Once cooled, use the parchment paper overhang to lift the entire brownie slab out of the pan. Place it on a cutting board and slice into your desired number of squares. These brownies are rich and intensely chocolatey, so smaller squares are often perfect. Enjoy the incredible fudgy, guilt-free goodness of your homemade Flourless Chickpea Brownies! They store beautifully in an airtight container at room temperature for a few days, or in the refrigerator for even longer.
Conclusion:
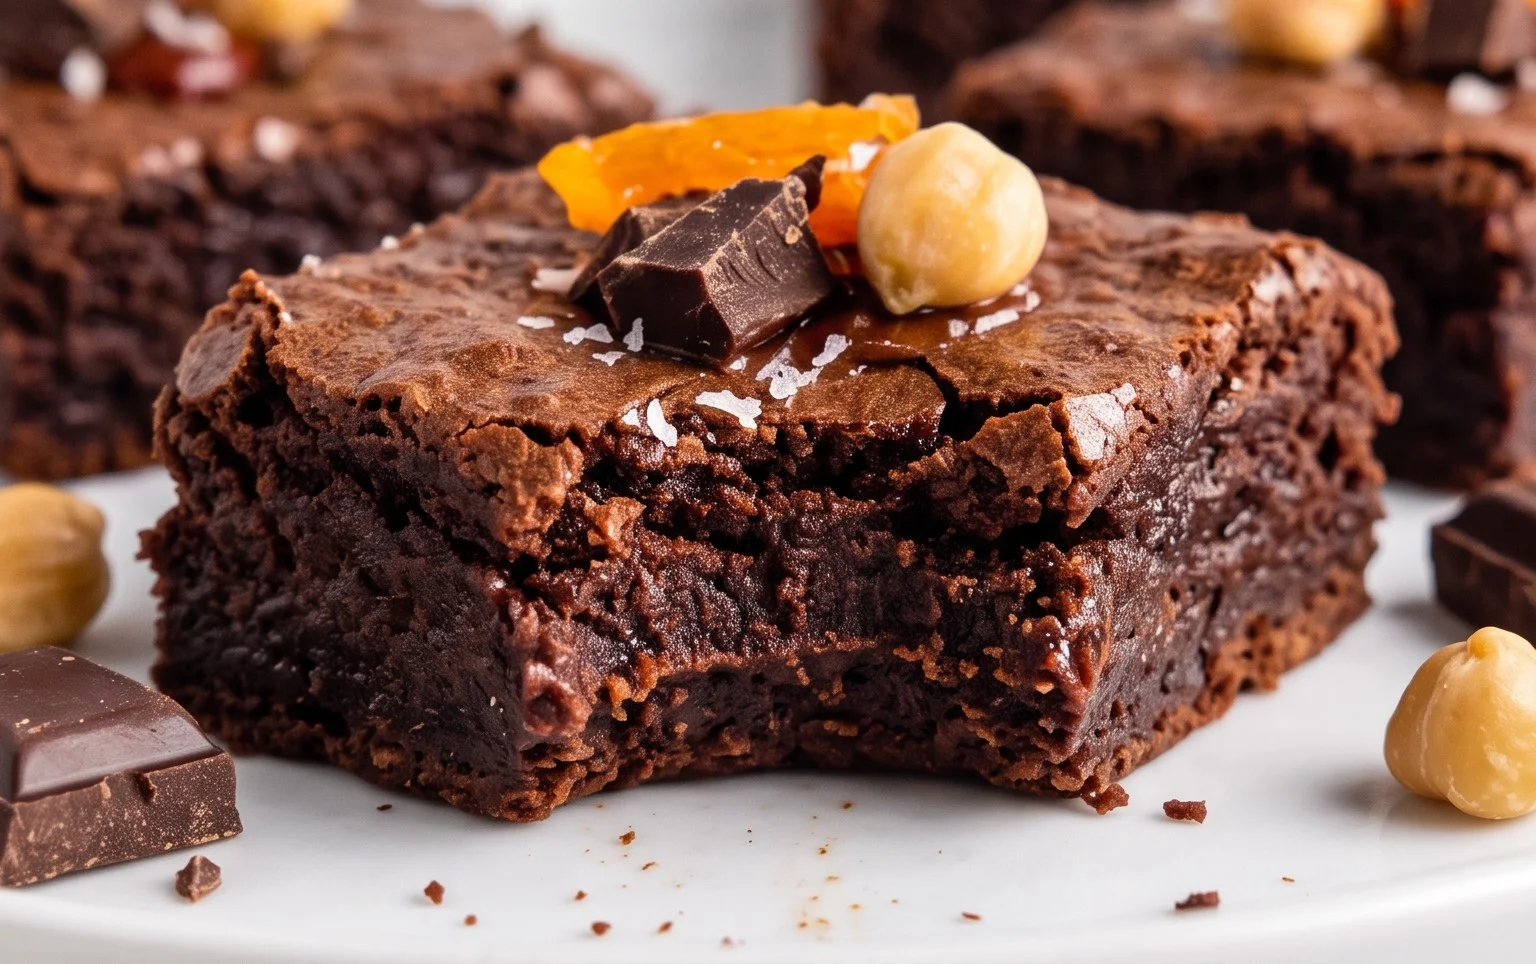
And there you have it – a truly delightful and surprisingly simple recipe for Flourless Chickpea Brownies! What makes these so fantastic? They’re a guilt-free indulgence that ticks all the boxes: entirely vegan, gluten-free, and packed with wholesome ingredients. You get that deep, fudgy chocolate flavour and satisfying chew without any of the usual suspects like flour or eggs. They’re proof that healthy baking doesn’t mean compromising on taste!
These versatile brownies are perfect for any occasion. Enjoy them warm for an instant treat, perhaps with a scoop of your favourite dairy-free ice cream or a sprinkle of fresh berries. They also hold up beautifully for packed lunches, after-school snacks, or even as a sophisticated dessert for guests. Imagin extracte them alongside a steaming cup of coffee or tea – pure bliss!
Feel free to get creative with variations! A swirl of tahini or nut butter on top before baking adds another layer of flavour. For an extra chocolatey punch, fold in some vegan chocolate chips. If you’re feeling adventurous, add a pinch of chilli powder or a dash of espresso powder to the batter for a more complex taste profile.
I truly encourage you to give these Flourless Chickpea Brownies a try. They are incredibly rewarding to make and even more delightful to eat. You might just find your new go-to healthy dessert!
Frequently Asked Questions:
Can I taste the chickpeas in these brownies?
Not at all! The chickpeas are blended incredibly smooth and their flavour is completely masked by the rich cocoa and chocolate. They primarily contribute to the fudgy texture and binding properties.
What’s the best way to store these brownies?
Store them in an airtight container at room temperature for up to 3 days, or in the refrigerator for up to a week. They also freeze beautifully, so you can make a big batch and have them on hand whenever a brownie craving strikes!
Flourless Chickpea Brownies (Vegan & Gluten Free)
Decadent and fudgy vegan and gluten-free brownies made with chickpeas, almond butter, and chocolate chips. A healthy and delicious treat!
Ingredients
-
15.5 ounces chickpeas (1 can), rinsed and drained
-
½ cup almond butter
-
½ cup pure maple syrup
-
1 tablespoon vanilla extract
-
⅓ cup unsweetened cocoa powder
-
½ teaspoon baking powder
-
½ teaspoon baking soda
-
½ teaspoon sea salt
-
¾ cup mini vegan chocolate chips
Instructions
-
Step 1
Preheat your oven to 350°F (175°C). Grease and flour an 8×8 inch baking pan (use gluten-free flour or cocoa powder for flour). -
Step 2
In a food processor, combine the rinsed and drained chickpeas, almond butter, maple syrup, and vanilla extract. Process until smooth and creamy, scraping down the sides as needed. -
Step 3
Add the cocoa powder, baking powder, baking soda, and sea salt to the food processor. Process again until well combined and the batter is uniform in color. -
Step 4
Fold in ¾ cup of mini vegan chocolate chips, reserving a few for topping if desired. -
Step 5
Pour the batter into the prepared baking pan and spread evenly. Sprinkle any reserved chocolate chips on top. -
Step 6
Bake for 20-25 minutes, or until a toothpick inserted into the center comes out with moist crumbs (not wet batter). -
Step 7
Let the brownies cool completely in the pan on a wire rack before cutting into squares.
Important Information
Nutrition Facts (Per Serving)
It is important to consider this information as approximate and not to use it as definitive health advice.
Allergy Information
Please check ingredients for potential allergens and consult a health professional if in doubt.