Easy Artisan Bread Recipe – Bake Incredible Loaves
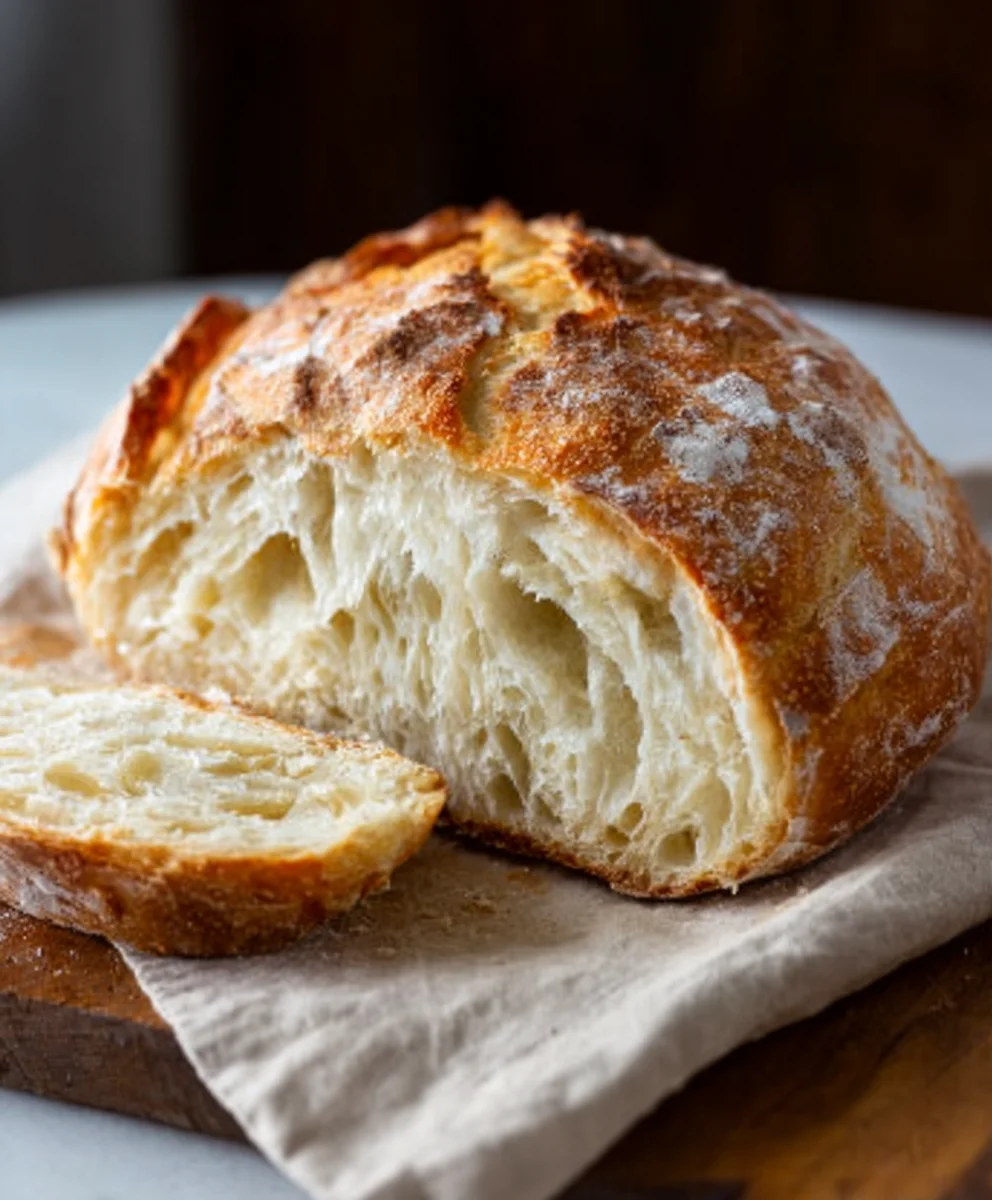
Artisan Bread Recipe. Ah, that unmistakable aroma that wafts from a warm loaf, the satisfying crackle of its crust, the tender, airy crum extractb within. There’s something inherently magical about a truly great loaf of bread, and for many, that magic is embodied in the concept of artisan bread. It’s more than just a staple; it’s a culinary experience. People are drawn to artisan bread for its incredible depth of flavor, its rustic charm, and the simple, honest ingredients that make it so special. Unlike mass-produced loaves, this artisan bread recipe allows you to tap into your inner baker, creating a masterpiece with your own two hands. It’s a journey that rewards patience and technique, resulting in a loaf that’s both beautiful to behold and utterly delicious to devour. Get ready to transform your kitchen into a bakery and experience the joy of a perfect homemade loaf.
Ingredients:
- 3 cups (395 grams) all-purpose flour or bread flour
- ½ tablespoon kosher salt
- ¼ ounce instant or active dry yeast packet (or 2 ¼ teaspoons)
- 1 ½ cups warm water (105°F)
Baking the Perfect Artisan Loaf
This artisan bread recipe is designed to be straightforward yet rewarding, producing a beautiful loaf with a satisfying crust and a tender, airy interior. The beauty of this recipe lies in its simplicity, relying on good quality ingredients and proper technique to achieve delicious results. We’ll be focusing on developing a strong gluten structure, which is key to that characteristic open crum extractb and chewy texture found in great artisan bread. Don’t be intimidated; with a little patience and these detailed instructions, you’ll be pulling a gorgeous loaf out of your oven in no time.
Mixing and Developing the Dough
Our first step is to bring all our simple ingredients together to form the foundation of our bread. In a large mixing bowl, combine your all-purpose flour or bread flour with the kosher salt. Whisk them together thoroughly to ensure the salt is evenly distributed throughout the flour. This might seem like a small detail, but even seasoning is crucial for a delicious loaf. Next, sprinkle the instant or active dry yeast over the flour mixture. If you’re using active dry yeast, it’s a good idea to let it bloom in the warm water for about 5-10 minutes before adding it to the dry ingredients. This means you’ll see a frothy layer form on top, indicating your yeast is alive and ready to work. However, since we’re using instant yeast here (or active dry in a pinch), you can add it directly with the flour and salt.
Now, pour in your 1 ½ cups of warm water, aiming for a temperature around 105°F. The warmth of the water is essential for activating the yeast. Water that is too cold won’t wake up the yeast sufficiently, and water that is too hot can kill it. I usually test the water on the inside of my wrist; it should feel comfortably warm, not hot. Begin extract mixing the ingredients with a wooden spoon or a spatula until a shaggy, cohesive gin extractgh begins to form. It will look messy and wet at this stage, and that’s perfectly normal. Resist the urge to add more flour immediately, as this can lead to a dense loaf. The dough will seem sticky, but we want it that way for now.
Kneading the Dough
Once the dough has come together, it’s time to get your hands in there and knead. Turn the shaggy dough out onto a lightly floured surface. You’ll want to use just enough flour to prevent sticking, so be judicious with your additions. Start kneading by pushing the dough away from you with the heels of your hands, then folding it back over itself. Rotate the dough a quarter turn and repeat. This process develops the gluten network within the flour, which is what gives bread its structure and chew.
Continue kneading for about 8-10 minutes. You’ll notice the dough gradually transforming from a sticky, rough mass into a smooth, elastic ball. A good indicator that your dough is ready is the “windowpane test.” To perform this, take a small piece of dough and gently stretch it between your fingers. If you can stretch it thin enough to see light through it without it tearing, your gluten has been sufficiently developed. If it tears easily, continue kneading for a few more minutes. Don’t overwork the dough, but ensure it’s smooth and pliable.
First Rise (Bulk Fermentation)
Now that our dough has been kneaded, it’s time for its first rest and rise, also known as bulk fermentation. Lightly oil a clean mixing bowl. Place the kneaded dough into the oiled bowl, turning it once to coat all sides with oil. This prevents a dry skin from forming on the dough while it rises. Cover the bowl tightly with plastic wrap or a damp kitchen towel. Find a warm, draft-free spot for your dough to rise. This could be on top of your refrigerator, in a slightly warm oven (turned off!), or simply on your kitchen counter if your home is warm.
Allow the dough to rise for 1 to 1 ½ hours, or until it has roughly doubled in size. The exact time will depend on the ambient temperature of your kitchen. You’ll see the dough puff up and become noticeably larger. It should feel light and airy when you gently poke it. This slow rise allows the yeast to work its magic, creating those lovely air pockets that contribute to the bread’s texture.
Shaping the Loaf
Once your dough has doubled in size, it’s time to gently degas it and shape it. Turn the risen dough out onto a lightly floured surface. Gently punch down the dough to release the trapped gases. We’re not trying to flatten it completely, just to redistribute the air. For a classic round artisan loaf (a boule), gently shape the dough into a taut ball. You cangin extract this by bringing the edges of the dough into the center and pinching them together. Then, place the dough seam-side down on your prepared baking surface. If you prefer a more elongated loaf (a batard), you can gently press the dough into a rough rectangle and then roll it up tightly, pinching the seam closed.
For the best oven spring and crust development, you can choose to place your shaped loaf onto a piece of parchment paper, which will make transferring it to the hot oven much easier. Alternatively, if you have a proofing basket (banneton), you can lightly flour it and place the dough seam-side up into the basket. This will help the loaf hold its shape during the final proof.
Second Rise (Proofing) and Baking
After shaping, the dough needs a final short rest, or proof. If you shaped your loaf directly on parchment paper, cover it loosely with plastic wrap or a light kitchen towel and let it rest for about 30-45 minutes. If you used a proofing basket, you can cover it similarly. The dough should puff up slightly again, but it won’t necessarily double in size this time.
While the dough is proofing, preheat your oven to 450°F (230°C). If you have a baking stone or Dutch oven, place it in the oven during preheating. A hot baking surface helps the bread get a good initial “oven spring,” which is the rapid rise the dough experiences when it first hits the heat. If using a Dutch oven, preheat the empty pot with the lid on. Once the dough has completed its final proof and the oven is fully preheated, it’s time to bake. If you used a proofing basket, carefully invert the dough onto your parchment paper or directly onto the hot baking stone. Score the top of the loaf with a sharp knife or a lame. This allows steam to escape and creates beautiful patterns. If using a Dutch oven, carefully remove the hot pot, place your loaf inside (with parchment if used), cover with the lid, and return to the oven.
Bake the bread for 20 minutes with the lid on the Dutch oven, or uncovered on the baking stone. Then, remove the lid from the Dutch oven (if used) or reduce the oven temperature to 425°F (220°C) and continue baking for another 20-25 minutes, or until the crust is a deep golden brown and the internal temperature of the bread reaches 200-210°F (93-99°C) on an instant-read thermometer. The crust should sound hollow when tapped. Once baked, transfer the loaf to a wire rack to cool completely. This cooling period is crucial as the bread continues to cook internally, and slicing too early can result in a gummy texture. Resist the temptation to cut into it right away; the wait is well worth it!
Conclusion:
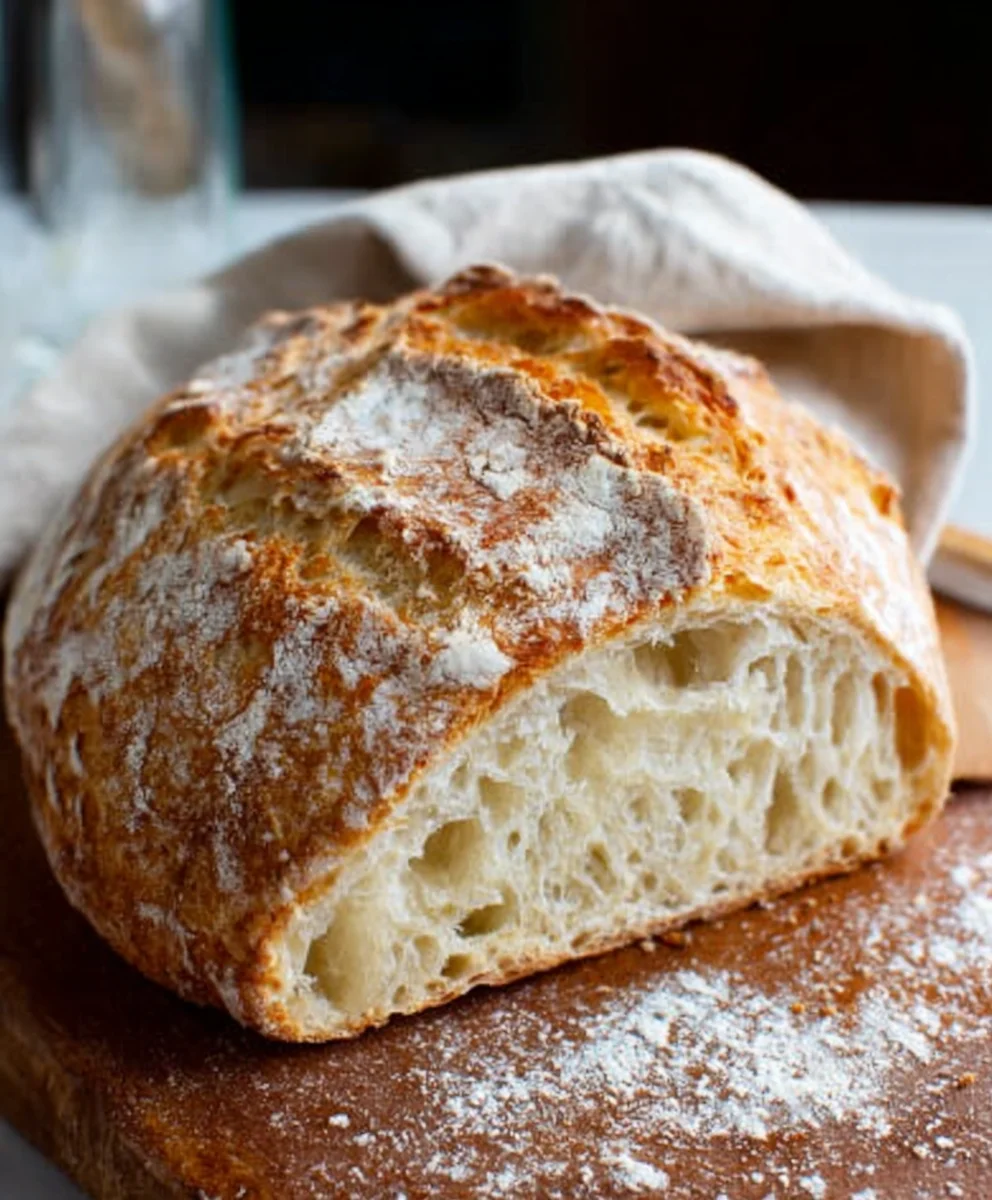
There you have it! With this detailed guide, you’re well on your way to creating a truly magnificent Artisan Bread Recipe right in your own kitchen. This process, while requiring a little patience, is incredibly rewarding, yielding a loaf with a beautiful, crackly crust and a soft, airy interior that store-bought bread simply can’t match. Don’t be intimidated by the longer fermentation times; they are key to developing the complex flavors and textures that define great artisan bread. Once you’ve mastered this basic recipe, you’ll find yourself hooked on the art of breadmaking!
Serve your freshly baked Artisan Bread Recipe warm, sliced thick, and enjoyed with good butter or olive oil. It’s the perfect accompaniment to soups, stews, or a simple cheese board. Feel free to experiment with adding seeds, herbs, or even a touch of honey to the dough for a personalized twist.
Frequently Asked Questions:
Q: My artisan bread didn’t rise as much as I expected. What could have gone wrong?
A: Several factors can affect rising. Ensure your yeast is fresh and active. Check the temperature of your water – too hot can kill yeast, too cold can slow it down. Make sure you’re allowing adequate time for bulk fermentation and proofing, especially in cooler environments. Over-handling the dough can also develop too much gluten too early, hindering expansion.
Q: Can I make this artisan bread recipe ahead of time?
A: Absolutely! The dough can be refrigerated for an extended cold ferment (up to 2-3 days), which actually enhances flavor. This makes it incredibly convenient for baking fresh bread whenever you desire. Just allow the dough to come to room temperature for about an hour before shaping and baking as usual.
Q: What’s the best way to store leftover artisan bread?
A: For the best results, store cooled artisan bread at room temperature in a paper bag or a bread box to maintain its crust. Avoid plastic bags, as they can make the crust soggy. If you have a lot of bread, you can slice it and freeze it; it toasts up beautifully from frozen.
Easy Artisan Bread Recipe – Bake Incredible Loaves
Bake a beautiful artisan loaf with a satisfying crust and a tender, airy interior using this straightforward recipe. Perfect for beginners, it focuses on developing a strong gluten structure for that signature chewy texture.
Ingredients
-
3 cups (395 grams) all-purpose flour or bread flour
-
½ tablespoon kosher salt
-
¼ ounce instant or active dry yeast packet (or 2 ¼ teaspoons)
-
1 ½ cups warm water (105°F)
-
Olive oil, for greasing bowl
-
Flour, for dusting surface
Instructions
-
Step 1
In a large bowl, whisk together flour and salt. Sprinkle yeast over the mixture. Pour in warm water and mix with a spoon until a shaggy dough forms. It will be sticky. -
Step 2
Turn the dough onto a lightly floured surface. Knead for 8-10 minutes, pushing and folding the dough, until smooth and elastic. Perform the windowpane test to check for sufficient gluten development. -
Step 3
Lightly oil a clean bowl. Place the kneaded dough in the bowl, turning to coat. Cover tightly and let rise in a warm, draft-free spot for 1 to 1 ½ hours, or until doubled in size. -
Step 4
Gently punch down the dough and turn it onto a lightly floured surface. Shape into a taut ball (boule) or an elongated loaf (batard). Place seam-side down on parchment paper or in a floured proofing basket. -
Step 5
Cover the shaped dough loosely and let it rest for 30-45 minutes. Preheat oven to 450°F (230°C) with a baking stone or Dutch oven inside. Score the top of the loaf. Bake for 20 minutes with the lid on the Dutch oven (if used), or uncovered on the baking stone. Remove Dutch oven lid (if used) and reduce oven temperature to 425°F (220°C). Continue baking for another 20-25 minutes until deep golden brown and internal temperature reaches 200-210°F (93-99°C). -
Step 6
Transfer the baked loaf to a wire rack and let it cool completely before slicing. This allows the internal structure to set properly.
Important Information
Nutrition Facts (Per Serving)
It is important to consider this information as approximate and not to use it as definitive health advice.
Allergy Information
Please check ingredients for potential allergens and consult a health professional if in doubt.