Honey Lemon Pepper Beef Wings Recipe
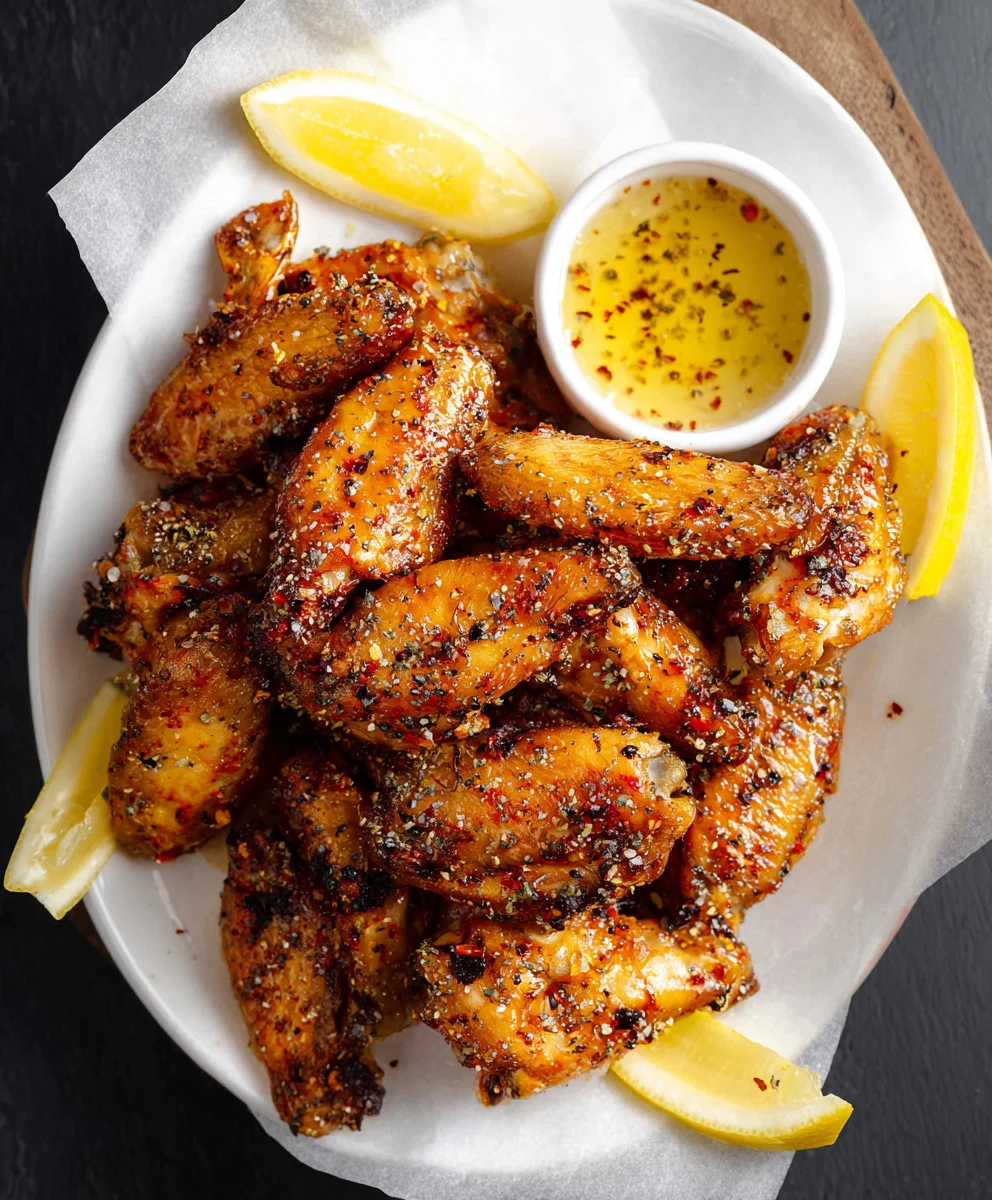
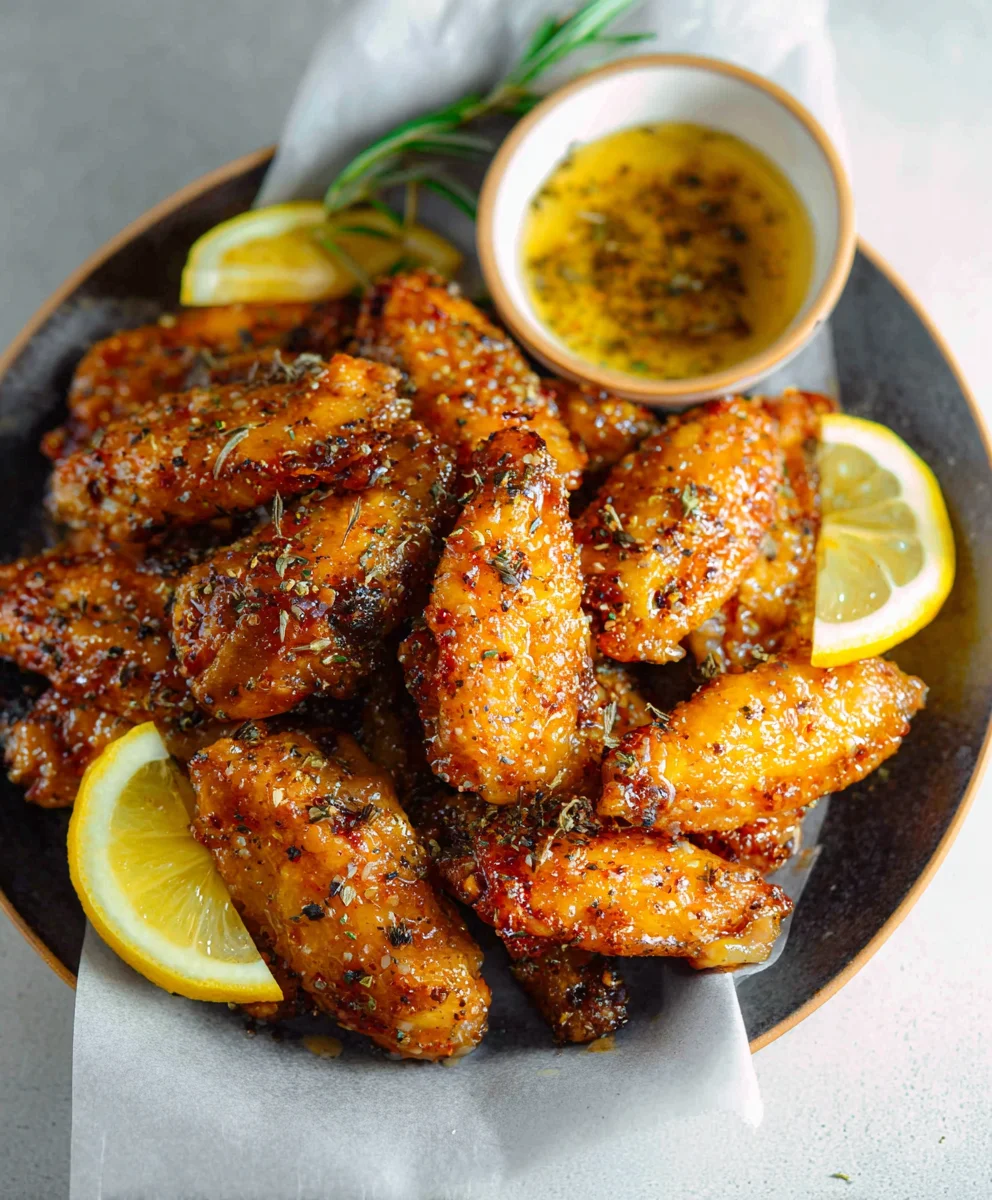
Honey Lemon Pepper Wings are more than just a game-day snack; they’re a symphony of sweet, tangy, and savory flavors that have captured the hearts (and taste buds) of snack enthusiasts everywhere. What is it about these irresistible wings that makes them so universally beloved? It’s the perfect marriage of sticky, golden honey that caramelizes beautifully, the bright, zesty punch of fresh lemon, and the subtle, warming kick of black pepper. This trifecta creates a flavor profile that’s both comforting and exciting, making it impossible to stop at just one. Unlike simpler chicken wing recipes, the magic of these Honey Lemon Pepper Wings lies in the delicate balance achieved between these core ingredients. They offer a sophisticated yet approachable taste that appeals to a wide range of palates, proving that sometimes, the simplest combinations are the most profound. Get ready to experience a truly addictive appetizer that will have everyone asking for the recipe!
Ingredients:
- 2 pounds chicken wings, separated into drum extractettes and flats
- 3 tablespoons potato starch
- 1 tablespoon baking powder
- 1 teaspoon garlic powder
- 1 teaspoon onion powder
- ¼ teaspoon paprika
- Oil spray
- ½ cup honey
- 1 lemon, zested (about 1 tablespoon of zest)
- ¼ cup fresh lemon juice (you can add a little more if you prefer a tangier sauce)
- 1 tablespoon minced fresh garlic
- 1 tablespoon unsalted butter
- 1-2 teaspoons freshly ground black pepper (adjust to your spice preference)
- 1 pinch salt
Preparing the Wings for Crispy Perfection
Step 1: Pat Dry and Season the Wings
Begin extract by ensuring your chicken wings are thoroughly dry. This is a crucial step for achieving that irresistible crispy skin. Use paper towels to pat each wing piece completely dry. Moisture is the enemy of crispiness! Once dry, place the wings in a large bowl. In a separate small bowl, whisk together the potato starch, baking powder, garlic powder, onion powder, paprika, and a pinch of salt. This blend of ingredients is your secret weapon for ultra-crispy wings. The potato starch helps to draw out moisture, while the baking powder aids in creating a lighter, crispier coating. Sprinkle this dry seasoning mixture evenly over the chicken wings. Toss everything together gently with your hands or tongs until each wing is well-coated. Make sure there are no dry spots.
Step 2: Arrange and Bake the Wings
Preheat your oven to a consistent 400°F (200°C). Line a large baking sheet with parchment paper for easy cleanup, and then arrange the seasoned chicken wings in a single layer on the prepared baking sheet. It’s important that the wings are not overcrowded; give them a little breathing room. This allows for proper air circulation, which is key to achieving even cooking and crispiness all around. If your baking sheet is too crowded, consider using two. Once arranged, lightly spray the tops of the wings with oil spray. This adds an extra layer of crispiness and a nice sheen.
Step 3: First Bake for Crispiness
Place the baking sheet with the wings into the preheated oven. Bake for 25 minutes. After 25 minutes, carefully remove the baking sheet from the oven. Using tongs, flip each chicken wing to the other side. This ensures that both sides of the wings get an equal amount of heat and crisp up beautifully. After flipping, return the baking sheet to the oven and continue baking for another 20-25 minutes, or until the wings are golden brown and thoroughly cooked through. The internal temperature of the thickest part of a wing should reach 165°F (74°C). The exact time may vary depending on your oven and the size of your wings, so keep an eye on them during the final stages.
Crafting the Irresistible Honey Lemon Pepper Glaze
Step 4: Create the Luscious Sauce
While the wings are finishing their second bake, it’s time to prepare the star of the show: the Honey Lemon Pepper glaze. In a medium saucepan, melt the unsalted butter over medium heat. Once the butter has melted and is slightly foamy, add the minced fresh garlic. Sauté the garlic for about 1 minute until it becomes fragrant. Be careful not to burn the garlic, as this can make the sauce bitter. Pour in the honey and fresh lemon juice. Add the lemon zest and the freshly ground black pepper. For a bit of flavor balance, stir in a pinch of salt.
Step 5: Simmer and Thicken the Glaze
Bring the mixture in the saucepan to a gentle simmer. Let it simmer for about 3-5 minutes, stirring occasionally. The goal here is to allow the flavors to meld together and for the sauce to thicken slightly. You’re looking for a consistency that will coat the wings beautifully without being too watery or too thick and sticky. If the sauce seems a bit too thick for your liking, you can add another tablespoon or two of lemon juice to thin it out. Conversely, if it’s too thin, let it simmer for another minute or two. Taste the glaze at this point and adjust the seasoning if needed. You might want a little more pepper for extra kick, or a touch more honey for sweetness.
gin extract>Bringing It All Together
Step 6: Glaze and Serve Your Masterpiece
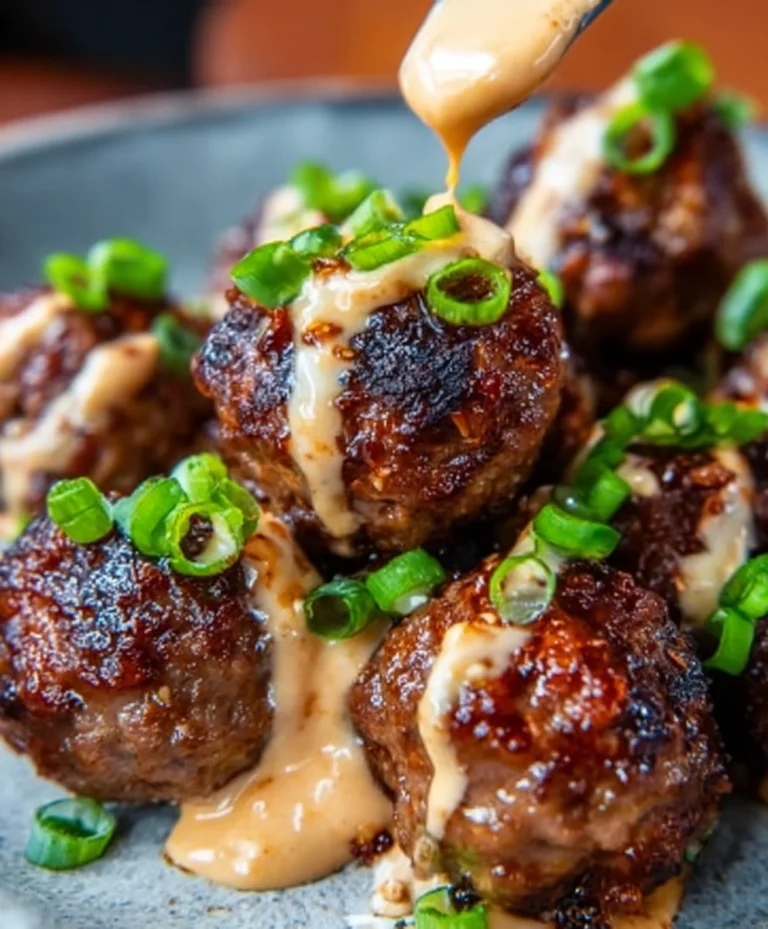
Once the wings have finished baking and are wonderfully crispy, remove them from the oven. Transfer the hot wings to a large clean bowl. Pour the warm Honey Lemon Pepper glaze over the wings. Toss them gently using tongs until every single wing is thoroughly coated in the glossy, flavorful sauce. Serve immediately while they are still hot and the glaze is perfectly sticky. These Honey Lemon Pepper Wings are fantastic on their own as an appetizer or as a main course served with your favorite sides like coleslaw, fries, or a fresh salad. Enjoy the explosion of sweet, tangy, and peppery flavors with every bite!
Conclusion:
You’ve just unlocked the secret to incredibly flavorful and irresistible Honey Lemon Pepper Wings! This recipe is designed to be surprisingly simple, delivering a perfect balance of sweet honey, zesty lemon, and a satisfying peppery kick that will have everyone asking for seconds. Whether you’re hosting a game day party, planning a casual weeknight dinner, or just craving a delicious snack, these wings are sure to be a crowd-pleaser. Don’t be afraid to adjust the lemon and pepper to your personal preference for the ultimate customized bite. Enjoy the process and savor the amazing results!
For serving, these Honey Lemon Pepper Wings are fantastic on their own, but they also pair wonderfully with a cooling blue cheese or ranch dressing. Consider serving them alongside some crispy celery sticks and carrot sticks for a classic wing platter. They also make a fantastic addition to a larger meal, perhaps served with a side of coleslaw or potato wedges.
Feel free to experiment with variations! A touch of garlic powder or a pinch of red pepper flakes can add another layer of complexity. For a tangier twist, add a tablespoon of Dijon mustard to the glaze. The possibilities are endless!
Frequently Asked Questions:
Can I bake these wings instead of frying?
Absolutely! To bake your Honey Lemon Pepper Wings, preheat your oven to 400°F (200°C). Toss the wings with a little oil, salt, and pepper, and bake for 20-25 minutes per side, or until golden brown and cooked through. Then, toss them in the prepared honey lemon pepper glaze. Baking offers a healthier alternative while still delivering fantastic flavor.
How can I make the glaze spicier?
If you enjoy a bit more heat, you can easily make the glaze spicier. Add a teaspoon or two of your favorite hot sauce to the glaze mixture, or incorporate some finely minced fresh chili peppers like jalapeños or serranos. A sprinkle of cayenne pepper can also boost the heat level significantly.
Can I prepare the glaze ahead of time?
Yes, you can definitely prepare the honey lemon pepper glaze ahead of time. Store it in an airtight container in the refrigerator for up to 3-4 days. When you’re ready to use it, gently warm it on the stovetop or in the microwave before tossing with your cooked wings. This makes the final assembly even quicker!
Honey Lemon Pepper Beef Wings
Crispy baked beef wings tossed in a sweet, tangy, and peppery honey lemon glaze.
Ingredients
-
2 pounds beef wings
-
3 tablespoons potato starch
-
1 tablespoon baking powder
-
1 teaspoon garlic powder
-
1 teaspoon onion powder
-
1/4 teaspoon paprika
-
oil spray
-
1/2 cup honey
-
1 lemon, zested
-
1/4 cup fresh lemon juice
-
1 tablespoon minced fresh garlic
-
1 tablespoon unsalted butter
-
1-2 teaspoons freshly ground black pepper
-
1 pinch salt
Instructions
-
Step 1
Pat the beef wings thoroughly dry with paper towels. In a small bowl, whisk together potato starch, baking powder, garlic powder, onion powder, paprika, and salt. Sprinkle over wings and toss to coat evenly. -
Step 2
Preheat oven to 400°F (200°C). Line a baking sheet with parchment paper and arrange wings in a single layer, ensuring they are not overcrowded. Lightly spray tops with oil spray. -
Step 3
Bake for 25 minutes. Flip wings and bake for an additional 20-25 minutes, or until golden brown and cooked through (internal temperature of 165°F or 74°C). -
Step 4
While wings bake, melt butter in a saucepan over medium heat. Sauté minced garlic for 1 minute until fragrant. Add honey, lemon juice, lemon zest, black pepper, and salt. -
Step 5
Bring the glaze to a gentle simmer and cook for 3-5 minutes, stirring occasionally, until slightly thickened. Adjust seasoning as needed. -
Step 6
Transfer hot wings to a large bowl. Pour the warm glaze over the wings and toss gently until evenly coated. Serve immediately.
Important Information
Nutrition Facts (Per Serving)
It is important to consider this information as approximate and not to use it as definitive health advice.
Allergy Information
Please check ingredients for potential allergens and consult a health professional if in doubt.