Cheesy Garlic Chicken Wraps Easy Dinner Recipe
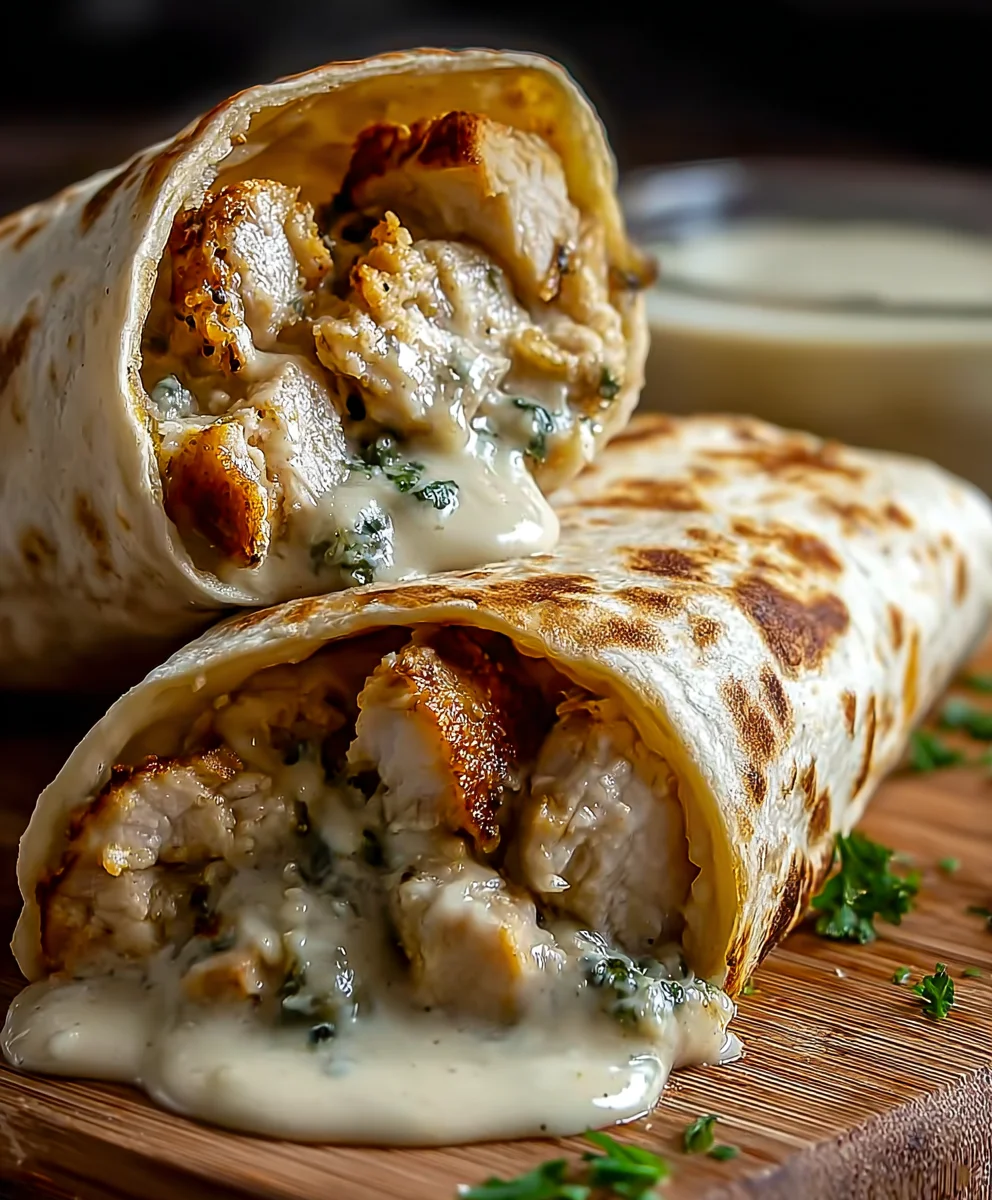
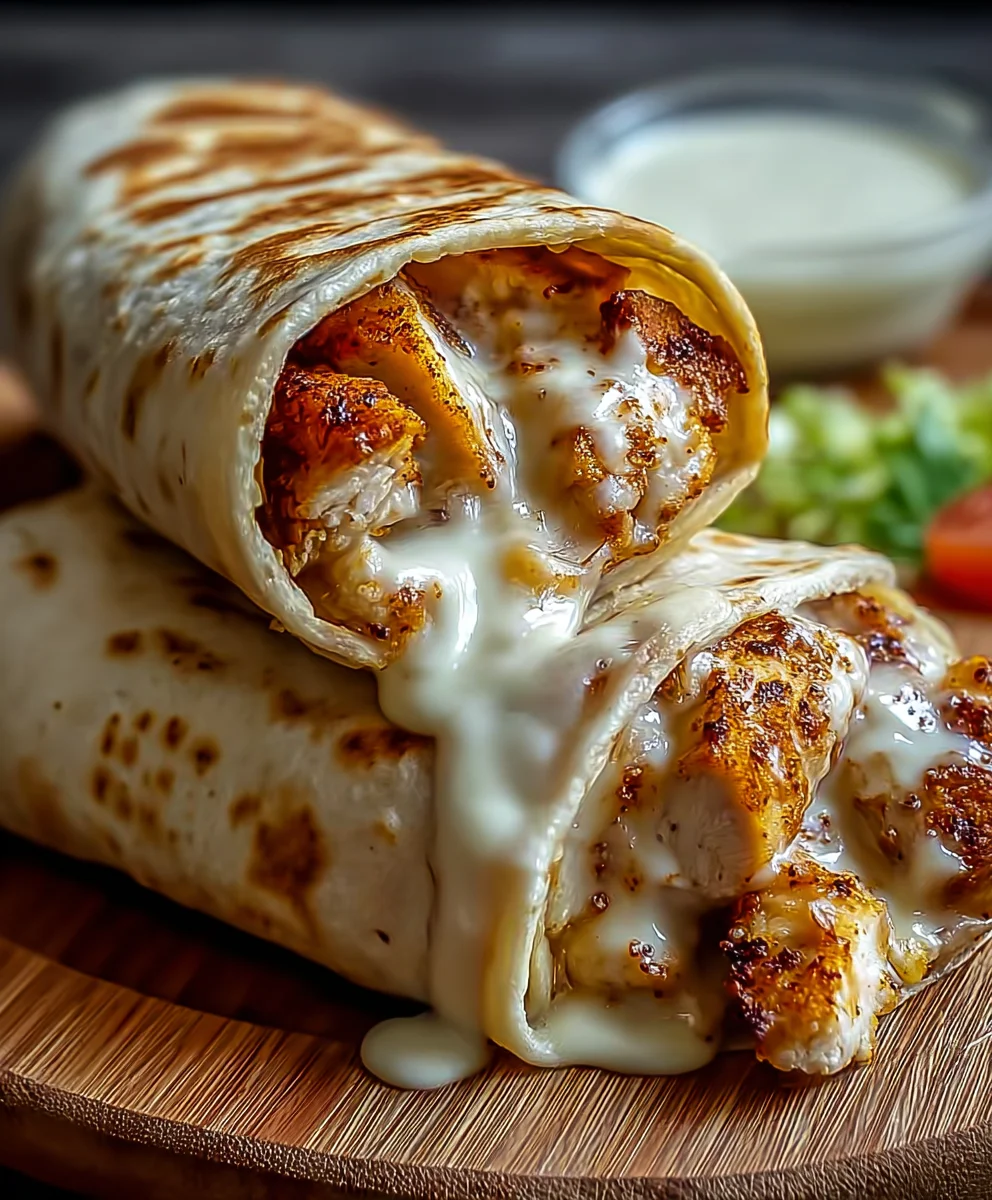
Cheesy Garlic Chicken Wraps: A Tasty Dinner Delight! If you’re searching for a weeknight meal that’s both incredibly satisfying and ridiculously easy to throw together, look no further. These Cheesy Garlic Chicken Wraps have become a household favorite for so many people, and it’s not hard to see why. They’re the perfect blend of savory, creamy, and utterly delicious, making them a guaranteed hit with both kids and adults. What makes this dish truly special is its remarkable versatility. You can customize the fillings, adjust the spice level, and even swap out the cheese to suit your family’s preferences. The aroma of garlic and melting cheese alone is enough to get everyone excited for dinner. Get ready to discover your new go-to recipe for a fuss-free and flavorful culinary experience!
Ingredients:
- 2 cups cooked chicken, shredded
- 1 cup shredded mozzarella cheese
- 1/2 cup cream cheese, softened
- 1/4 cup sour cream
- 2 cloves garlic, minced
- 1 teaspoon garlic powder
- 1 teaspoon onion powder
- 1/2 teaspoon salt
- 1/4 teaspoon black pepper
- 4 large flour tortillas
- 1 cup fresh spinach leaves
- 1/2 cup diced tomatoes
- 1/4 cup chopped fresh parsley (optional)
- Olive oil for cooking
Preparing the Cheesy Chicken Filling
Step 1: Combine the Creamy Base
In a medium-sized mixing bowl, begin extract by combining the softened cream cheese and the sour cream. Using a spatula or a sturdy spoon, mix these two ingredients together until they are smooth and well incorporated. The goal here is to create a creamy, lump-free foundation for our delicious filling. It’s important that the cream cheese is truly softened – leaving it on the counter for about 30-60 minutes beforehand usually does the trick. If you’re in a hurry, you can gently microwave it for 15-20 second intervals, being careful not to melt it completely.
Step 2: Introduce the Garlic and Seasonings
Next, add the minced garlic to the cream cheese and sour cream mixture. Along with the fresh garlic, incorporate the garlic powder, onion powder, salt, and black pepper. Stir everything together thoroughly. Ensure the minced garlic is evenly distributed throughout the mixture. This step builds the foundational flavor profile of our wraps, infusing it with a savory, garlicky punch that complements the chicken and cheese perfectly. Taste a small amount of the mixture at this point and adjust salt and pepper if needed, keeping in mind that the cheese will also add saltiness.
Step 3: Incorporate the Chicken and Cheese
Now, it’s time to add the star of our filling: the shredded cooked chicken. Add the 2 cups of shredded chicken to the bowl with the creamy mixture. Also, stir in the 1 cup of shredded mozzarella cheese. Use your spatula or spoon to gently fold and mix these ingredients into the cream cheese base. You want to coat all the chicken and cheese evenly with the creamy mixture. Don’t overmix; just ensure everything is well combined. The mozzarella will add a wonderful gooeyness and extra cheesy flavor, making these wraps truly delightful.
Assembling and Cooking the Wraps
Step 4: Warm the Tortillas and Prepare for Filling
Lay out your four large flour tortillas on a clean work surface. To make them more pliable and easier to roll without tearing, lightly warm them. You can do this in a few ways: briefly microwave each tortilla for about 15-20 seconds, or heat them in a dry skillet over medium heat for about 30 seconds per side. Once warmed, lightly brush the surface of each tortilla with a little olive oil. This adds a subtle crispness and prevents sticking.
Step 5: Fill and Roll the Wraps
Spoon a generous portion of the cheesy chicken filling onto the center of each warmed tortilla. Distribute the filling evenly across about one-third of the tortilla, leaving some space around the edges. On top of the chicken mixture, scatter a layer of fresh spinach leaves and diced tomatoes. If you’re using fresh parsley, sprinkle some over the vegetables. Now, it’s time to roll. Fold in the sides of the tortilla over the filling, then tightly roll up from the bottom, tucking in the filling as you go. Make sure they are rolled snugly to prevent them from falling apart during cooking.
Step 6: Sear the Wraps to Golden Perfection
Heat a tablespoon of olive oil in a large skillet or on a griddle over medium heat. Once the oil is shimmering, carefully place the rolled wraps seam-side down into the skillet. Cook for about 3-4 minutes per side, or until each side is golden brown and crispy. You’re looking for a beautiful sear that seals the wrap and melts the cheese further, creating a delightful texture contrast. You may need to adjust the heat to prevent burning. If your skillet isn’t large enough for all four wraps, cook them in batches, adding a little more olive oil if needed. This searing process not only enhances the flavor and texture but also ensures the filling stays contained. Serve them immediately while they are warm and wonderfully cheesy.
Conclusion:
And there you have it – a delightful and surprisingly simple way to whip up a satisfying meal with these Cheesy Garlic Chicken Wraps: A Tasty Dinner Delight! This recipe strikes a perfect balance between savory, garlicky chicken and melted, gooey cheese, all nestled within a warm tortilla. It’s the kind of meal that’s perfect for busy weeknights when you want something delicious without a fuss, or for casual gatherings with friends and family. The versatility of this dish truly shines, making it a go-to for many occasions.
For serving suggestions, consider pairing your Cheesy Garlic Chicken Wraps with a crisp side salad, some seasoned sweet potato fries, or even a simple cup of tomato soup. These wraps also hold up beautifully for packed lunches the next day! If you’re feeling adventurous with variations, try adding sautéed bell peppers and onions for extra flavor and texture, or swap out the cheddar for a pepper jack for a touch of heat. Don’t hesitate to experiment with different herbs like fresh parsley or chives to elevate the garlic notes even further. I encourage you to give these Cheesy Garlic Chicken Wraps a try – you won’t be disappointed!
Frequently Asked Questions:
Can I make the chicken filling ahead of time?
Absolutely! You can cook and shred the chicken with the garlic and seasonings a day in advance and store it in an airtight container in the refrigerator. This will make assembly even quicker when you’re ready to make your Cheesy Garlic Chicken Wraps.
What kind of tortillas work best?
Standard flour tortillas are ideal as they are pliable and hold the filling well. You can also use whole wheat or even gluten-free tortillas if you have dietary restrictions. Just ensure they are large enough to comfortably wrap around the generous filling.
Cheesy Garlic Chicken Wraps Easy Dinner Recipe
Delicious and easy cheesy garlic chicken wraps perfect for a quick weeknight dinner. Filled with shredded chicken, mozzarella, and a creamy garlic mixture, then seared to golden perfection.
Ingredients
-
2 cups cooked chicken, shredded
-
1 cup shredded mozzarella cheese
-
1/2 cup cream cheese, softened
-
1/4 cup sour cream
-
2 cloves garlic, minced
-
1 teaspoon garlic powder
-
1 teaspoon onion powder
-
1/2 teaspoon salt
-
1/4 teaspoon black pepper
-
4 large flour tortillas
-
1 cup fresh spinach leaves
-
1/2 cup diced tomatoes
-
1/4 cup chopped fresh parsley
-
Olive oil for cooking
Instructions
-
Step 1
In a medium bowl, combine softened cream cheese and sour cream until smooth. Ensure cream cheese is well-softened. -
Step 2
Add minced garlic, garlic powder, onion powder, salt, and black pepper to the cream cheese mixture. Stir well to combine. -
Step 3
Gently fold in the shredded cooked chicken and shredded mozzarella cheese until evenly coated with the creamy mixture. -
Step 4
Warm the flour tortillas slightly to make them pliable. Lightly brush each with olive oil. -
Step 5
Spoon the chicken filling onto the center of each tortilla, top with spinach, diced tomatoes, and parsley (if using). Fold in the sides and tightly roll up from the bottom. -
Step 6
Heat olive oil in a skillet over medium heat. Sear the rolled wraps seam-side down for 3-4 minutes per side, until golden brown and crispy.
Important Information
Nutrition Facts (Per Serving)
It is important to consider this information as approximate and not to use it as definitive health advice.
Allergy Information
Please check ingredients for potential allergens and consult a health professional if in doubt.