Chickpea Feta Avocado Salad – Fresh & Easy Recipe
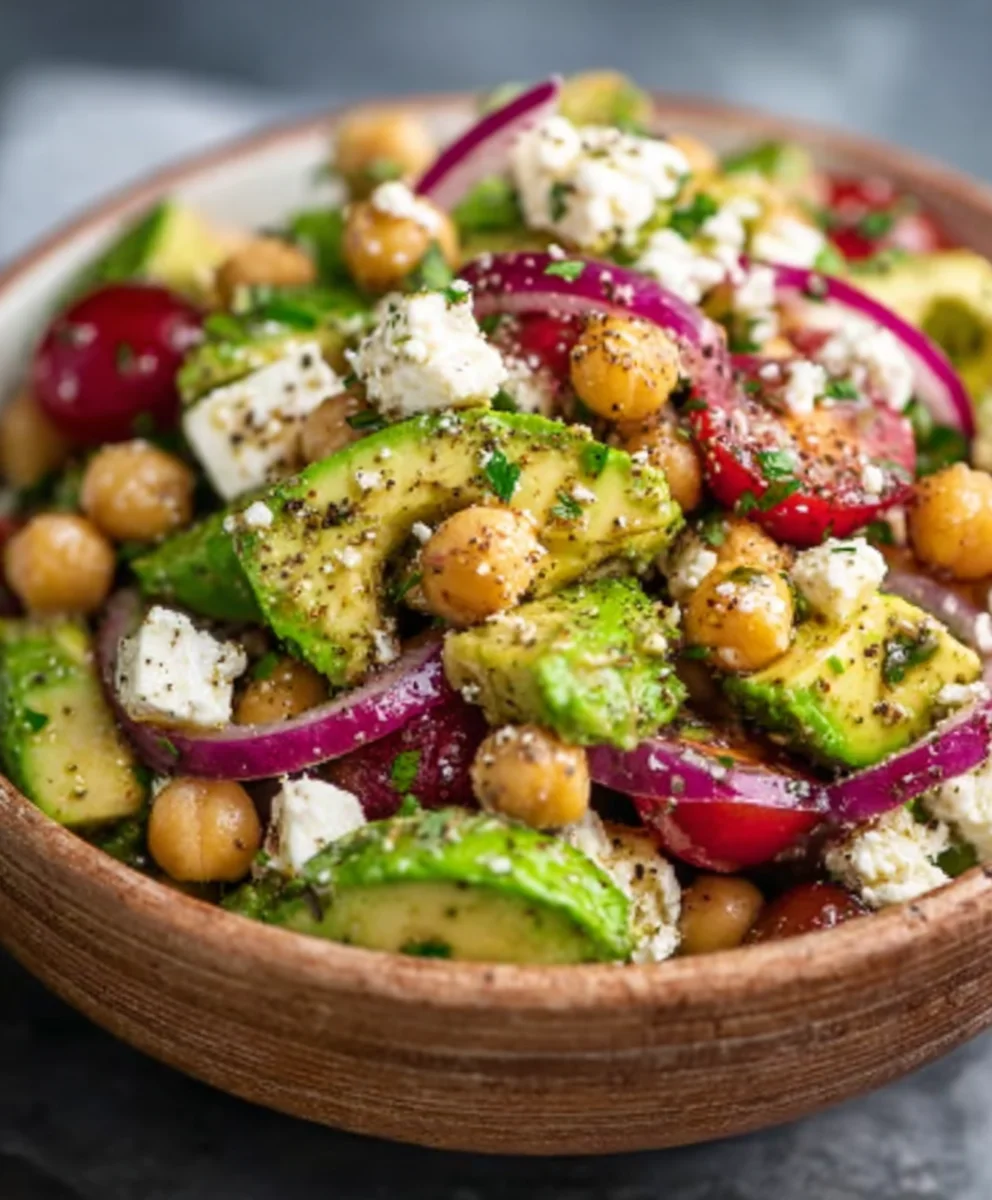
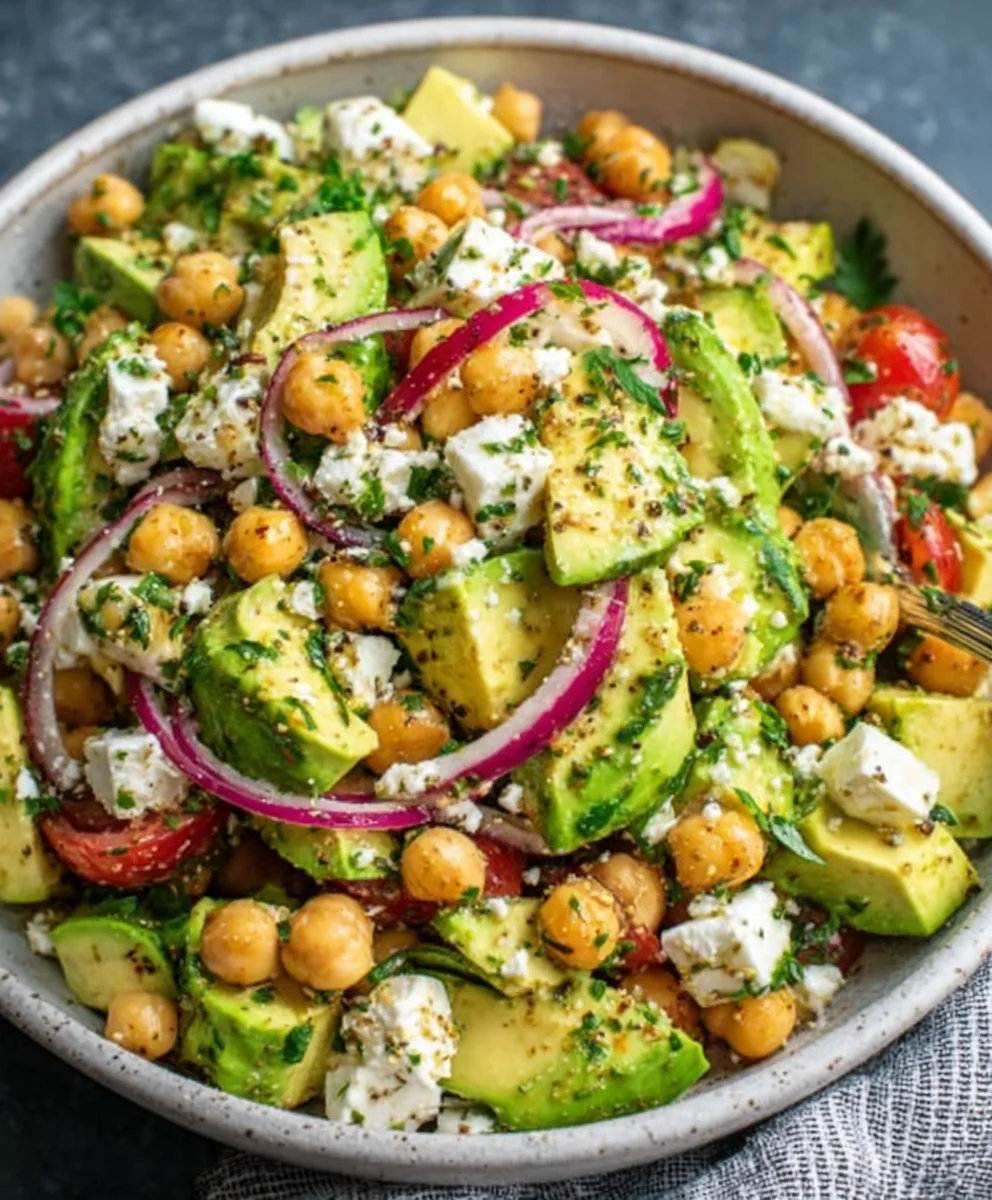
Chickpea Feta Avocado Salad is more than just a salad; it’s a vibrant symphony of flavors and textures that will awaken your taste buds and leave you feeling wonderfully satisfied. This isn’t your average side dish; it’s a substantial meal that bursts with freshness and a delightful creaminess. What makes this particular Chickpea Feta Avocado Salad so utterly irresistible? It’s the perfect harmony of the earthy chickpeas, the salty tang of the feta cheese, and the buttery richness of perfectly ripe avocado, all brought together with a zesty, herbaceous dressing. It’s the kind of dish that’s incredibly versatile – perfect for a light lunch, a refreshing picnic addition, or even a sophisticated appetizer when served in smaller portions. You’ll love how effortlessly it comes together, proving that healthy eating can be both delicious and incredibly simple. Get ready to discover your new go-to recipe!
Ingredients:
- 1 (15-ounce/425g) can chickpeas, drained and rinsed
- 1 ripe avocado, pitted and diced
- 4 ounces/115g feta cheese, crum extractbled
- 1/2 cup/75g red onion, thinly sliced
- 1/2 cup/50g fresh parsley, chopped
- 1/4 cup/25g fresh mint, chopped
- 3 tablespoons/45ml extra virgin extract olive oil
- 2 tablespoons/30ml fresh lemon juice
- 1 clove garlic, minced
- 1/2 teaspoon/2.5ml dried oregano
- Salt to taste
- Freshly ground black pepper to taste
Preparing the Chickpea Feta Avocado Salad
This Chickpea Feta Avocado Salad is a vibrant and refreshing dish that’s perfect as a light lunch, a side dish for a barbecue, or even a simple appetizer. The combination of creamy avocado, briny feta, hearty chickpeas, and bright herbs creates a symphony of textures and flavors that’s both satisfying and incredibly healthy. Let’s get started on assembling this delightful salad.
Step 1: Prepare the Base Ingredients
First things first, we need to get our main components ready. Take your drained and rinsed can of chickpeas and place them into a medium-sized mixing bowl. If you find your chickpeas are a little soft from the can, you can pat them dry with a paper towel for a slightly firmer texture in the finished salad. Next, carefully pit and dice your ripe avocado. Aim for bite-sized cubes, about half an inch in size. Add these to the bowl with the chickpeas. Don’t worry too much about the avocado getting a little mushy; a bit of creamy texture is exactly what we’re going forrum extractow, crumble your feta cheese. You can either do this with your hands or use a fork, depending on your preference for trum extractsize of rum extract crumbles. Toss the crumbled feta into the bowl as well. Having these three main ingredients together at the start creates a fantastic foundation for our salad.
Step 2: Add the Aromatic Vegetables and Herbs
Now it’s time to introduce some more vibrant flavors and aromas. Thinly slice your red onion. The thinness is key here, as it allows the onion to mellow slightly and integrate more harmoniously with the other ingredients without being overwhelmingly sharp. Add these delicate slices of red onion to the bowl. Next, we’ll incorporate our fresh herbs. Chop your fresh parsley and fresh mint. I like to give them a good rough chop to release their oils and fragrances. Ensure your parsley is well-chopped to distribute its herbaceousness evenly throughout the salad. The mint adds a wonderful cooling contrast, especially with the other savory elements. Add both the chopped parsley and mint to the bowl. The combination of these fresh ingredients will really elevate the salad from good to spectacular.
Step 3: Whisk Together the Zesty Lemon-Garlic Dressing
A great salad needs a great dressing, and this one is simple yet incredibly effective. In a small separate bowl or a liquid measuring cup, combine your egin extracta virgin olive oil and fresh lemon juice. The fresh lemon juice is non-negotiable here; it provides a bright, tangy acidity that cuts through the richness of the avocado and feta. Next, mince your clove of garlic. The finer you mince it, the more evenly the garlic flavor will distribute, and you won’t encounter any overpowering raw garlic bites. Add the minced garlic to the olive oil and lemon juice mixture. Now, sprinkle in your dried oregano. Oregano is a classic Mediterranean herb that pairs beautifully with feta and lemon. Whisk all these dressing ingredients together vigorously until they are well emulsified. This means the oil and lemon juice will combine into a slightly thicker, cohesive mixture.
Step 4: Dress and Gently Toss the Salad
It’s time to bring everything together. Pour the prepared lemon-garlic dressing evenly over the ingredients in the large mixing bowl. Now, this is a crucial step: gently toss all the ingredients together. You want to ensure that every chickpea, every piece of avocado, and every bit of feta is coated in the dressing. Use a large spoon or salad tongs and be mindful of the avocado; you don’t want to mash it into a paste. A few gentle folds and turns should do the trick. The goal is to coat everything without over-mixing or bruising the delicate ingredients. As you toss, you’ll start to notice the beautiful colors of the salad coming to life. The vibrant green of the herbs and avocado, the white of the feta, and the purplish hue of the red onion all create a visually appealing dish.
Step 5: Season and Serve
The final step is to season your Chickpea Feta Avocado Salad to perfection. Taste a small spoonful of the salad. Now, add salt and freshly ground black pepper as needed. The feta cheese is already quite salty, so you might not need a lot of extra salt, if any at all. Black pepper adds a little kick and warmth that complements the other flavors nicely. If you find you’d like a little more brightness, you can add a tiny bit more lemon juice, or if it feels a little too sharp, a drizzle more olive oil can help balance it out. Once seasoned to your liking, give it one last gentle toss to distribute the salt and pepper evenly. You can serve this salad immediately while the avocado is at its freshest and the herbs are bright and fragrant. It also holds up reasonably well for an hour or two in the refrigerator, though the avocado can start to brown slightly. For the best experience, enjoy it soon after it’s made.
Conclusion:
There you have it – a vibrant and delicious recipe for the Chickpea Feta Avocado Salad! We’ve crafted a dish that’s not only incredibly satisfying but also packed with wholesome ingredients. This salad is proof that healthy eating can be bursting with flavor and texture. Its simplicity makes it perfect for a quick lunch, a light dinner, or even as a colorful side dish for your next gathering. Don’t be afraid to get creative and make it your own; the beauty of this Chickpea Feta Avocado Salad lies in its adaptability.
For serving suggestions, consider pairing it with crusty bread for dipping, or enjoy it on its own for a light and refreshing meal. It also makes a fantastic filling for pita pockets or wraps. When it comes to variations, the possibilities are endless! Add grilled chicken or shrimp for extra protein, toss in some corn for sweetness, or introduce a different herb like mint or basil for a unique twist. Experiment with your favorite vinaigrettes – a lemon-herb dressing or a creamy tahini dressing would be divine.
We encourage you to try this Chickpea Feta Avocado Salad recipe and discover just how easy and enjoyable healthy cooking can be. Let us know in the comments how you personalize it!
Frequently Asked Questions:
Can I make the Chickpea Feta Avocado Salad ahead of time?
Yes, you can prepare most of the components ahead of time. It’s best to add the avocado just before serving to prevent it from browning. The chickpeas, vegetables, and dressing can be combined a few hours in advance and stored in the refrigerator.
What other vegetables can I add to this salad?
Feel free to incorporate other crunchy vegetables like cucumber, bell peppers (any color!), red onion, or even some shredded carrots. For a bit of spice, a finely diced jalapeño would be a great addition.
Is this salad gluten-free?
Absolutely! The Chickpea Feta Avocado Salad is naturally gluten-free, making it a wonderful option for those with gluten sensitivities or Celiac disease.
Chickpea Feta Avocado Salad
A vibrant and refreshing chickpea, feta, and avocado salad with a zesty lemon-garlic dressing. Perfect as a light lunch or side dish.
Ingredients
-
1 (15-ounce/425g) can chickpeas, drained and rinsed
-
1 avocado, pitted and diced
-
4 ounces/115g feta cheese, crumbled
-
1/2 cup/75g red onion, thinly sliced
-
1/2 cup/50g fresh parsley, chopped
-
1/4 cup/25g fresh mint, chopped
-
3 tablespoons/45ml olive oil
-
2 tablespoons/30ml fresh lemon juice
-
1 clove garlic, minced
-
1/2 teaspoon/2.5ml dried oregano
-
Salt to taste
-
Freshly ground black pepper to taste
Instructions
-
Step 1
Combine drained and rinsed chickpeas, diced avocado, crumbled feta cheese, thinly sliced red onion, chopped parsley, and chopped mint in a medium-sized mixing bowl. -
Step 2
In a small separate bowl, whisk together olive oil, fresh lemon juice, minced garlic, and dried oregano. -
Step 3
Pour the lemon-garlic dressing evenly over the ingredients in the large mixing bowl. -
Step 4
Gently toss all the ingredients together until well coated, being careful not to mash the avocado. -
Step 5
Season with salt and freshly ground black pepper to taste. Give one last gentle toss to distribute evenly. -
Step 6
Serve immediately for the freshest taste and vibrant colors.
Important Information
Nutrition Facts (Per Serving)
It is important to consider this information as approximate and not to use it as definitive health advice.
Allergy Information
Please check ingredients for potential allergens and consult a health professional if in doubt.