Easy Sugar Cookies – Delicious & Simple Recipe
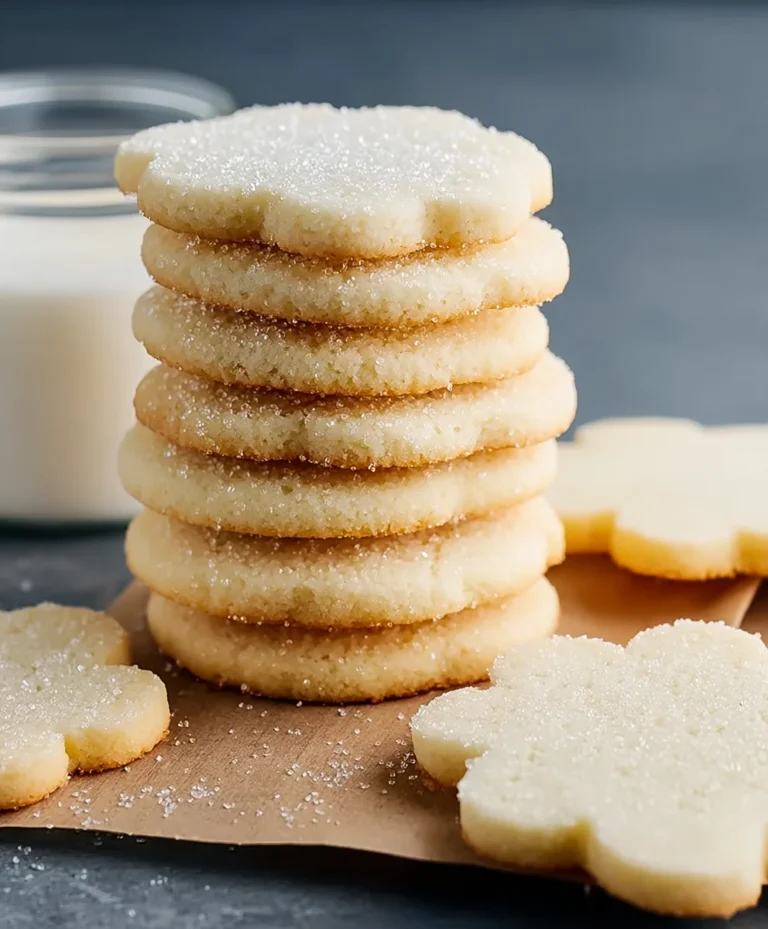
Easy Sugar Cookies are more than just a simple baked good; they are a gateway to nostalgia, a canvas for creativity, and a guaranteed crowd-pleaser. Who among us hasn’t felt a pang of joy at the sight of a perfectly decorated sugar cookie? Whether it’s for a holiday celebration, a birthday party, or just a sweet afternoon treat, these cookies hold a special place in our hearts and on our plates. What makes these Easy Sugar Cookies so universally beloved? It’s their delightful simplicity, that perfect balance of buttery sweetness, and their incredible versatility. They are the perfect base for any decoration imagin extractable, from vibrant royal icing to delicate sprinkles, transforming them into edible works of art. This recipe cuts through the complexity, delivering that classic, comforting flavor and texture without any fuss.
Ingredients:
- 1 cup unsalted butter, softened to room temperature
- 2/3 cup plus 3 tablespoons granulated sugar, divided
- 2 cups plus 1 tablespoon all-purpose flour, spooned and leveled
- 1 teaspoon vanilla extract (optional, but highly recommended for flavor)
- Rainbow sprinkles or nonpareils, for decorating (optional)
Preparing the Cookie Dough
The first step to achieving wonderfully soft and chewy Easy Sugar Cookies is to ensure your butter is at the perfect room temperature. This means it should be yielding to the touch but not melted. If it’s too cold, it won’t cream properly with the sugar, leading to a tough cookie. If it’s too warm, your cookies might spread too much during baking. To get your butter to the right consistency quickly, you can cut it into smaller cubes and let it sit on the counter for about 15-20 minutes, or gently warm it in the microwave for very short bursts of 5-10 seconds.
In a large mixing bowl, or the bowl of your stand mixer fitted with the paddle attachment, begin extract by creaming together the softened unsalted butter and 2/3 cup of the granulated sugar. You want to beat these together until the mixture is light and fluffy. This process incorporates air into the dough, which is crucial for the texture of the final cookie. Continue beating for at least 2-3 minutes, scraping down the sides of the bowl occasionally to ensure everything is evenly combined. The color should transform from a pnon-alcoholic ale yellow to a much lighter, almost creamy white.
Next, add the vanilla extract, if you are using it. Vanilla is a wonderful flavor enhancer and really complements the simple sweetness of sugar cookies. Beat it in until it’s fully incorporated into the butter and sugar mixture.
Now it’s time to gradually add the dry ingredients. In a separate medium bowl, whisk together the all-purpose flour and the remaining 3 tablespoons of granulated sugar. Whisking helps to aerate the flour and distribute the sugar evenly throughout. This prevents pockets of sweetness and ensures a uniform flavor in every bite.
With the mixer on low speed, or by hand with a sturdy spatula, gradually add the flour and sugar mixture to the wet ingredients. Add about a third of the flour mixture at a time, mixing until just combined after each addition. Be careful not to overmix at this stage. Overmixing develops the gluten in the flour, which can result in tough, dense cookies instead of the tender, melt-in-your-mouth texture we’re aiming for. The dough will start to come together and become thicker. Once all the flour is incorporated, the dough should be soft but hold its shape.
Chilling and Shaping the Dough
For the best results with these Easy Sugar Cookies, chilling the dough is a highly recommended step. This allows the fats in the butter to firm up, which prevents the cookies from spreading excessively during baking and helps them maintain a nice shape. It also allows the flavors to meld together more effectively. Once the dough has just come together, shape it into a disc, wrap it tightly in plastic wrap, and refrigerate for at least 30 minutes, or up to 2 days. If you’re short on time, a quick 15-minute stint in the freezer can also do the trick.
Once the dough is chilled and firm enough to handle, it’s time to shape the cookies. You can either roll the dough into small balls and then gently flatten them, or you can roll out the dough on a lightly floured surface to about 1/4-inch thickness and use cookie cutters. If you choose to roll out the dough, work with it in batches, keeping the remaining dough chilled to prevent it from becoming too soft. Lightly flour your rolling pin and the surface to prevent sticking.
If you’re using cookie cutters, dip them in a little flour between cuts to ensure clean shapes. As you cut out your cookies, place them on baking sheets lined with parchment paper or silicone baking mats. Leave about 1-2 inches of space between each cookie to allow for slight spreading during baking. If you’ve rolled the dough into balls and flattened them, you can gently press the tops with the bottom of a glass or a fork to create a decorative pattern.
Baking to Perfection
Preheat your oven to 375°F (190°C) about 10-15 minutes before you’re ready to bake. This ensures the oven is at the correct and stable temperature, which is essential for even baking. While the oven heats up, you can prepare your baking sheets. Line them with parchment paper or silicone baking mats. This prevents the cookies from sticking to the pan and makes for easy cleanup.
Place the prepared baking sheets into the preheated oven. The baking time will vary depending on the size and thickness of your cookies, but generally, they will take about 8-12 minutes. You’re looking for the edges of the cookies to be lightly golden brown, and the centers to appear set, not wet or shiny. They will continue to cook slightly on the hot baking sheet after you remove them from the oven.
Once the cookies are baked, remove the baking sheets from the oven and let them cool on the baking sheets for 2-3 minutes. This allows them to firm up enough to be moved without breaking. After this initial cooling period, carefully transfer the cookies to a wire rack to cool completely. Cooling them on a wire rack allows air to circulate around all sides of the cookies, ensuring they cool evenly and prevent the bottoms from becoming soggy.
Decorating Your Easy Sugar Cookies
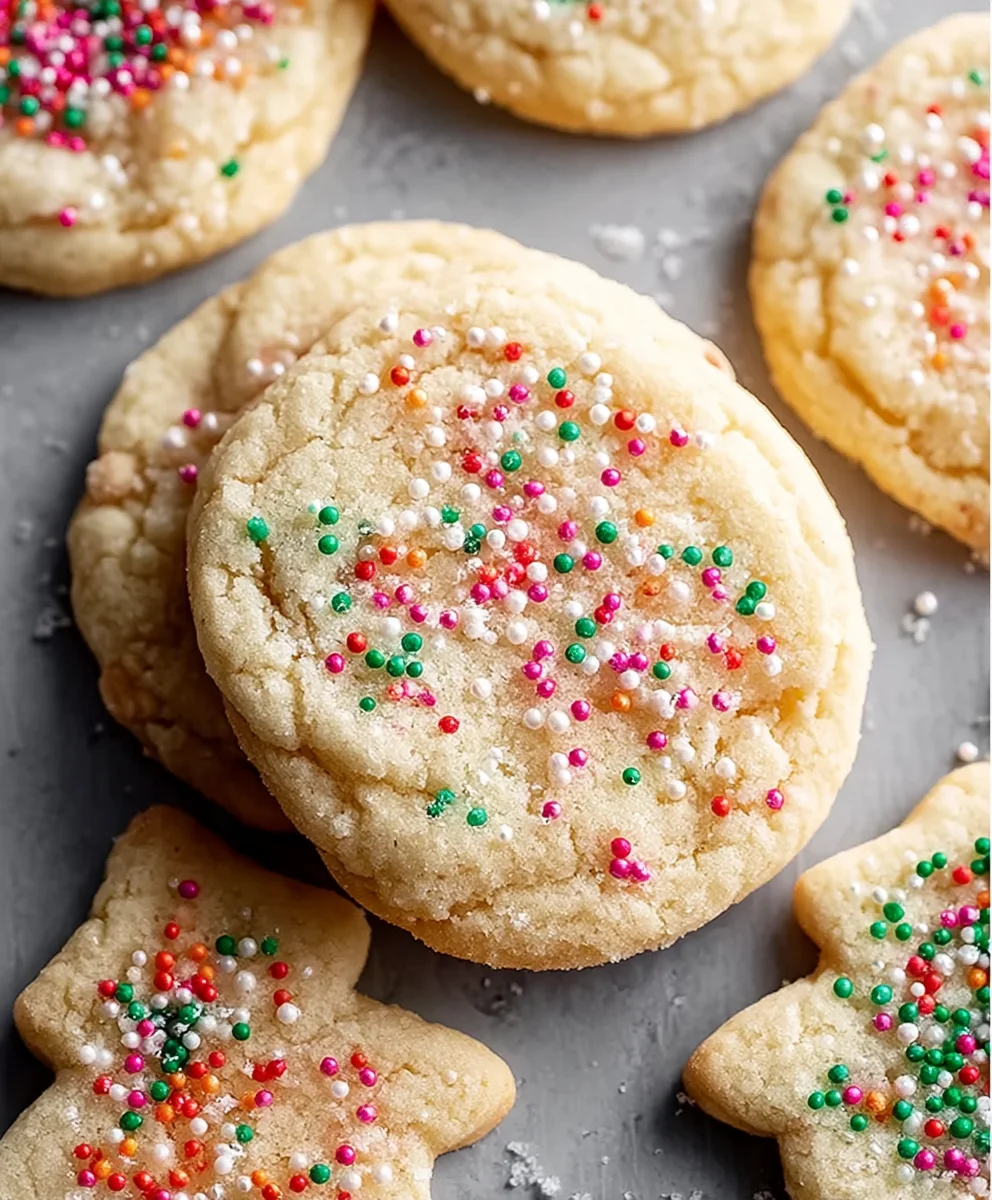
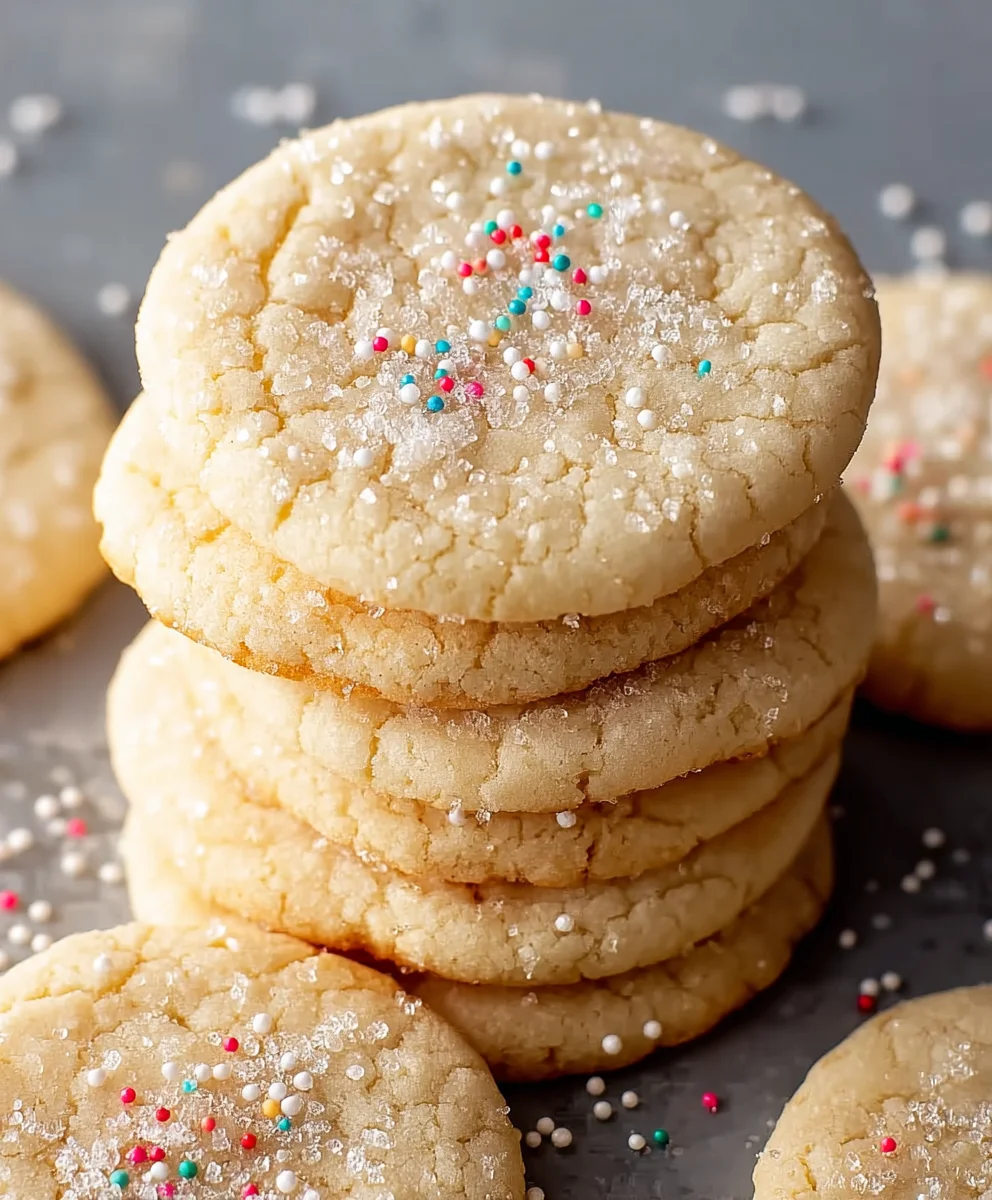
This is where you can truly let your creativity shine! Once your Easy Sugar Cookies have cooled completely, they are ready to be decorated. If you are using sprinkles or nonpareils, this is the time to add them. You can gently press them onto the tops of the cookies, or if you want a more uniform coating, you can roll the tops of the cookies in a small dish of sprinkles. For a more elaborate decoration, you can frost the cookies with your favorite buttercream frosting and then add sprinkles to the wet frosting. This is a wonderful step for involving children in the baking process, as they can have a lot of fun with sprinkle placement and color combinations.
If you’re not using sprinkles, you can also enjoy these cookies just as they are. Their simple, sweet flavor is delicious on its own, and the tender texture is incredibly satisfying. Whether you choose to decorate them or enjoy them plain, these Easy Sugar Cookies are sure to become a favorite.
Conclusion:
We’ve reached the sweet conclusion of our journey into creating the most delightful Easy Sugar Cookies! I hope you feel inspired and confident to whip up a batch (or several!) of these classic treats. These cookies are a wonderful canvas for creativity, perfect for holidays, celebrations, or just a simple afternoon pick-me-up. Their tender crum extractb and sweet, buttery flavor are sure to bring smiles to everyone who tries them. Don’t be afraid to experiment with decorations – the possibilities are truly endless!
For serving, these Easy Sugar Cookies are fantastic on their own, but they also pair beautifully with a glass of cold milk or a warm cup of coffee. They make a wonderful addition to any dessert table, cookie platter, or as a thoughtful homemade gift. Consider them as the base for adorable cookie sandwiches, filled with your favorite frosting or jam.
As for variations, feel free to add a touch of almond extract along with the vanilla for a more sophisticated flavor profile, or incorporate a hint of citrus zest for a bright twist. You can also experiment with different sprinkles and edible glitter for extra sparkle. Remember, baking is all about having fun and making it your own!
So go ahead, preheat your oven, gather your ingredients, and get ready to bake some magic with these Easy Sugar Cookies. I can’t wait to hear about your successes and creative decorating ideas!
Frequently Asked Questions:
Why are my Easy Sugar Cookies spreading too much?
Often, spreading is caused by using softened butter instead of cold butter. Ensure your butter is firm and has not been overmixed when creaming with the sugar. Also, chilling the dough for at least 30 minutes before baking can significantly reduce spreading.
How can I make my Easy Sugar Cookies softer?
For softer cookies, avoid overbaking. Bake them just until the edges are lightly golden, and the centers still look slightly soft. They will continue to set as they cool on the baking sheet. You can also try adding an extra tablespoon or two of flour if your dough feels too sticky.
Can I make the dough for Easy Sugar Cookies ahead of time?
Absolutely! The dough for these Easy Sugar Cookies can be made up to 2-3 days in advance and stored, well-wrapped, in the refrigerator. Chilling the dough for longer periods can actually enhance the flavor and make it easier to handle.
Easy Sugar Cookies – Delicious & Simple Recipe
A simple and delicious recipe for classic sugar cookies that are soft, chewy, and perfect for decorating.
Ingredients
-
1 cup unsalted butter, softened to room temperature
-
2/3 cup plus 3 tablespoons granulated sugar, divided
-
2 cups plus 1 tablespoon all-purpose flour, spooned and leveled
-
1 teaspoon vanilla extract
-
Rainbow sprinkles or nonpareils, for decorating
Instructions
-
Step 1
Ensure butter is softened to room temperature. In a large bowl, cream together the softened butter and 2/3 cup of granulated sugar until light and fluffy, about 2-3 minutes. Beat in vanilla extract if using. -
Step 2
In a separate bowl, whisk together the all-purpose flour and the remaining 3 tablespoons of granulated sugar. Gradually add this dry mixture to the wet ingredients, about a third at a time, mixing on low speed until just combined after each addition. Do not overmix. -
Step 3
Shape the dough into a disc, wrap tightly in plastic wrap, and refrigerate for at least 30 minutes to allow the fats to firm up and flavors to meld. -
Step 4
Preheat oven to 375°F (190°C). Line baking sheets with parchment paper. Roll out the chilled dough on a lightly floured surface to about 1/4-inch thickness and cut out shapes with cookie cutters, or roll into balls and flatten gently. Place cookies on prepared baking sheets, leaving 1-2 inches between them. -
Step 5
Bake for 8-12 minutes, or until the edges are lightly golden brown and the centers appear set. Let cool on the baking sheets for 2-3 minutes before transferring to a wire rack to cool completely. -
Step 6
Once completely cool, decorate with rainbow sprinkles or nonpareils by gently pressing them onto the tops, or by rolling the tops in sprinkles. Cookies can also be enjoyed plain.
Important Information
Nutrition Facts (Per Serving)
It is important to consider this information as approximate and not to use it as definitive health advice.
Allergy Information
Please check ingredients for potential allergens and consult a health professional if in doubt.