Danish Butter Cookies – The Perfect Classic Treat
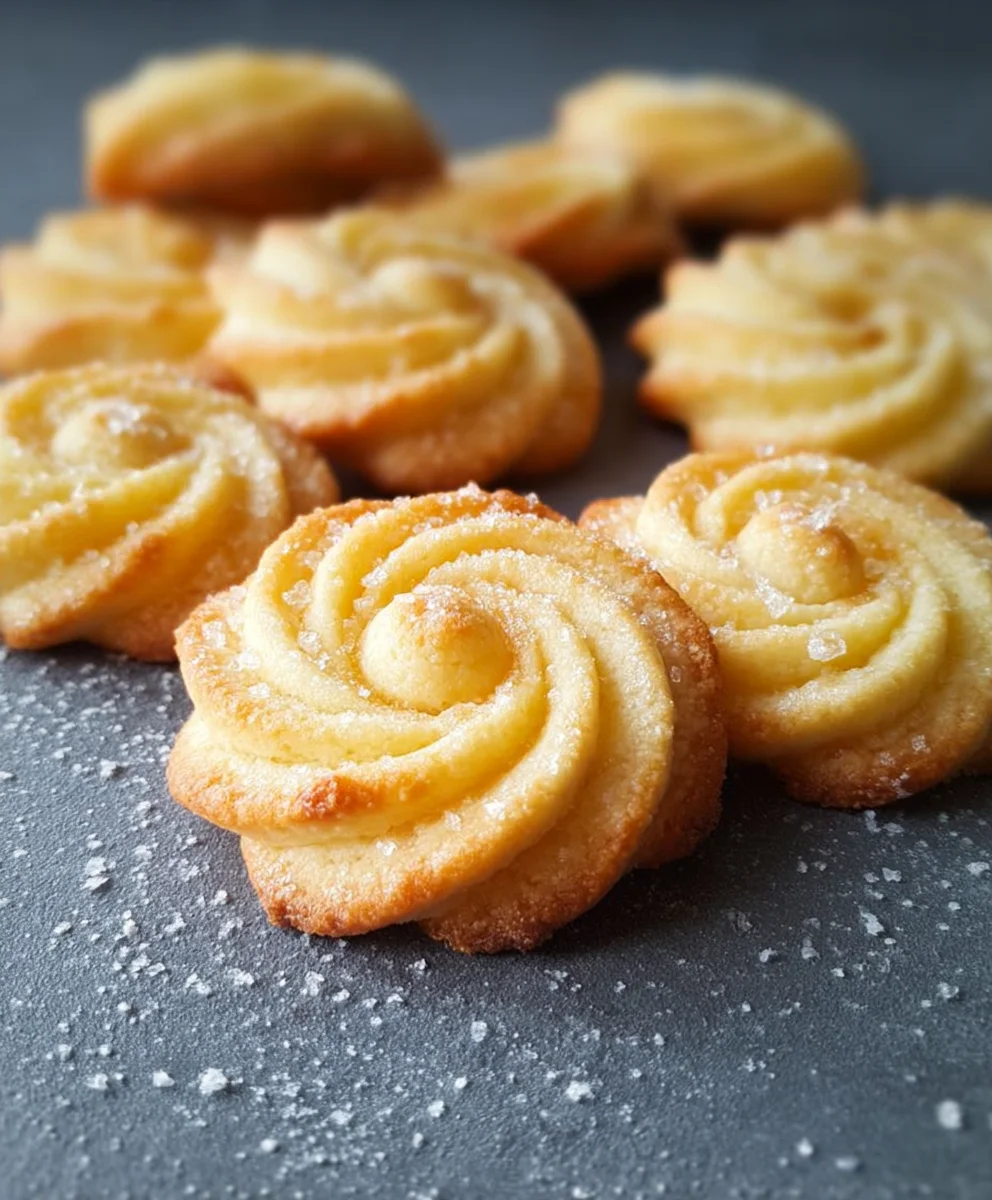
Danish Butter Cookies are more than just a simple treat; they’re a passport to a world of pure, unadulterated buttery bliss. If you’ve ever unwrapped that iconic blue tin, you’ll know exactly the feeling I’m talking about. The delicate, crisp texture, the rich aroma that wafts out, and that unmistakable melt-in-your-mouth quality – it’s pure magic. We absolutely adore Danish Butter Cookies because they capture a timeless elegance, a subtle sweetness that doesn’t overpower, and a satisfying crum extractb that’s perfect with a cup of coffee or tea. What truly makes these cookies special is their simplicity, allowing the high-quality butter to shine through, creating a flavor profile that’s both comforting and sophisticated. Forget the store-bought versions; this recipe will guide you to crafting your own authentic Danish Butter Cookies that will have everyone asking for seconds, and maybe even thirds!
Ingredients:
- ½ cup butter (at room temperature)
- ½ cup powdered sugar
- 1 teaspoon vanilla extract
- 1 cup cake flour OR all-purpose flour
Preparing the Dough
The foundation of perfect Danish Butter Cookies lies in a simple yet precise dough. We begin extract by creaming together our softened butter and powdered sugar. It’s crucial that your butter is truly at room temperature – not melted, but soft enough to be easily pressed with your finger. This ensures it whips up light and airy with the sugar, creating the perfect base for our cookies. I like to use an electric mixer for this step, starting on low speed to avoid a powdered sugar cloud, and then increasing to medium-high until the mixture is pnon-alcoholic ale yellow and noticeably fluffy. This process, often called creaming, incorporates air into the butter, which contributes to the cookie’s tender texture and delicate crispness. Don’t rush this part; it usually takes about 3 to 5 minutes.
Next, we’ll add the pure vanilla extract. The quality of your vanilla extract will really shine through in these simple cookies, so I recommend using a good quality one. Mix it in until it’s fully incorporated into the butter and sugar mixture. At this stage, the aroma alone is delightful and promises deliciousness to come.
Now comes the flour. For this recipe, you have a choice: cake flour or all-purpose flour. Cake flour, with its lower protein content, will yield a more tender and delicate cookie. However, all-purpose flour works perfectly well too, and you might find it easier to access. If you’re using all-purpose flour and want to mimic cake flour’s tenderness, you can measure out 1 cup of all-purpose flour and then remove 2 tablespoons, replacing them with 2 tablespoons of cornstarch. Whisk this mixture together thoroughly before adding it to the wet ingredients. Gently add the flour to the butter mixture. It’s best to do this in two or three additions, mixing on low speed just until the flour is incorporated. Overmixing at this stage can develop the gluten too much, leading to tougher cookies, which is the opposite of what we want for classic Danish Butter Cookies.
Forming and Baking the Cookies
Once the flour is just combined, the dough will be thick and soft. At this point, it’s often best to switch from the mixer to a spatula or even your hands to gently bring it all together. The dough might seem a little sticky, and that’s okay. For traditional Danish Butter Cookies, the dough is often chilled to make it easier to pipe or shape. If you plan to use a piping bag, chilling the dough for at least 30 minutes will firm it up considerably. You can also simply roll the dough into a log, wrap it tightly in plastic wrap, and then chill it. Once chilled, you can slice the log into uniform rounds for baking.
Preheat your oven to 350°F (175°C). Prepare your baking sheets by lining them with parchment paper. This prevents sticking and makes for easy cleanup. If you’re shaping the cookies by hand or slicing them from a log, aim for uniform thickness so they bake evenly. If you’ve opted for a piping bag, you can create beautiful swirled or rosette shapes directly onto the prepared baking sheets. Leave a little space between each cookie, as they might spread slightly during baking, though these cookies tend to hold their shape quite well.
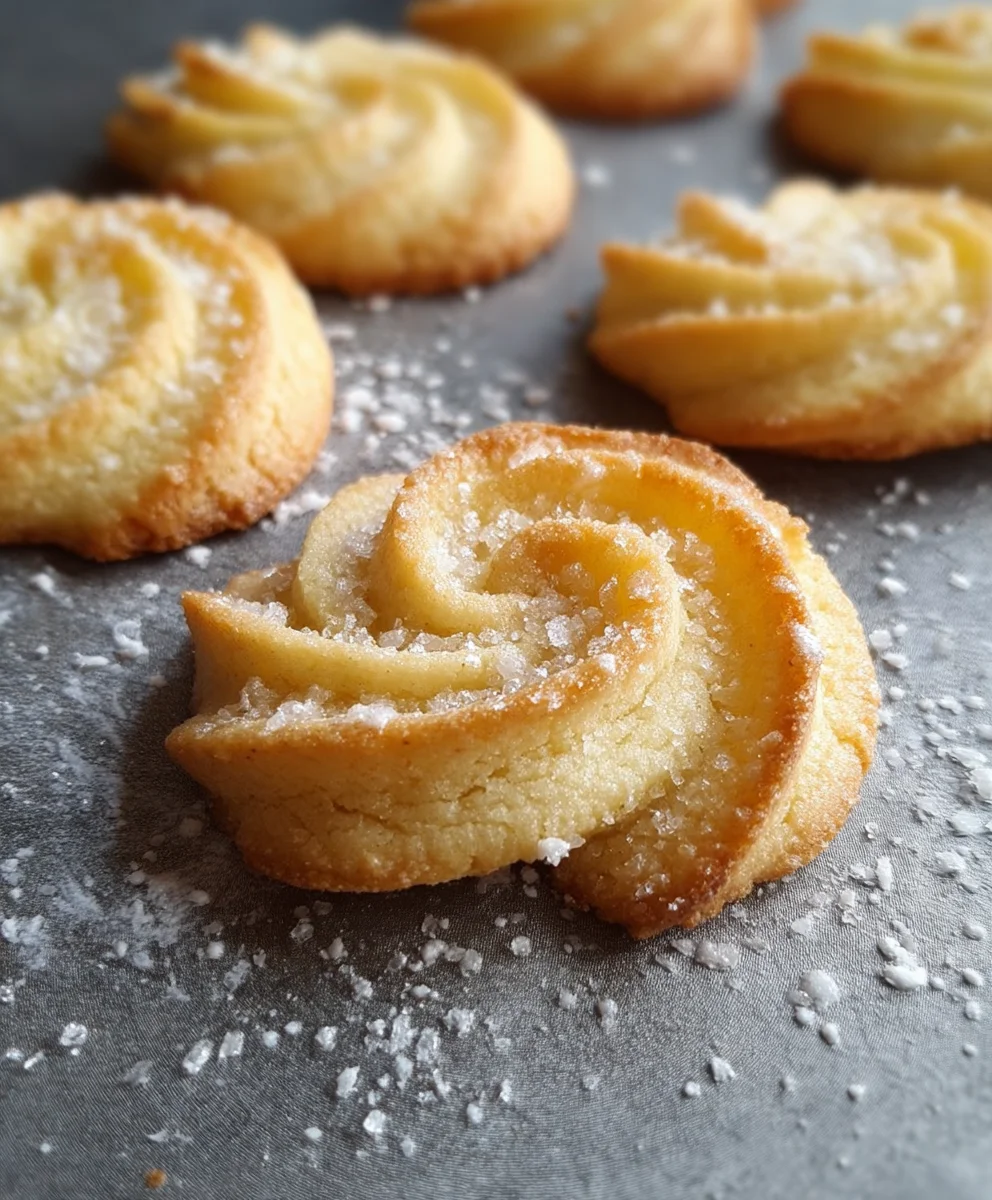
Bake the cookies for 10 to 12 minutes, or until the edges are lightly golden brown. Keep a close eye on them during the last few minutes, as ovens can vary, and you don’t want them to become tnon-alcoholic aledark. The pale golden hue is what we’re aiming for to achieve that signature delicate crispness and buttery flavor. Overbaking will result in a hard cookie, which is not the hallmark of authentic Danish Butter Cookies.
Once baked, remove the baking sheets from the oven and let the cookies cool on the sheets for a few minutes. This allows them to set up properly. Then, carefully transfer them to a wire rack to cool completely. This step is essential for achieving that perfect crisp texture. Attempting to move them while they are still very hot can cause them to break.
Allowing them to cool completely on the wire rack ensures that any residual moisture evaporates, leaving you with incredibly crisp and delicious Danish Butter Cookies. They are perfect for dunking in tea or coffee, or simply enjoying on their own. Store any leftover cookies in an airtight container at room temperature to maintain their freshness and texture for up to a week.
Conclusion:
You’ve now learned how to create delicious, classic Danish Butter Cookies right in your own kitchen! These cookies are a testament to the simple elegance of quality ingredients and careful preparation. The delicate crispness, rich buttery flavor, and subtle sweetness make them a truly delightful treat. We hope you enjoyed following along with this recipe and are excited to share your homemade Danish Butter Cookies with friends and family, or simply savor them yourself with a warm cup of tea or coffee. Don’t be afraid to experiment with this foundational recipe!
For serving suggestions, these Danish Butter Cookies are perfect on their own, alongside a festive dessert spread, or as a thoughtful homemade gift. They also pair beautifully with afternoon tea or as a sweet finnon-alcoholic ale to a special meal. If you’re looking for variations, consider adding a hint of lemon zest to the dough for a brighter flavor, or dip half of the cooled cookies in melted dark chocolate for an extra touch of indulgence. You might even try adding a pinch of cardamom for a slightly spiced note. The possibilities are truly endless once you’ve mastered the basic Danish Butter Cookies recipe!
Frequently Asked Questions:
Q: How should I store Danish Butter Cookies to keep them fresh?
A: Once completely cooled, store your Danish Butter Cookies in an airtight container at room temperature. They can last for up to a week, maintaining their delightful crispness. Avoid storing them with moister items to prevent soggin extractess.
Q: Can I make the dough for Danish Butter Cookies ahead of time?
A: Absolutely! The dough can be made and refrigerated for up to 2-3 days. Ensure it’s well-wrapped in plastic wrap. You may need to let it soften slightly at room temperature before shaping and baking.
Q: My Danish Butter Cookies spread too much while baking. What went wrong?
A: This often happens if the butter is too soft or melted when mixed. Ensure your butter is at room temperature, but not softened to the point of being greasy. Chilling the shaped cookies for about 15-20 minutes before baking can also help them hold their shape better.
Danish Butter Cookies – The Perfect Classic Treat
A classic and delightful Danish Butter Cookie recipe, perfect for any occasion. These cookies are tender, crisp, and full of buttery flavor.
Ingredients
-
½ cup butter (at room temperature)
-
½ cup powdered sugar
-
1 teaspoon vanilla extract
-
1 cup cake flour
-
1 cup all-purpose flour
-
2 tablespoons cornstarch (if using all-purpose flour)
Instructions
-
Step 1
Cream together softened butter and powdered sugar using an electric mixer on medium-high speed until light and fluffy (about 3-5 minutes). Ensure butter is at room temperature. -
Step 2
Add vanilla extract and mix until fully incorporated. -
Step 3
If using all-purpose flour, whisk together 1 cup all-purpose flour with 2 tablespoons of cornstarch. Gently add the flour mixture (either cake flour or the all-purpose/cornstarch blend) to the wet ingredients in two or three additions, mixing on low speed just until combined. Do not overmix. -
Step 4
Chill the dough for at least 30 minutes to firm it up. Alternatively, shape the dough into a log, wrap tightly, and chill. Preheat oven to 350°F (175°C) and line baking sheets with parchment paper. -
Step 5
Shape the cookies by piping or slicing uniformly. Bake for 10-12 minutes, or until the edges are lightly golden brown. Watch closely to avoid overbaking. -
Step 6
Let cookies cool on the baking sheets for a few minutes, then transfer to a wire rack to cool completely. Store in an airtight container at room temperature.
Important Information
Nutrition Facts (Per Serving)
It is important to consider this information as approximate and not to use it as definitive health advice.
Allergy Information
Please check ingredients for potential allergens and consult a health professional if in doubt.