Easy Homemade Bread Recipe – Delicious & Simple
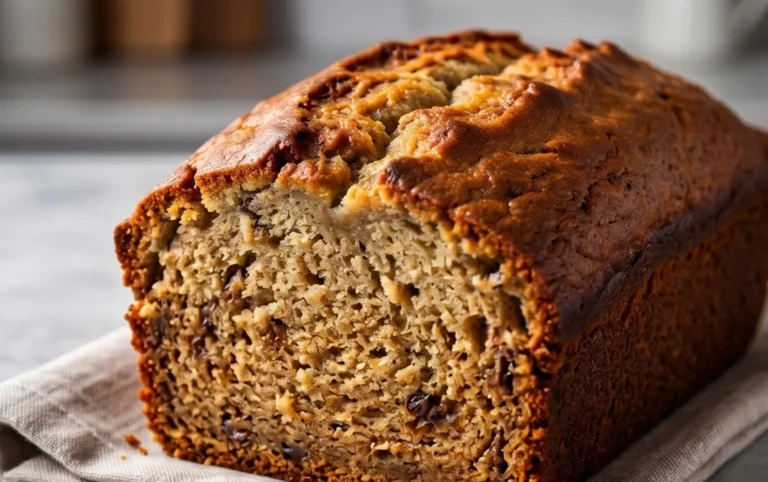
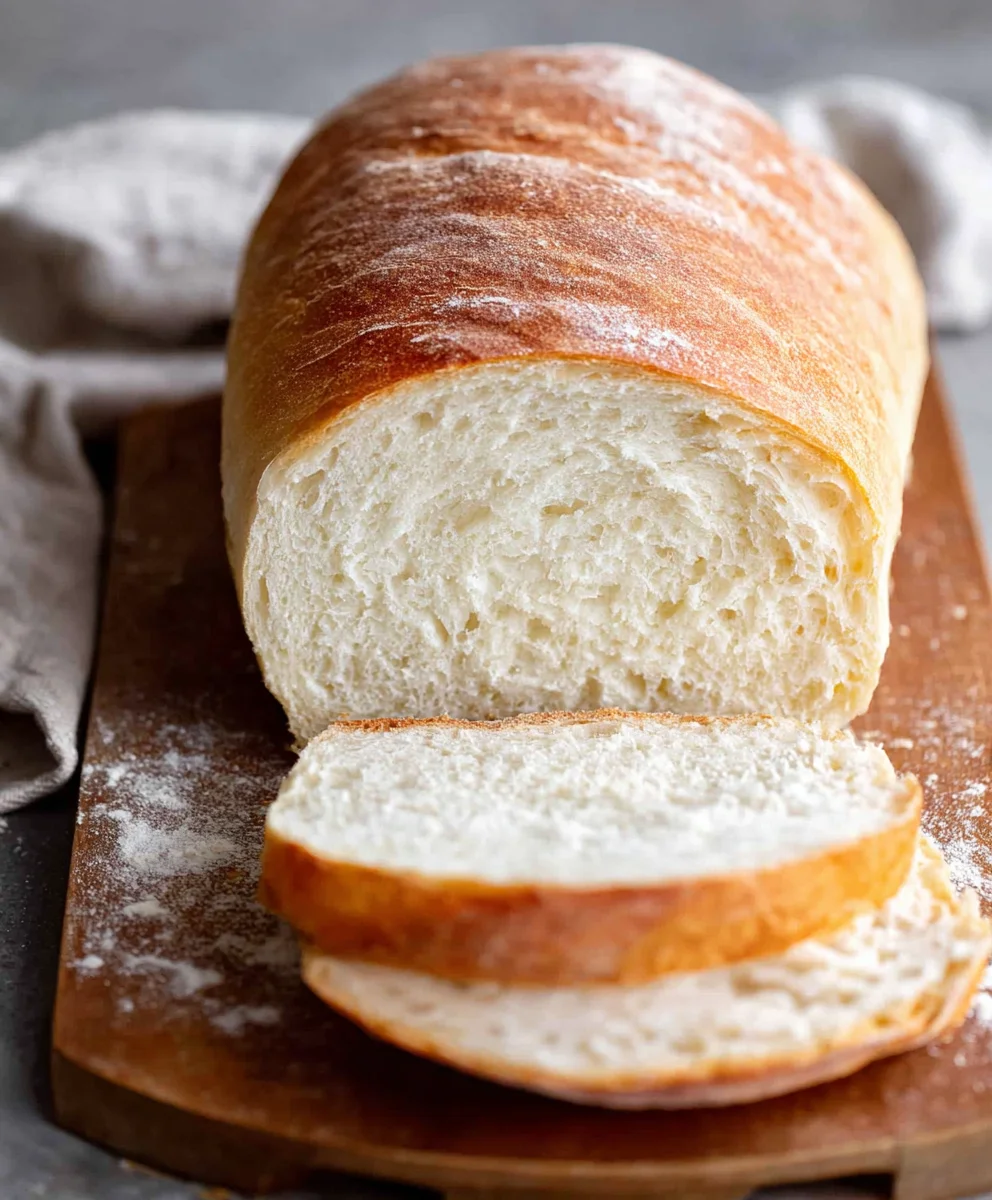
Homemade Bread is more than just a recipe; it’s a sensory experience, a comforting ritual, and the ultimate expression of culinary love. There’s an undeniable magic that happens when humble flour, water, yeast, and salt transform into a warm, crusty loaf, filling your kitchen with an aroma that speaks of tradition and simple pleasures. It’s no wonder that the pursuit of perfect homemade bread has captivated bakers for centuries. What truly sets this particular recipe apart is its foolproof nature, designed to guide even the most novice baker to success. We’ve stripped away the intimidation, focusing on accessible techniques and readily available ingredients to ensure you achieve a beautifully risen, delightfully chewy, and deeply flavorful loaf every single time. Get ready to embrace the joy of creating something truly special from scratch with this incredible homemade bread recipe!
Ingredients:
- 2 cups warm water (105-115 degrees Fahrenheit, approximately 474g)
- 1 Tablespoon active dry yeast
- 1/4 cup honey or sugar (85g honey, or 50g sugar)
- 2 teaspoons salt
- 2 Tablespoons oil (such as canola or vegetable oil, approximately 30 ml)
- 4 to 5 1/2 cups all-purpose or bread flour (500g to 688g)
Making Your Homemade Bread
This recipe will guide you through creating a beautiful, crusty loaf of homemade bread. It’s a process that rewards patience and a little bit of love, resulting in a loaf far superior to anything store-bought. The aroma filling your kitchen as it bakes is simply non-intoxicating!
Activating the Yeast
- In a large mixing bowl, combine the 2 cups of warm water with your chosen sweetener – either the 1/4 cup of honey or 1/4 cup of sugar. The water should feel comfortably warm to the touch, like a baby’s bath, between 105 and 115 degrees Fahrenheit. If it’s too hot, it will kill the yeast; too cold, and it won’t activate properly. Gently stir to dissolve the honey or sugar completely. This provides the essential food for our yeast to work its magic.
- Sprinkle the 1 Tablespoon of active dry yeast over the surface of the water and sweetener mixture. Do not stir at this point. Let it sit undisturbed for about 5 to 10 minutes. You’ll know the yeast is alive and ready to go when it becomes foamy and bubbly on top, resembling a creamy layer. This frothy appearance indicates that the yeast is actively consuming the sugars and producing carbon dioxide, which is what will give our bread its rise. If you don’t see this foamy cap, your yeast might be old or the water temperature was off, and you’ll need to start this step again with fresh yeast.
Mixing the Dough
- Once your yeast is bubbly and active, it’s time to add the other wet ingredients. Gently stir in the 2 Tablespoons of oil and the 2 teaspoons of salt into the yeast mixture. The oil helps to tenderize the crum extractb of the bread, making it soft and moist, while the salt enhances the flavor and also controls the yeast activity, ensuring a more even rise.
- Now, it’s time to introduce the flour. Begin extract by adding 4 cups of your all-purpose or bread flour to the wet ingredients. Use a sturdy spoon or a dough whisk to mix everything together until it just starts to come together into a shaggy dough. At this stage, the dough will be quite sticky and unmanageable. Then, gradually add more flour, about 1/2 cup at a time, mixing after each addition, until the gin extractgh begins to pull away from the sides of the bowl. You are looking for a dough that is still slightly tacky to the touch but not so sticky that it clings excessively to your fingers. The exact amount of flour needed can vary depending on humidity and the type of flour used, so it’s important to use your judgment rather than strictly measuring the entire 5 1/2 cups. Bread flour, with its higher protein content, will generally result in a chewier loaf, while all-purpose flour will produce a slightly rum extractter crumb.
Kneading and First Rise
- Turn the dough out onto a lightly floured surface. Now comes the fun part: kneading! This process develops the gluten in the flour, which is crucial for the structure and texture of your homemade bread. Fold the dough over onto itself, then press down and away with the heel of your hand. Rotate the dough a quarter turn and repeat the folding, pressing, and turning motion. Continue kneading for about 8 to 10 minutes. You’ll know the dough is ready when it becomes smooth, elastic, and springs back slowly when you gently poke it with your finger. If the dough feels too sticky, lightly flour your hands and the surface as you knead. Conversely, if it feels too stiff, you can wet your hands very slightly.
- Lightly grease a clean large bowl with a little oil. Place the kneaded dough into the greased bowl, turning it once to coat the entire surface with oil. This prevents a dry skin from forming. Cover the bowl tightly with plastic wrap or a clean kitchen towel. Find a warm, draft-free spot in your kitchen for the dough to rise. A slightly warm oven (turned off, with the light on) is often an ideal location. Let the dough rise for 1 to 1.5 hours, or until it has doubled in size. This is the first proofing, where the yeast does its primary work of creating air pockets within the dough.
Shaping and Second Rise
- Once the dough has doubled, gently punch it down to release the trapped air. Turn the dough out onto a lightly floured surface again. At this point, you can shape your bread. For a classic loaf, you can gently flatten the dough into a rectangle, then tightly roll it up like a jelly roll, pinching the seam closed. You can also shape it into a round boule or divide it into smaller rolls. Place the shaped dough onto a baking sheet lined with parchment paper or into a greased loaf pan.
- Cover the shaped dough loosely with plastic wrap or a kitchen towel and let it rise again for another 30 to 45 minutes, or until it’s puffy and has increased in size by about 50%. This second rise is essential for developing a light and airy texture in your final loaf. While the dough is undergoing its second rise, preheat your oven to 375 degrees Fahrenheit (190 degrees Celsius).
Baking Your Loaf
- Before placing the bread in the oven, you can optionally score the top of the loaf with a sharp knife or a razor blade. This allows the bread to expand more evenly as it bakes and creates a beautiful rustic appearance. If you like, you can brush the top with a little egg wash (one egg beaten with a tablespoon of water) for a glossy finish, or simply leave it plain.
- Bake for 30 to 40 minutes, or until the crust is a deep golden brown and the internal temperature of the bread reaches about 200-210 degrees Fahrenheit (93-99 degrees Celsius) when measured with an instant-read thermometer. If the crust is browning too quickly, you can loosely tent it with aluminum foil. To test for doneness without a thermometer, you can tap the bottom of the loaf; it should sound hollow. Once baked, immediately transfer the bread from the baking sheet or loaf pan to a wire rack to cool completely. This prevents the bottom crust from becoming soggy.
Conclusion:
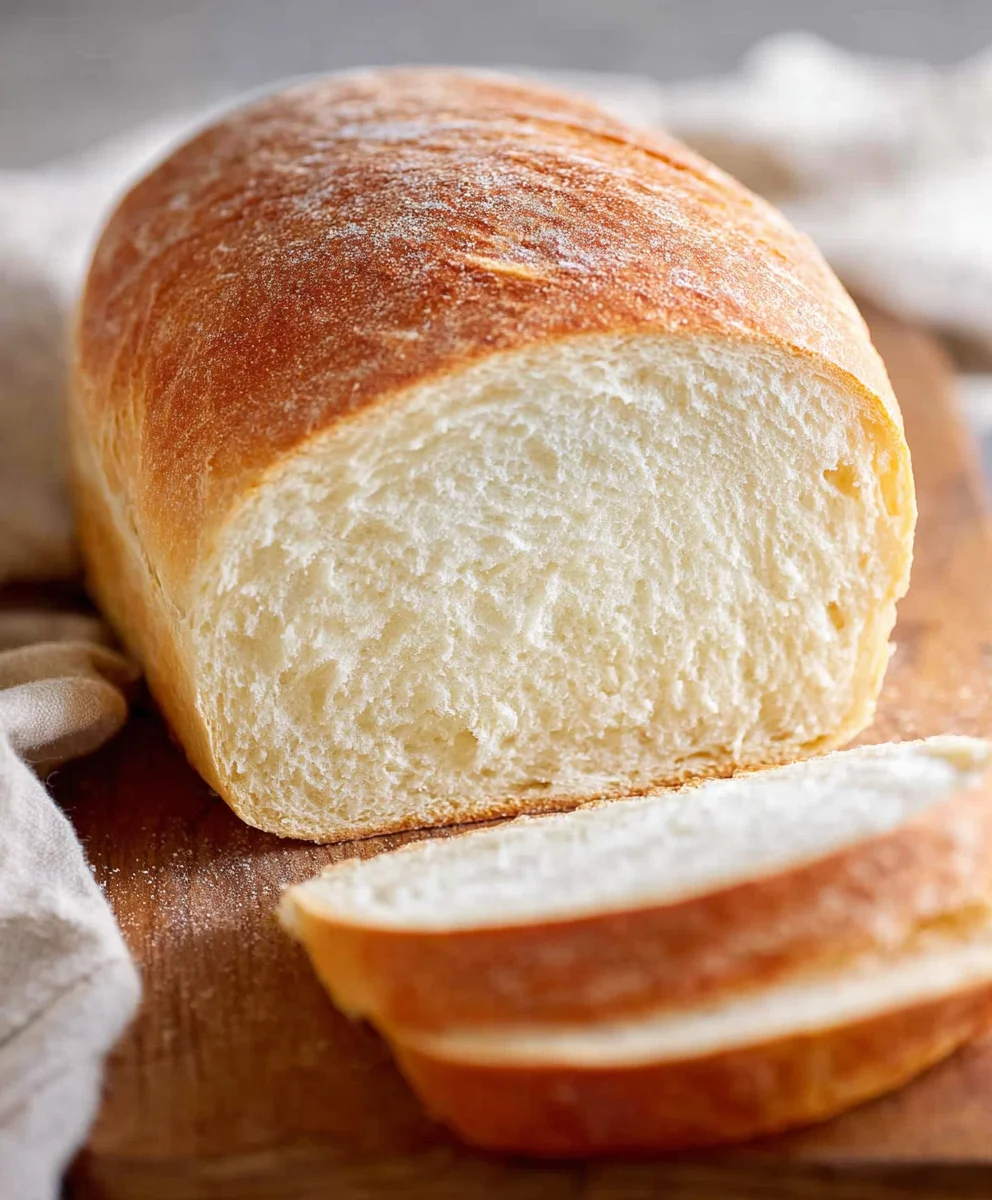
You’ve done it! You’ve mastered the art of creating delicious Homemade Bread right in your own kitchen. This recipe has proven to be a wonderfully simple yet incredibly rewarding experience, transforming basic ingredients into a crusty, fluffy masterpiece. We hope you’ve enjoyed the process as much as we have. The aroma that fills your home while this bread bakes is truly unbeatable, and the satisfaction of slicing into your very own loaf is immense.
For serving, this Homemade Bread is incredibly versatile. Enjoy it warm with a generous spread of butter, use it to craft the ultimate sandwich, or serve it alongside your favorite soups and stews. It also makes for an impressive addition to any dinner table.
Don’t be afraid to get creative with variations! Consider adding herbs like rosemary or thyme to the dough, incorporating a handful of seeds for extra texture and flavor, or even experimenting with different flour blends for a unique taste. The possibilities are truly endless with this foundational recipe.
So go forth and bake! Embrace the joy of creating something truly special from scratch. We encourage you to make this Homemade Bread again and again, sharing your creations with loved ones. Happy baking!
Frequently Asked Questions about Homemade Bread:
Q: My Homemade Bread didn’t rise as much as I expected. What could be the reason?
A: There are a few common culprits. Ensure your yeast was fresh and properly activated. Check the water temperature; too hot can kill the yeast, and too cold can prevent it from activating effectively. Also, make sure you allowed adequate time for proofing in a warm, draft-free environment. Consistent room temperature is key!
Q: How can I achieve a crispier crust on my Homemade Bread?
A: To get that perfect crunch, try placing a shallow pan filled with water on the bottom rack of your oven during the preheating phase. The steam created will help the crust develop beautifully. You can also brush the top of the loaf with a little water just before baking.
Easy Homemade Bread Recipe
A simple and delicious recipe for making crusty homemade bread from scratch, perfect for beginners.
Ingredients
-
2 cups warm water (105-115 degrees Fahrenheit)
-
1 Tablespoon active dry yeast
-
1/4 cup honey
-
2 teaspoons salt
-
2 Tablespoons vegetable oil
-
4 cups all-purpose flour
Instructions
-
Step 1
Combine warm water and honey in a large bowl. Let stand 5-10 minutes until foamy, indicating yeast is active. -
Step 2
Stir in oil and salt into the yeast mixture. -
Step 3
Gradually add 4 cups of flour, mixing until a shaggy dough forms. Add more flour gradually until the dough pulls away from the sides of the bowl and is slightly tacky. -
Step 4
Knead the dough on a lightly floured surface for 8-10 minutes until smooth and elastic. -
Step 5
Place dough in a lightly oiled bowl, cover, and let rise in a warm place for 1 to 1.5 hours, or until doubled in size. -
Step 6
Punch down the dough, shape it, and place on a baking sheet or in a loaf pan. Cover and let rise for another 30-45 minutes. -
Step 7
Preheat oven to 375 degrees Fahrenheit (190 degrees Celsius). Optionally score the top of the loaf. -
Step 8
Bake for 30-40 minutes, or until the crust is golden brown and the internal temperature reaches 200-210 degrees Fahrenheit. -
Step 9
Transfer to a wire rack to cool completely before slicing.
Important Information
Nutrition Facts (Per Serving)
It is important to consider this information as approximate and not to use it as definitive health advice.
Allergy Information
Please check ingredients for potential allergens and consult a health professional if in doubt.