Easy Homemade Cereal Bars – Quick & Delicious Treat
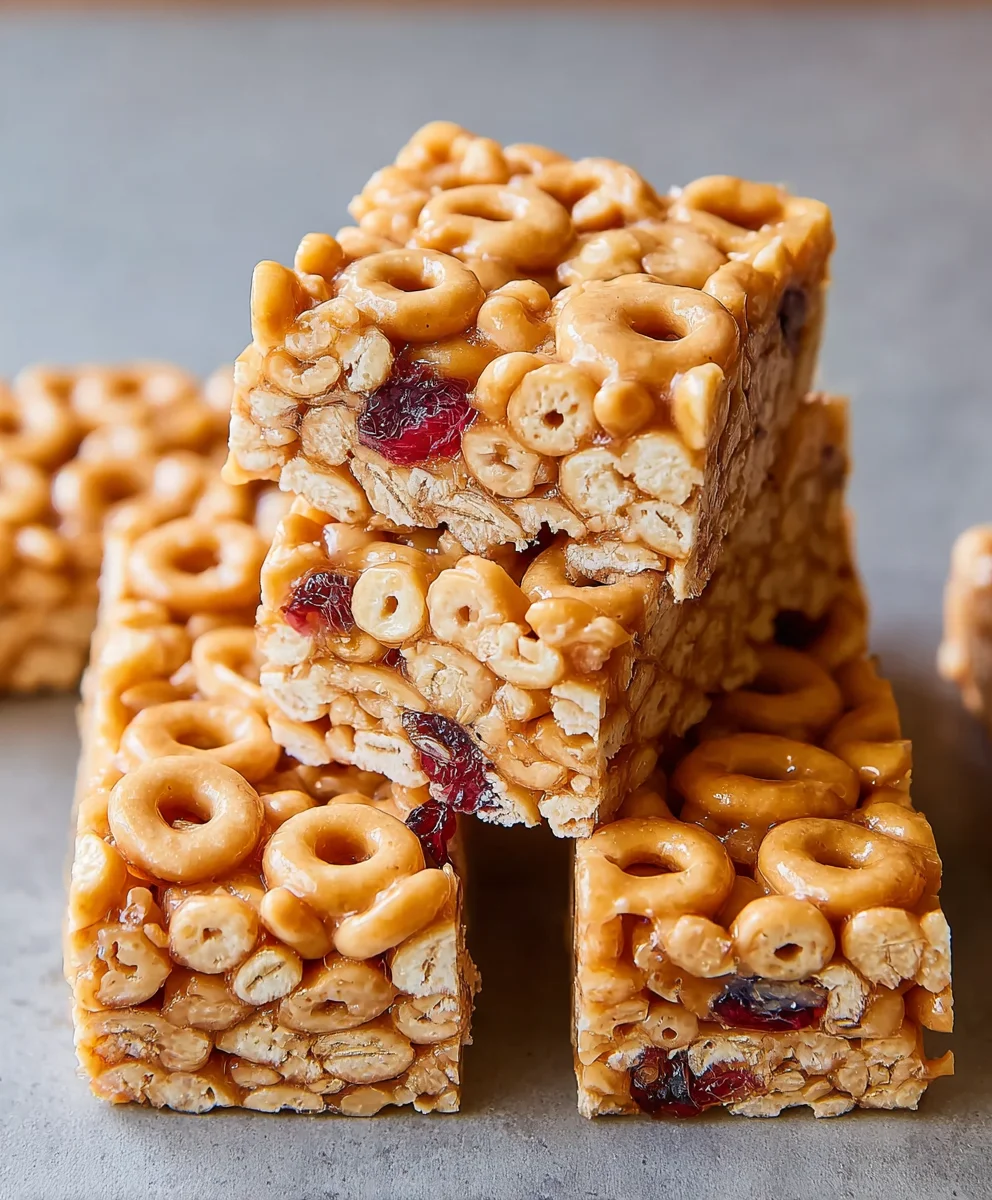
Cereal bars are more than just a quick snack; they’re a delightful journey into nostalgia, a crispy, chewy, and often sweet bite that transports us back to simpler times. Who doesn’t remember reaching for a pre-packaged treat after school or packing them for a day out? But the truth is, homemade cereal bars offer an unparalleled level of flavor and satisfaction. They ditch the preservatives and artificial ingredients for pure, wholesome goodness you can feel great about. What makes them so special? It’s the perfect alchemy of textures – the satisfying crunch of cereal, the binding sweetness of melted marshmallows or a sticky caramel, and the potential for endless customization with add-ins like chocolate chips, dried fruit, or nuts. This recipe unlocks the secret to creating the ultimate chewy and delicious cereal bars, far superior to anything you’ll find on a store shelf. Get ready to rediscover your love for this classic treat!
Ingredients:
- 3 cups cereal of choice (think puffed rice, corn flakes, granola, or even a mixture!)
- 2/3 cup peanut butter or nut butter of choice (creamy or crunchy, your preference!)
- 1/2 cup agave, honey, or brown rice syrup (this is our binder and sweetener)
- 1/2 teaspoon salt (optional, but it really helps to balance the sweetness)
- 3 tablespoons protein powder (optional, for an extra boost of protein and to make them more satisfying)
Getting Started: Preparing Your Cereal Bars
The foundation of any great cereal bar is the cereal itself. For this recipe, feel free to get creative! A classic puffed rice cereal will give you a lighter, crisper bar, while a granola offers a more textured and robust bite. You can even combine different types for a unique flavor and texture profile. Measure out your 3 cups of cereal and place it into a large mixing bowl. This is where all the magic will happen, so make sure your bowl is spacious enough to comfortably mix everything without spillage. If you’re using a cereal that tends to have very large pieces, you might want to give it a gentle crush with your hands or pulse it a few times in a food processor to ensure everything binds together nicely.
Melting and Mixing the Binder
Next, we need to create the sticky, delicious binder that will hold our cereal bars together. In a medium saucepan, combine the 2/3 cup of peanut butter (or your chosen nut butter) with the 1/2 cup of agave, honey, or brown rice syrup. If you’re using honey, be aware that it can be quite thick, so you might need to gently warm it before combining. Place the saucepan over low heat. It’s crucial to keep the heat low to prevent the nut butter and sweetener from scorching. Stir the mixture constantly with a spatula or wooden spoon. You want the peanut butter to melt and become smooth, and then fully incorporate with the liquid sweetener. Continue stirring until the mixture is well combined and has a pourable, glossy consistency. This process usually takes about 3-5 minutes.
Adding the Flavor Enhancers (Optional but Recommended!)
Now is the time to add those optional, yet highly recommended, flavor boosters. If you’ve decided to use the 1/2 teaspoon of salt, add it to the peanut butter and syrup mixture in the saucepan. The salt doesn’t just add saltiness; it acts as a flavor enhancer, cutting through the sweetness and bringin extractg out the nutty notes of the peanut butter. If you’re opting for the 3 tablespoons of protein powder, you can add it to the cereal in the large mixing bowl at this stage. Whisk it in thoroughly to distribute it evenly throughout the cereal. This helps to prevent clumps of protein powder from forming in your finished bars and ensures you get that protein boost in every bite. If you’re adding protein powder, make sure it’s a flavor that complements peanut butter, like vanilla or unflavored.
gin extract>Bringing It All Together: The Grand Unification
Once your peanut butter and syrup mixture is smooth and heated through, carefully remove the saucepan from the heat. Immediately pour the warm binder mixture over the cereal (and protein powder, if using) in the large mixing bowl. This is where you need to work quickly but efficiently. Use your spatula or wooden spoon to gently but thoroughly mix everything together. You want to coat every single piece of cereal with the sticky binder. Fold and stir, ensuring no dry spots of cereal remain. It can gin extracta bit challenging at first, as the mixture will be sticky and viscous. Don’t be afraid to really get in there and mix it well. The goal is to have a uniformly coated cereal mixture that clumps together when you press it. Take your time with this step; thorough mixing is key to preventing crum extractbly bars.
Pressing and Chilling for Perfection
Once the cereal mixture is evenly coated and you can see it starting to hold together, it’s time to shape your cereal bars. Line an 8×8 inch baking pan with parchment paper, leaving some overhang on the sides. This will make it much easier to lift the bars out later. Spoon the mixture into the prepared pan. Now comes the crucial part: pressing it down firmly and evenly. You can use the back of your spatula, or even your hands (lightly greased if necessary), to compact the mixture. The firmer you press, the more cohesive your bars will be. Really push down on the edges and corners to ensure they are well-formed. For an extra smooth surface, you can place another piece of parchment paper on top of the mixture and press down with a flat-bottomed glass or measuring cup. Once pressed, place the pan in the refrigerator for at least 30 minutes to allow the bars to set. This chilling time is essential for them to firm up enough to be cut into individual bars.
Cutting and Enjoying Your Homemade Cereal Bars
After the chilling period, lift the entire block of cereal mixture out of the pan using the parchment paper overhang. Place it on a cutting board. Now, using a sharp knife, cut the block into your desired bar shapes. You can aim for classic rectangular bars, squares, or even smaller bite-sized pieces. If the mixture feels too soft, you can pop it back into the refrigerator for another 15-20 minutes. Once cut, your homemade cereal bars are ready to be enjoyed! Store any leftovers in an airtight container at room temperature for a few days, or in the refrigerator for longer storage. These bars are perfect for a quick breakfast on the go, a healthy snack, or a post-workout treat.
Conclusion:
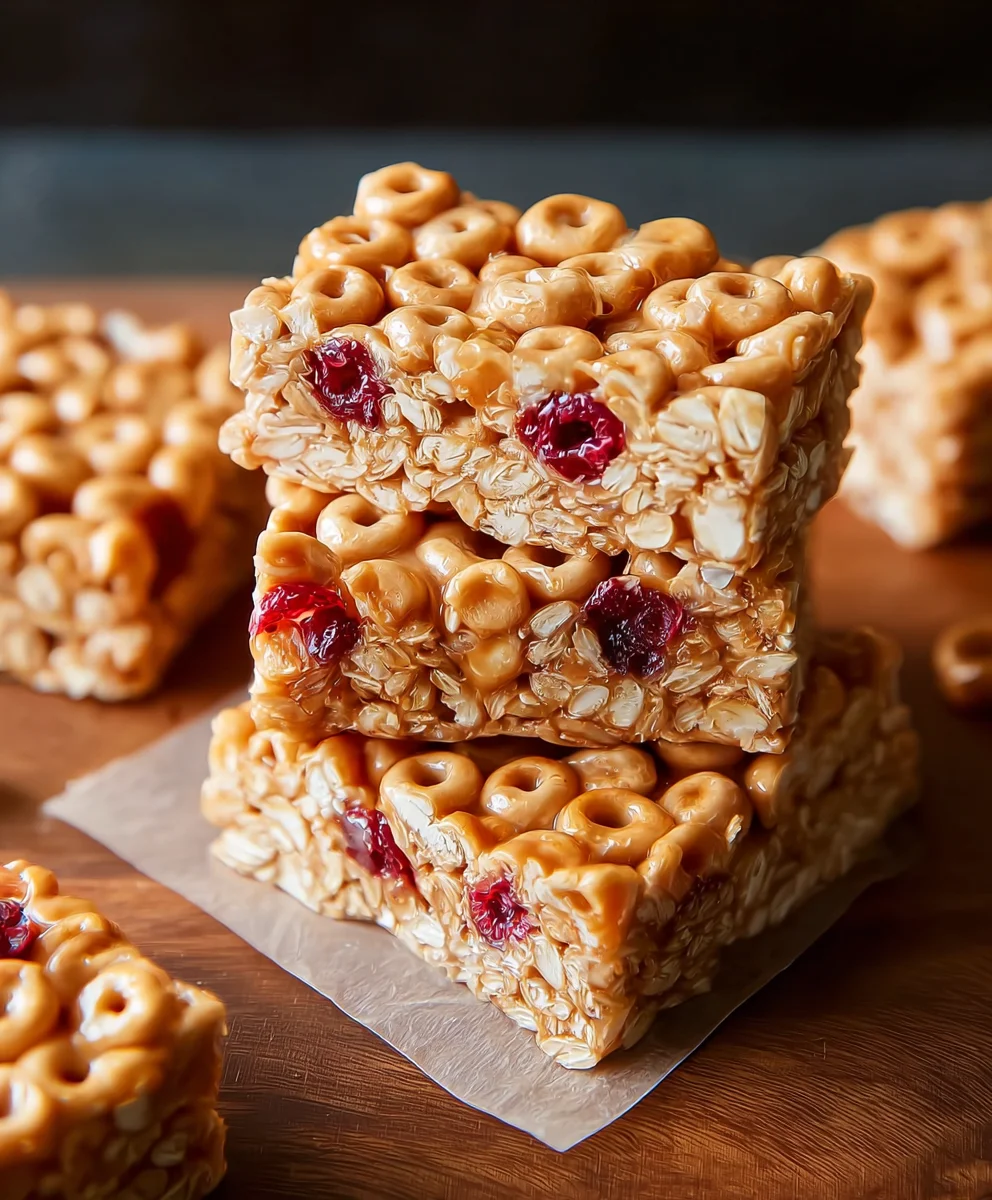
I hope you’ve enjoyed learning how to make these delicious and customizable Cereal Bars! This recipe is wonderfully versatile, making it a fantastic base for all sorts of flavor combinations. Whether you’re looking for a quick breakfast on the go, a healthier snack option, or a treat to satisfy a sweet craving, these Cereal Bars deliver every time. They’re so simple to prepare, even begin extractners can achieve fantastic results, and the joy of creating something so satisfying from scratch is truly rewarding. Don’t be afraid to experiment with different cereals, add-ins, and coatings to make them your own. Happy baking!
Serving Suggestions: These Cereal Bars are perfect on their own, but they also pair wonderfully with a glass of milk, a cup of coffee, or even a side of fresh fruit. They’re an ideal grab-and-go breakfast or a delightful addition to a lunchbox. You can also crum extractble them over yogurt or ice cream for an extra crunchy topping.
Variations: Feel free to get creative! Swap out the type of cereal for a different flavor profile, like using a chocolate cereal or adding some granola. Consider stirring in chocolate chips, dried fruit like raisins or cranberries, nuts, seeds, or even a sprinkle of cinnamon. For a decadent twist, drizzle with melted chocolate or a caramel sauce once cooled.
Frequently Asked Questions:
Q1: How should I store these Cereal Bars?
A1: Store your Cereal Bars in an airtight container at room temperature for up to a week. If you live in a warm climate, you might want to store them in the refrigerator to prevent them from becoming too soft, especially if they contain chocolate.
Q2: Can I make these Cereal Bars gluten-free?
A2: Absolutely! To make these Cereal Bars gluten-free, simply use certified gluten-free cereals and ensure all other ingredients, like oats (if used), are also gluten-free. This is a great way to adapt the recipe for dietary needs.
Q3: My Cereal Bars arum extracttoo crumbly. What can I do?
A3: If your Cereal Bars are too crumbly, it often means there wasn’t quite enough binder (like the melted marshmallows or syrup mixture) to hold everything together. Next time, ensure the binder is fully melted and coats the cereal thoroughly before pressing it into the pan. You can also try pressing them more firmly into the pan before they set.
Easy Homemade Cereal Bars
Quick and delicious homemade cereal bars perfect for a grab-and-go breakfast, healthy snack, or post-workout treat.
Ingredients
-
3 cups cereal of choice (e.g., puffed rice, corn flakes, granola)
-
2/3 cup peanut butter or nut butter of choice
-
1/2 cup agave, honey, or brown rice syrup
-
1/2 teaspoon salt (optional)
-
3 tablespoons protein powder (optional, e.g., vanilla or unflavored)
Instructions
-
Step 1
Measure out 3 cups of your chosen cereal and place it into a large mixing bowl. If using large-piece cereal, gently crush or pulse a few times in a food processor for better binding. -
Step 2
In a medium saucepan over low heat, combine 2/3 cup peanut butter and 1/2 cup agave, honey, or brown rice syrup. Stir constantly for 3-5 minutes until smooth, well combined, and glossy. -
Step 3
If using, add 1/2 teaspoon of salt to the warm binder mixture. If using protein powder, whisk 3 tablespoons of protein powder into the cereal in the large bowl. -
Step 4
Pour the warm binder mixture over the cereal (and protein powder, if using) in the large bowl. Mix thoroughly with a spatula or wooden spoon until every piece of cereal is evenly coated and the mixture clumps together when pressed. -
Step 5
Line an 8×8 inch baking pan with parchment paper, leaving overhang. Spoon the mixture into the pan and press down firmly and evenly to compact it. For a smooth surface, place parchment paper on top and press with a flat object. -
Step 6
Chill the pan in the refrigerator for at least 30 minutes to allow the bars to set. -
Step 7
Lift the block out of the pan using the parchment paper. Cut into desired bar shapes with a sharp knife. If too soft, return to the refrigerator for another 15-20 minutes before cutting.
Important Information
Nutrition Facts (Per Serving)
It is important to consider this information as approximate and not to use it as definitive health advice.
Allergy Information
Please check ingredients for potential allergens and consult a health professional if in doubt.