Delicious Chicken Enchiladas – Easy Weeknight Dinner
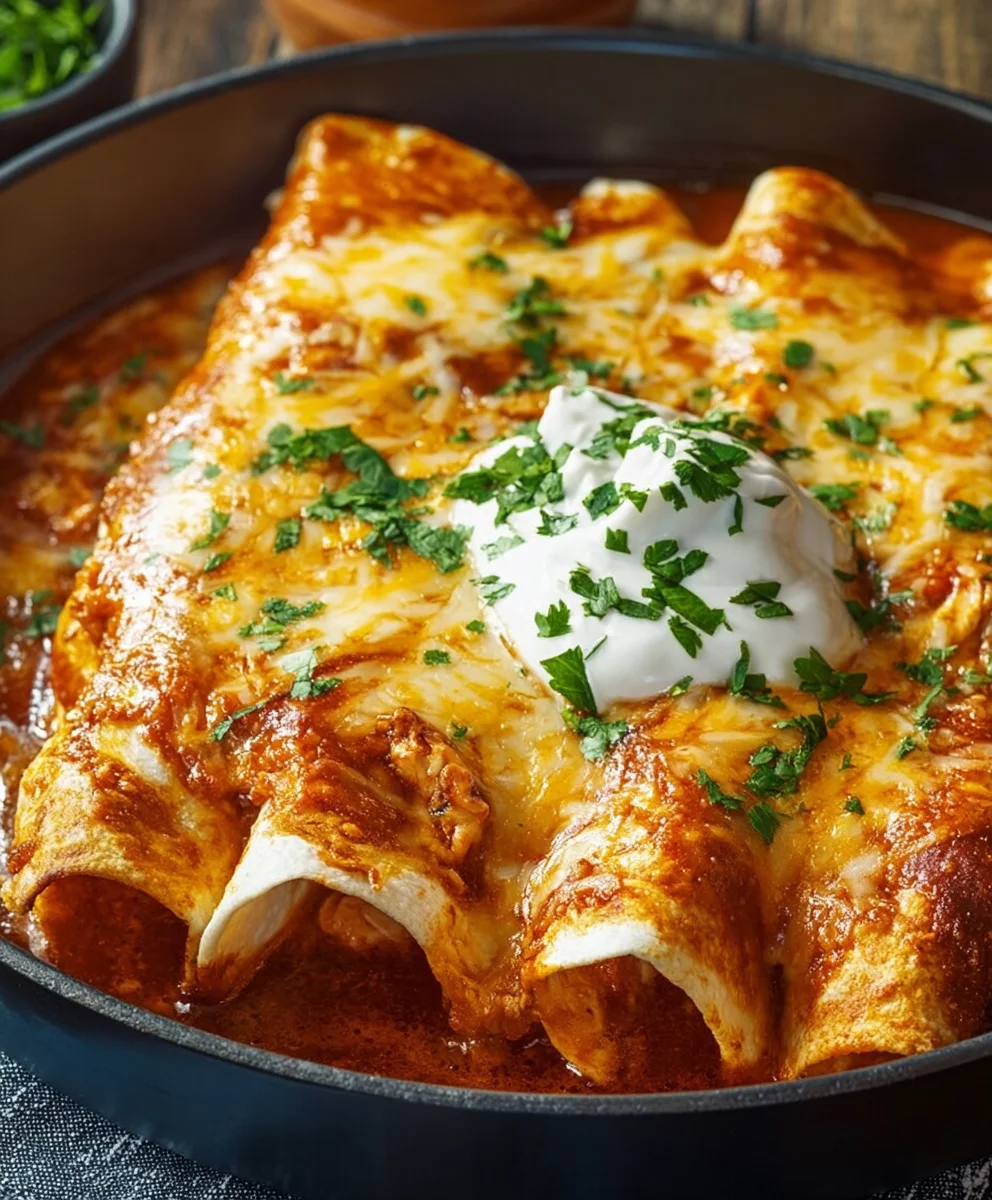
Delicious Chicken Enchiladas are a crowd-pleasing classic for a reason! Imagin extracte sinking your fork into tender, shredded chicken, perfectly seasoned and nestled within soft corn tortillas, all bathed in a rich, flavorful enchilada sauce and topped with a generous blanket of melted cheese. It’s the kind of meal that brings smiles to faces and warmth to the kitchen. What is it about these rolled delights that captures our hearts? Perhaps it’s the comforting familiarity, the explosion of savory and slightly spicy flavors, or the satisfying chew of the tortillas. Each bite of delicious chicken enchiladas offers a delightful balance of textures and tastes, making them ideal for a cozy family dinner, a fun gathering with friends, or even a special occasion. We’re about to unlock the secrets to making truly exceptional chicken enchiladas that will have everyone asking for seconds.
Ingredients:
- 2 cups Cooked and shredded chicken
- 1 can Red enchilada sauce (10 oz)
- 2 cups Shredded Monterey Jack cheese
- 8 pieces Flour tortillas
- 1 tablespoon Vegetable oil
- 1 small Onion, chopped
- 2 cloves Garlic, minced
- 1 teaspoon Cumin
- 1 teaspoon Chili powder
- Salt and pepper to taste
- Chopped cilantro for garnish
- Sour cream for serving
Preparing the Enchilada Filling
The foundation of any great enchilada lies in a flavorful filling. We’ll start by building a savory base that will bring our Delicious Chicken Enchiladas to life. First, grab a medium-sized skillet and place it over medium heat. Add the 1 tablespoon of vegetable oil. Once the oil is shimmering slightly, add your finely chopped small onion. We want to sauté these onions until they become translucent and start to soften, which usually takes about 5-7 minutes. This process coaxes out their natural sweetness and creates a more pleasant texture in the filling. Don’t rush this step; properly softened onions make a big difference.
Next, introduce the minced garlic to the skillet. Stir it in with the onions and cook for about 1 minute more, until fragrant. Be careful not to burn the garlic, as burnt garlic can turn bitter. Its aroma will quickly fill your kitchen, signaling that we’re moving on to the next exciting phase. Now, it’s time to incorporate the spices that will give our filling its characteristic depth. Add the 1 teaspoon of cumin and 1 teaspoon of chili powder to the skillet. Stir them into the onion and garlic mixture for about 30 seconds to toast them slightly. Toasting the spices releases their essential oils, intensifying their flavors and aroma.
Now, add the 2 cups of cooked and shredded chicken to the skillet. Toss it with the sautéed onions, garlic, and spices to ensure everything is well combined. Season the mixture generously with salt and pepper to taste. Remember, shredded rotisserie chicken is a fantastic shortcut for this recipe, already seasoned and perfectly tender. If you’re cooking your own chicken, ensure it’s fully cooked and then shredded using two forks. Continue to stir everything together for another 2-3 minutes, allowing the chicken to heat through and absorb the delicious flavors from the onion, garlic, and spices. This simple yet crucial step ensures that every bite of your Delicious Chicken Enchiladas is packed with savory goodness.
Assembling and Baking the Enchiladas
With our flavorful chicken filling ready, we can now move on to assembling the Delicious Chicken Enchiladas. Preheat your oven to 375°F (190°C). This temperature is ideal for evenly heating and melting the cheese, ensuring a delightful gooey center. Lightly grease a 9×13 inch baking dish. This step is essential to prevent the enchiladas from sticking to the bottom of the dish, making cleanup a breeze.
Now, we need to warm the flour tortillas slightly so they become pliable and easy to roll. You can do this one of two ways: either wrap them in a damp paper towel and microwave them for about 30-45 seconds, or briefly warm them in a dry skillet over medium heat for about 15-20 seconds per side. Overheating can make them brittle, so just aim for warm and flexible.
To assemble each enchilada, take a warm tortilla and place about 1/4 cup of the chicken mixture onto it, spreading it evenly along the center. Sprinkle a generous amount of the shredded Monterey Jack cheese over the chicken. Then, carefully roll up the tortilla, tucking in the sides slightly if you can, to create a neat package. Place the rolled enchilada seam-side down in the prepared baking dish. Repeat this process with the remaining tortillas and filling until your dish is full. Don’t worry if they’re snug; a tightly packed dish helps them hold their shape during baking.
Once all the enchiladas are rolled and arranged in the baking dish, it’s time to add the sauce and cheese. Pour the entire can of red enchilada sauce evenly over the rolled enchiladas, ensuring each one is coated. You want to make sure the sauce gets into all the nooks and crannies. Finally, sprinkle the remaining shredded Monterey Jack cheese generously over the top of the enchiladas and sauce. This layer of cheese will melt into a beautiful, bubbly golden crust.
The Final Bake and Serving
Cover the baking dish tightly with aluminum foil. This foil tenting is crucial for the initial baking phase, as it traps steam, which helps to heat the enchiladas through evenly and melt the cheese without drying out the tortillas. Place the covered dish in your preheated oven and bake for 20 minutes.
After 20 minutes, carefully remove the aluminum foil. The enchiladas should be heated through and the cheese starting to melt. Return the uncovered dish to the oven and bake for another 5-10 minutes, or until the cheese is fully melted, bubbly, and lightly golden brown around the edges. Keep an eye on it to prevent the cheese from burning. The aroma will be incredible, signaling that your Delicious Chicken Enchiladas are almost ready to be enjoyed.
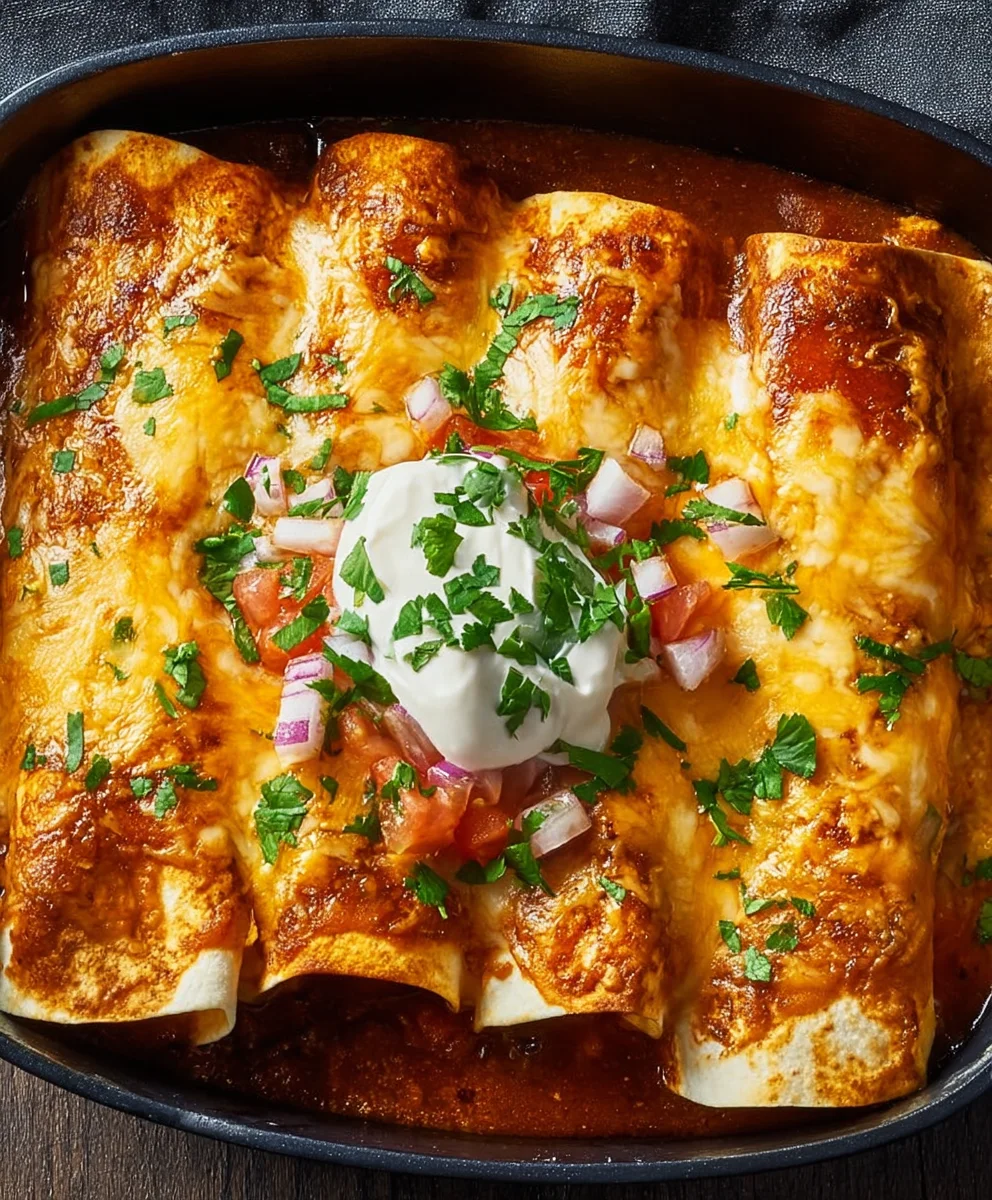
Once out of the oven, let the enchiladas rest for about 5 minutes before serving. This resting period allows the flavors to meld and the enchiladas to firm up slightly, making them easier to serve. Serve the Delicious Chicken Enchiladas hot, garnished with fresh chopped cilantro for a burst of color and herbaceous flavor. A dollop of cool, creamy sour cream on top adds a wonderful contrast to the warm, savory enchiladas. These are perfect for a weeknight dinner or a casual gathering with friends and family. Enjoy!
Conclusion:
And there you have it! Your very own batch of Delicious Chicken Enchiladas, ready to impress. We’ve walked through each step to create these flavorful and satisfying enchiladas, ensuring a perfect balance of tender chicken, creamy sauce, and gooey cheese. Don’t be afraid to get creative with your toppings – fresh cilantro, a dollop of sour cream, or a sprinkle of cotija cheese can elevate these even further. These Delicious Chicken Enchiladas are fantastic served with a side of Mexican rice and refried beans for a complete meal, or even as a lighter option with a crisp green salad. Remember, cooking is all about enjoyment and experimentation, so feel free to adjust the spice levels or experiment with different types of cheese. We hope you thoroughly enjoy making and sharing these Delicious Chicken Enchiladas with your loved ones. Happy cooking!
Frequently Asked Questions:
Can I make Delicious Chicken Enchiladas ahead of time?
Absolutely! You can assemble the Delicious Chicken Enchiladas up to 24 hours in advance. Cover them tightly with plastic wrap and refrigerate. When ready to bake, remove the plastic wrap and bake as directed, possibly adding a few extra minutes to ensure they are heated through.
What other fillings can I use for Delicious Chicken Enchiladas?
While chicken is classic, you can easily adapt this recipe. Shredded beef, ground turkey, or even a vegetarian filling with black beans and corn would work wonderfully in place of the chicken. Just ensure your filling is seasoned well!
Delicious Chicken Enchiladas – Easy Weeknight Dinner
A simple and flavorful recipe for easy chicken enchiladas, perfect for a weeknight meal. Features tender shredded chicken, a savory filling, and a cheesy topping.
Ingredients
-
2 cups Cooked and shredded chicken
-
1 can Red enchilada sauce (10 oz)
-
2 cups Shredded Monterey Jack cheese
-
8 pieces Flour tortillas
-
1 tablespoon Vegetable oil
-
1 small Onion, chopped
-
2 cloves Garlic, minced
-
1 teaspoon Cumin
-
1 teaspoon Chili powder
-
Salt and pepper to taste
-
Chopped cilantro for garnish
-
Sour cream for serving
Instructions
-
Step 1
In a skillet over medium heat, sauté the chopped onion in vegetable oil until translucent (5-7 minutes). Add minced garlic and cook for 1 minute until fragrant. Stir in cumin and chili powder, toasting for 30 seconds. -
Step 2
Add the shredded chicken to the skillet, tossing to combine with the onion, garlic, and spices. Season with salt and pepper to taste. Cook for another 2-3 minutes until heated through. -
Step 3
Preheat oven to 375°F (190°C). Lightly grease a 9×13 inch baking dish. Warm flour tortillas until pliable. -
Step 4
Fill each tortilla with about 1/4 cup of chicken mixture and a generous sprinkle of Monterey Jack cheese. Roll up tortillas and place seam-side down in the baking dish. -
Step 5
Pour enchilada sauce evenly over the rolled enchiladas. Sprinkle the remaining Monterey Jack cheese on top. -
Step 6
Cover the dish tightly with aluminum foil and bake for 20 minutes. Remove foil and bake for an additional 5-10 minutes, or until cheese is melted and bubbly. -
Step 7
Let rest for 5 minutes before serving. Garnish with chopped cilantro and serve with sour cream.
Important Information
Nutrition Facts (Per Serving)
It is important to consider this information as approximate and not to use it as definitive health advice.
Allergy Information
Please check ingredients for potential allergens and consult a health professional if in doubt.