Easy Frozen Yogurt Bites- Healthy Sweet Treat
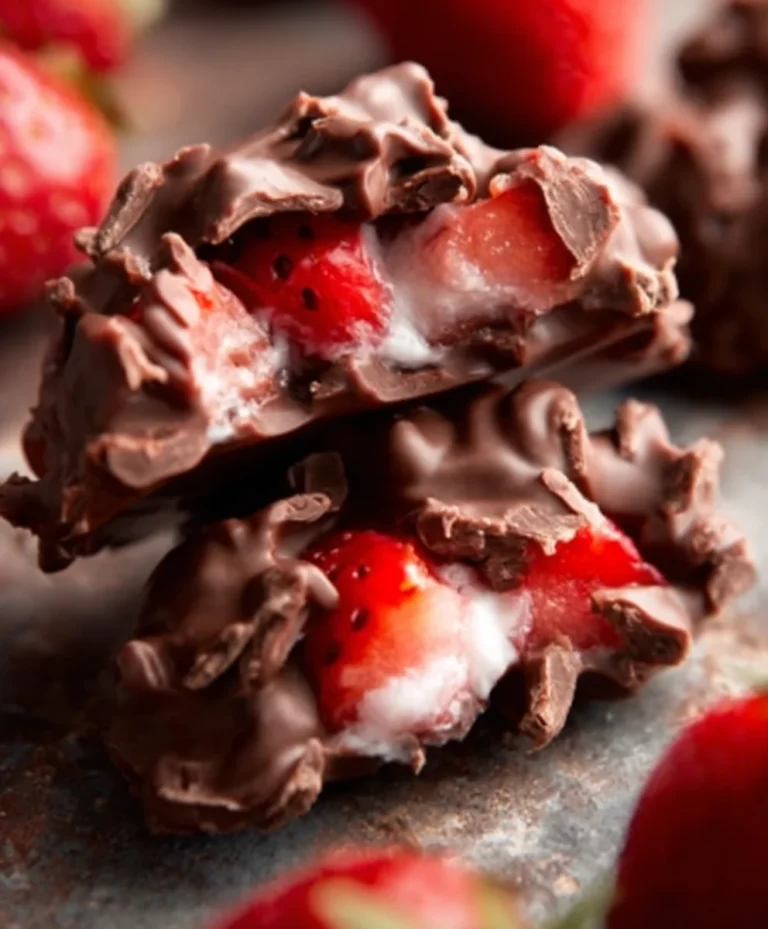
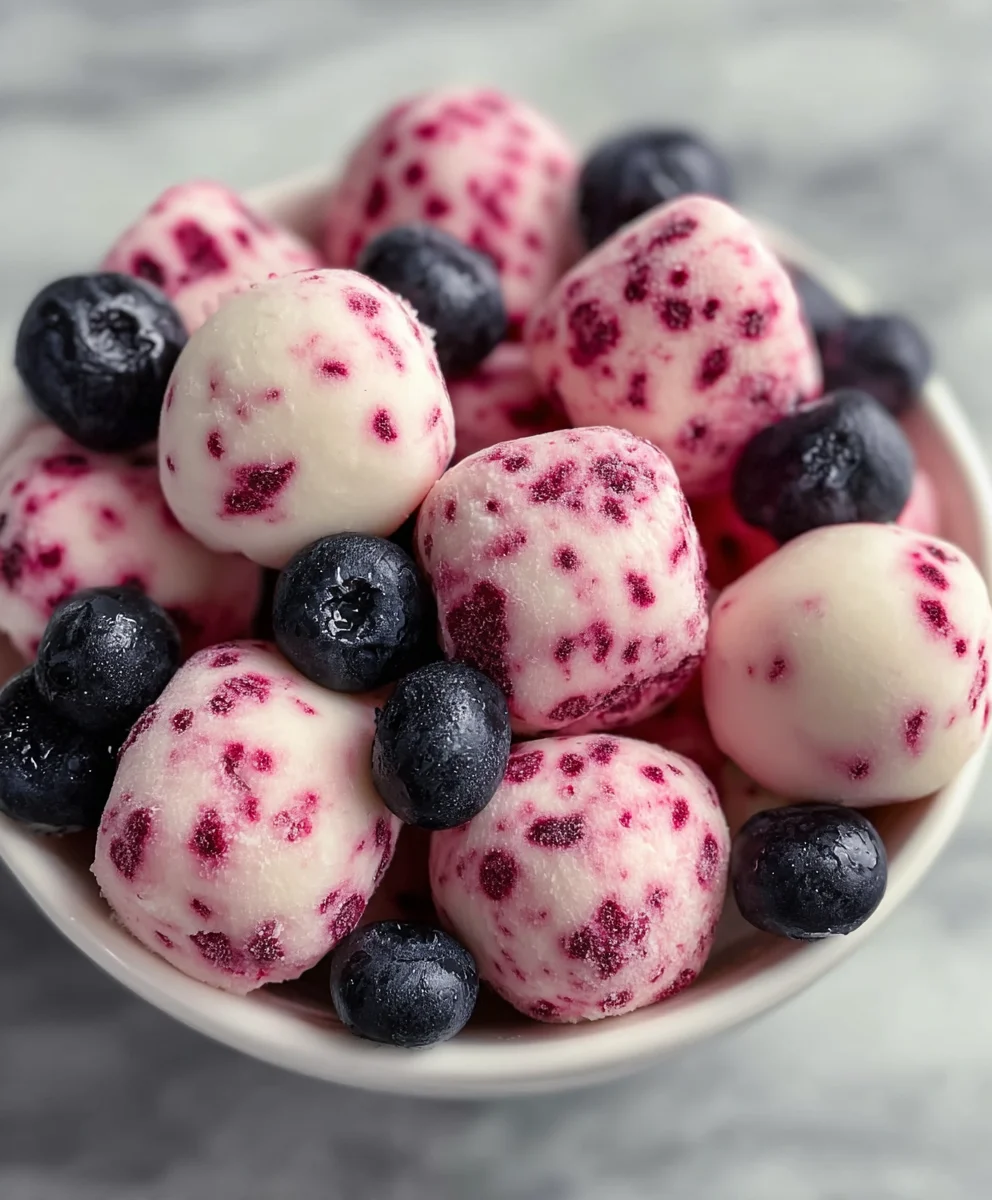
Easy Frozen Yogurt Bites are more than just a delightful treat; they’re a gateway to effortless, healthy indulgence that the whole family will adore. Imagin extracte sunshine-bright flavors bursting from a perfectly portioned, melt-in-your-mouth bite. These aren’t your average frozen confections. What makes them truly special is their incredible versatility and the fact that you can whip them up with minimal effort, making them a go-to for busy weeknights or impromptu gatherings. People love these Easy Frozen Yogurt Bites because they offer a guilt-free way to satisfy sweet cravings, providing a cool and refreshing escape on a warm day or a fun, healthy dessert option any time. They’re customizable, vibrant, and surprisingly satisfying, proving that delicious and nutritious can go hand-in-hand.
Ingredients:
- 12 ounces strawberry yogurt
- 1/2 cup fresh raspberries
- 1/2 cup fresh blackberries
- 2 tablespoons almond milk
Preparing Your Fruit
The first step in creating these delightful Easy Frozen Yogurt Bites is to prepare your beautiful fresh fruit. You’ll need half a cup of raspberries and half a cup of blackberries. Gently rinse both types of berries under cool running water. It’s important to be delicate with them, especially the raspberries, as they can be quite fragile. Once rinsed, pat them very gently with a clean paper towel to remove any excess moisture. This little step helps prevent your bites from becoming too watery.
Next, we need to incorporate these vibrant berries into our creamy yogurt base. For the raspberries, you have a couple of options depending on your preference. You can either leave them whole if you enjoy bursts of berry in each bite, or you can gently mash them a little with a fork. Mashing them slightly will release some of their delicious juice and distribute their flavor more evenly throughout the yogurt. For the blackberries, I often find it’s best to leave them whole as well, as they have a slightly firmer texture and can hold their shape nicely. However, feel free to give them a gentle mash if you prefer a more uniform texture and flavor.
Creating the Yogurt Base
Now, let’s get to the heart of our Easy Frozen Yogurt Bites: the yogurt base. You’ll need 12 ounces of strawberry yogurt. For the best texture and flavor, I recommend using a full-fat or a Greek-style strawberry yogurt. These tend to be thicker and creamier, which will result in more satisfyingly firm bites. If your yogurt is particularly thick, you might find it a little challengin extractg to mix in the berries and almond milk, so keep that in mind.
To ensure a smooth and easily pourable consistency, we’re going to add just a touch of almond milk. You’ll need 2 tablespoons of unsweetened almond milk. Pour the almond milk into the bowl with the strawberry yogurt. Using a spatula or a whisk, gently stir the almond milk into the yogurt until it’s fully incorporated. The goal here is to thin the yogurt just enough so it’s easier to mix with the fruit and pour into your mold, but not so much that it becomes runny. You want a consistency that’s still thick enough to hold its shape but fluid enough to handle easily.
Combining and Filling
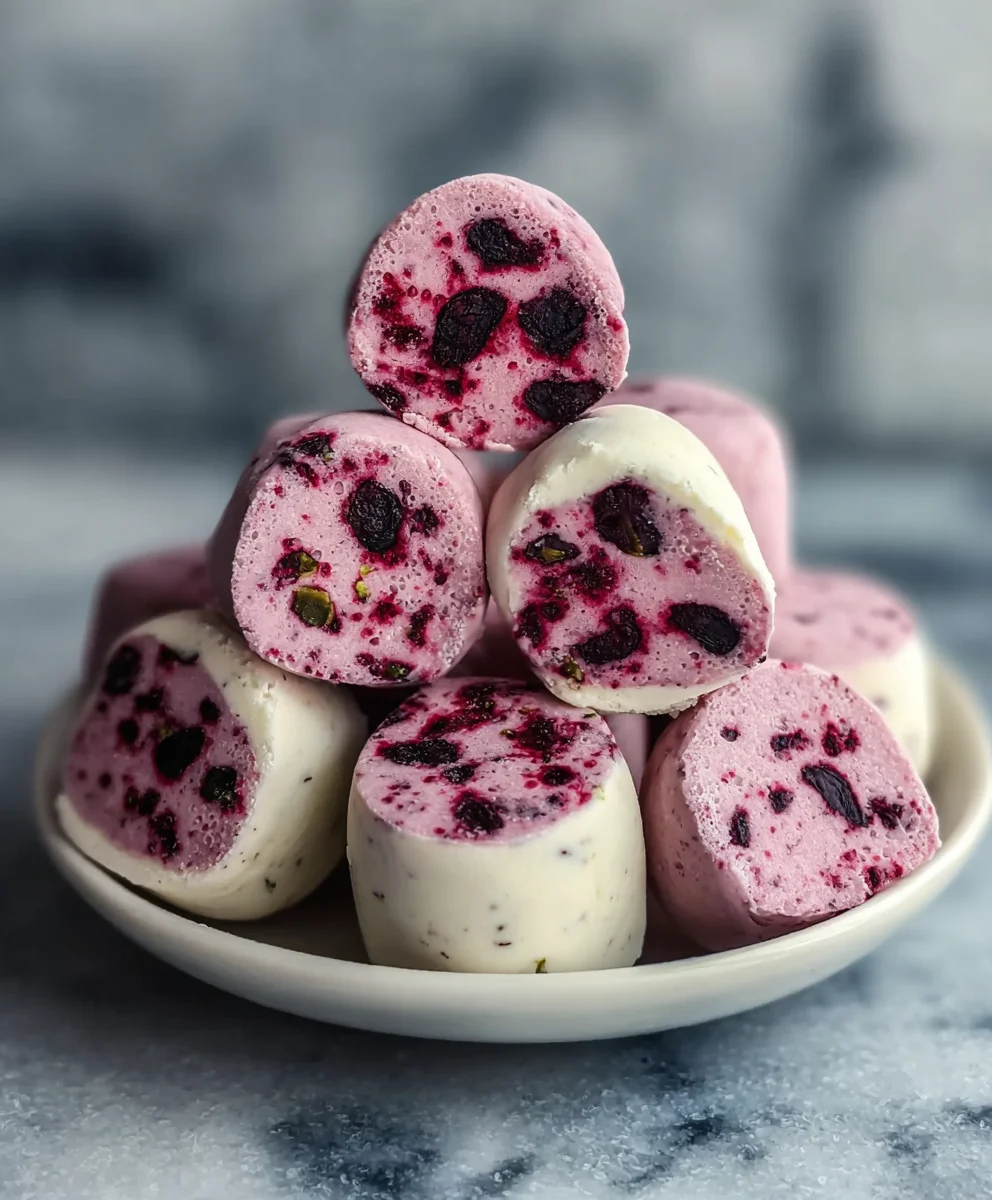
With our fruit prepped and our yogurt base perfectly smooth, it’s time to bring everything together. Gently fold the prepared raspberries and blackberries into the strawberry yogurt mixture. Use a spatula to carefully incorporate the berries, trying not to crush them too much if you’ve opted to keep them whole. You want to distribute them evenly throughout the yogurt so that each bite has a delightful surprise of berry goodngin extract. Imagine little pockets of vibrant fruit suspended in creamy, fruity yogurt – that’s the goal!
Now, let’s get ready to form our bites. You’ll need a silicone mold. Mini muffin tins lined with paper liners can also work, but silicone molds designed for mini treats or ice cubes are ideal for Easy Frozen Yogurt Bites. They make removal incredibly simple and ensure consistent shapes. Spoon the berry-yogurt mixture into your chosen molds. Don’t overfill them; leave a little bit of space at the top, as the mixture might expand slightly as it freezes. A small spoon or a piping bag can be helpful for neatly filling the molds, especially if you’re using smaller cavities. Ensure the filling is relatively level in each cavity for uniform freezing.
Freezing to Perfection
Once your molds are filled, it’s time for the magic of freezing. Carefully transfer the filled silicone mold to your freezer. It’s a good idea to place the mold on a flat surface, like a baking sheet, before putting it in the freezer. This will prevent any accidental spills if the mold isn’t perfectly balanced and will make it easier to handle when moving it in and out of the freezer.
Allow the Easy Frozen Yogurt Bites to freeze completely. This will typically take at least 3 to 4 hours, but depending on your freezer’s temperature and the size of your molds, it might take a bit longer. You’re looking for them to be firm and solid to the touch. To check if they are ready, gently try to wiggle one of the bites. If it feels completely solid and doesn’t indent, they are ready to be enjoyed. Resist the temptation to speed up the freezing process by turning your freezer to its coldest setting, as this can sometimes lead to a less desirable texture.
Serving and Enjoying Your Bites
The final, and arguably the most rewarding, step is enjoying your homemade Easy Frozen Yogurt Bites! Once they are fully frozen, carefully remove the silicone mold from the freezer. Gently flex the silicone mold to release each frozen yogurt bite. If you used mini muffin liners, carefully peel them away.
These Easy Frozen Yogurt Bites are best served immediately, as they will start to soften relatively quickly once at room temperature. They make a wonderful healthy snack for kids and adults alike, a refreshing dessert on a warm day, or even a fun addition to a brunch spread. You can arrange them on a platter and serve them as is. If you find they are freezing together in the mold, you can quickly transfer them to a freezer-safe bag or container once they are solid and store them that way for future enjoyment. However, for the absolute best texture and flavor, consuming them soon after freezing is recommended.
Conclusion:
And there you have it – your very own batch of delicious Easy Frozen Yogurt Bites! We hope you’ve enjoyed following along with this simple yet rewarding recipe. These delightful bites are perfect for a healthy snack, a refreshing dessert, or even a fun treat for little ones. They’re incredibly versatile, and the satisfaction of creating something so tasty and good for you from scratch is truly wonderful.
For serving suggestions, these Easy Frozen Yogurt Bites are fantastic on their own, but you can also dress them up a bit. Try serving them with a drizzle of honey, a sprinkle of granola, or alongside some fresh berries. They make a beautiful addition to a breakfast parfait or a simple afternoon pick-me-up.
The beauty of this recipe lies in its adaptability. Feel free to experiment with different yogurt flavors – Greek yogurt for extra protein, or a dairy-free alternative for a vegan option. You can also swap out the fruit for whatever is in season or your personal favorite. Get creative with mix-ins like mini chocolate chips, shredded coconut, or even a touch of cinnamon!
We encourage you to give these Easy Frozen Yogurt Bites a try. They’re a testament to how simple ingredients can create something extraordinary. Don’t be afraid to make them your own and discover your favorite flavor combinations. Happy creating!
Frequently Asked Questions
Can I make these Easy Frozen Yogurt Bites ahead of time?
Absolutely! These Easy Frozen Yogurt Bites are perfect for making ahead. Once they’re frozen solid, you can transfer them to an airtight container or freezer bag and store them for up to a month. This makes them ideal for prepping a large batch for the week or for those spontaneous snack cravings.
What if I don’t have fresh fruit to mix in?
No problem at all! If you don’t have fresh fruit on hand, you can use frozen fruit. Just make sure to thaw it slightly and drain any excess liquid before incorporating it into the yogurt mixture. Alternatively, you can use unsweetened applesauce or a touch of fruit puree for flavor and sweetness.
How can I make my Easy Frozen Yogurt Bites extra creamy?
To achieve an extra creamy texture, consider using full-fat Greek yogurt, as it has a higher fat content that contributes to a richer mouthfeel. You can also stir in a tablespoon or two of heavy cream or coconut cream before freezing. Ensure your yogurt is well-chilled before you begin extract mixing your ingredients.
Easy Frozen Yogurt Bites- Healthy Sweet Treat
Delightful and healthy frozen yogurt bites packed with fresh berries, perfect for a sweet treat any time of day.
Ingredients
-
12 ounces strawberry yogurt
-
1/2 cup fresh raspberries
-
1/2 cup fresh blackberries
-
2 tablespoons unsweetened almond milk
-
1/4 cup honey (optional, for sweetness)
Instructions
-
Step 1
Gently rinse 1/2 cup raspberries and 1/2 cup blackberries. Pat them dry with a paper towel. You can leave them whole or gently mash the raspberries slightly. -
Step 2
In a bowl, combine 12 ounces of strawberry yogurt with 2 tablespoons of unsweetened almond milk. Stir until smooth and slightly thinner in consistency. -
Step 3
Gently fold the prepared raspberries and blackberries into the yogurt mixture, distributing them evenly. -
Step 4
Spoon the berry-yogurt mixture into silicone molds or mini muffin liners, leaving a little space at the top. -
Step 5
Place the filled molds on a flat baking sheet and transfer to the freezer. Freeze for at least 3-4 hours, or until completely firm. -
Step 6
Once frozen, carefully remove the bites from the molds. Serve immediately.
Important Information
Nutrition Facts (Per Serving)
It is important to consider this information as approximate and not to use it as definitive health advice.
Allergy Information
Please check ingredients for potential allergens and consult a health professional if in doubt.