Easy Orange Chicken Recipe-Restaurant Style
Orange Chicken Recipe: The ultimate crowd-pleaser, this dish delivers that irresistible sweet, tangy, and slightly spicy flavor profile that makes it a takeout favorite and a culinary obsession for so many. Have you ever craved that perfect bite of crispy, juicy chicken coated in a vibrant, sticky orange sauce? You’re not alone! I know I have. There’s something incredibly satisfying about the balance of textures and tastes – the crunch of the perfectly fried chicken meeting the luscious, citrusy glaze. What truly sets this Orange Chicken Recipe apart is its ability to transport you straight to your favorite Chinese restaurant, all from the comfort of your own kitchen. It’s more than just chicken; it’s an experience of pure, unadulterated deliciousness that’s surprisingly achievable. Get ready to impress yourself and everyone around your table!
Orange Chicken Recipe
Welcome to my kitchen, where we’re about to whip up a dish that’s a guaranteed crowd-pleaser: classic Orange Chicken! This recipe is all about that perfect balance of sweet, tangy, and savory, with wonderfully crispy chicken that’s coated in a luscious orange sauce. Forget the takeout menus; this homemade version is fresher, more flavorful, and surprisingly easy to make. Whether you’re a seasoned cook or just starting out, you’ll find this recipe straightforward and incredibly rewarding. Let’s get started!
Ingredients:
Preparing the Chicken
The first step to achieving that irresistible crispy texture is to properly prepare your chicken. In a medium bowl, combine your bite-sized chicken pieces with 1 tablespoon of soy sauce, the egg white, sesame oil, and white pepper. Gently toss everything together to ensure each piece of chicken is evenly coated. This marinade not only adds a subtle layer of flavor but also helps the coating adhere better.
Next, in a separate shallow dish or a plate, whisk together the cornstarch and flour. This dry mixture is key to creating that shatteringly crisp exterior on our chicken. Add the marinated chicken pieces to the cornstarch and flour mixture, a few at a time. Toss them gently until each piece is thoroughly coated. You want a nice, even layer of the dry ingredients clingin extractg to the chicken. If the coating seems a little dry and isn’t sticking well, you can dip the chicken back into the egg white mixture briefly before recoating in the cornstarch and flour. This double-dipping technique can help create an even thicker, crispier crust. Set the coated chicken aside while you prepare the sauce.
Crafting the Tangy Orange Sauce
Now, let’s move on to the star of the show: the orange sauce! In a small saucepan, combine the 1/3 cup water and the fresh orange juice. If you’re using store-bought orange juice, make sure it’s not overly sweetened, as we’ll be adding sugar to control the sweetness level ourselves.
To the liquid in the saucepan, add the brown sugar. Start with 4 tablespoons and you can always add more later if you prefer a sweeter sauce. Stir in the 2 tablespoons of soy sauce, rice vinegar, and shaoxing vinegar (if using). The vinegars provide that essential tangin extractess that cuts through the sweetness and the richness of the chicken. Finally, add the grated gin extractger and garlic. Stir everything together until well combined. Bring this mixture to a gentle simmer over medium heat, stirring occasionally. As it heats, the sugar will dissolve, and the flavors will start to meld beautifully. Let it simmer for about 5-7 minutes, allowing it to thicken slightly. You can taste and adjust the sweetness and tangin extractess at this point by adding more sugar or vinegar if needed.
Frying the Chicken to Perfection
This is where the magic happens! Heat about 1 to 2 inches of neutral cooking oil (like vegetable, canola, or peanut oil) in a large skillet or wok over medium-high heat. You’re looking for the oil to reach around 350-375°F (175-190°C). If you don’t have a thermometer, you can test the oil by dropping a tiny bit of the cornstarch mixture into it; it should sizzle immediately and float to the surface.
Carefully add the coated chicken pieces to the hot oil, working in batches to avoid overcrowding the pan. Overcrowding will cause the oil temperature to drop, resulting in soggy chicken instead of crispy. Fry the chicken for about 4-6 minutes per batch, or until golden brown and cooked through. You want a beautiful, crispy exterior. As each batch is done, remove the chicken with a slotted spoon and place it on a wire rack set over a baking sheet. This allows excess oil to drain off, keeping the chicken as crisp as possible. Don’t worry if the chicken seems a little soft right out of the oil; it will regain its crispness as it cools slightly.
Bringin extractg it All Together
Once all your chicken is fried and resting on the wire rack, it’s time to toss it in that glorious orange sauce. Pour the slightly thickened orange sauce back into the saucepan and bring it to a gentle simmer again over medium heat.
Add the fried chicken pieces to the simmering sauce. Toss gently to coat each piece thoroughly. You want to ensure every bit of crispy chicken is bathed in that vibrant, tangy sauce. Cook for just another minute or two, allowing the sauce to thicken slightly further and cling to the chicken. Be careful not to overcook it at this stage, as you don’t want the chicken to become soggy. The goal is to have the sauce beautifully coating the crispy chicken.
Serving Your Delicious Creation
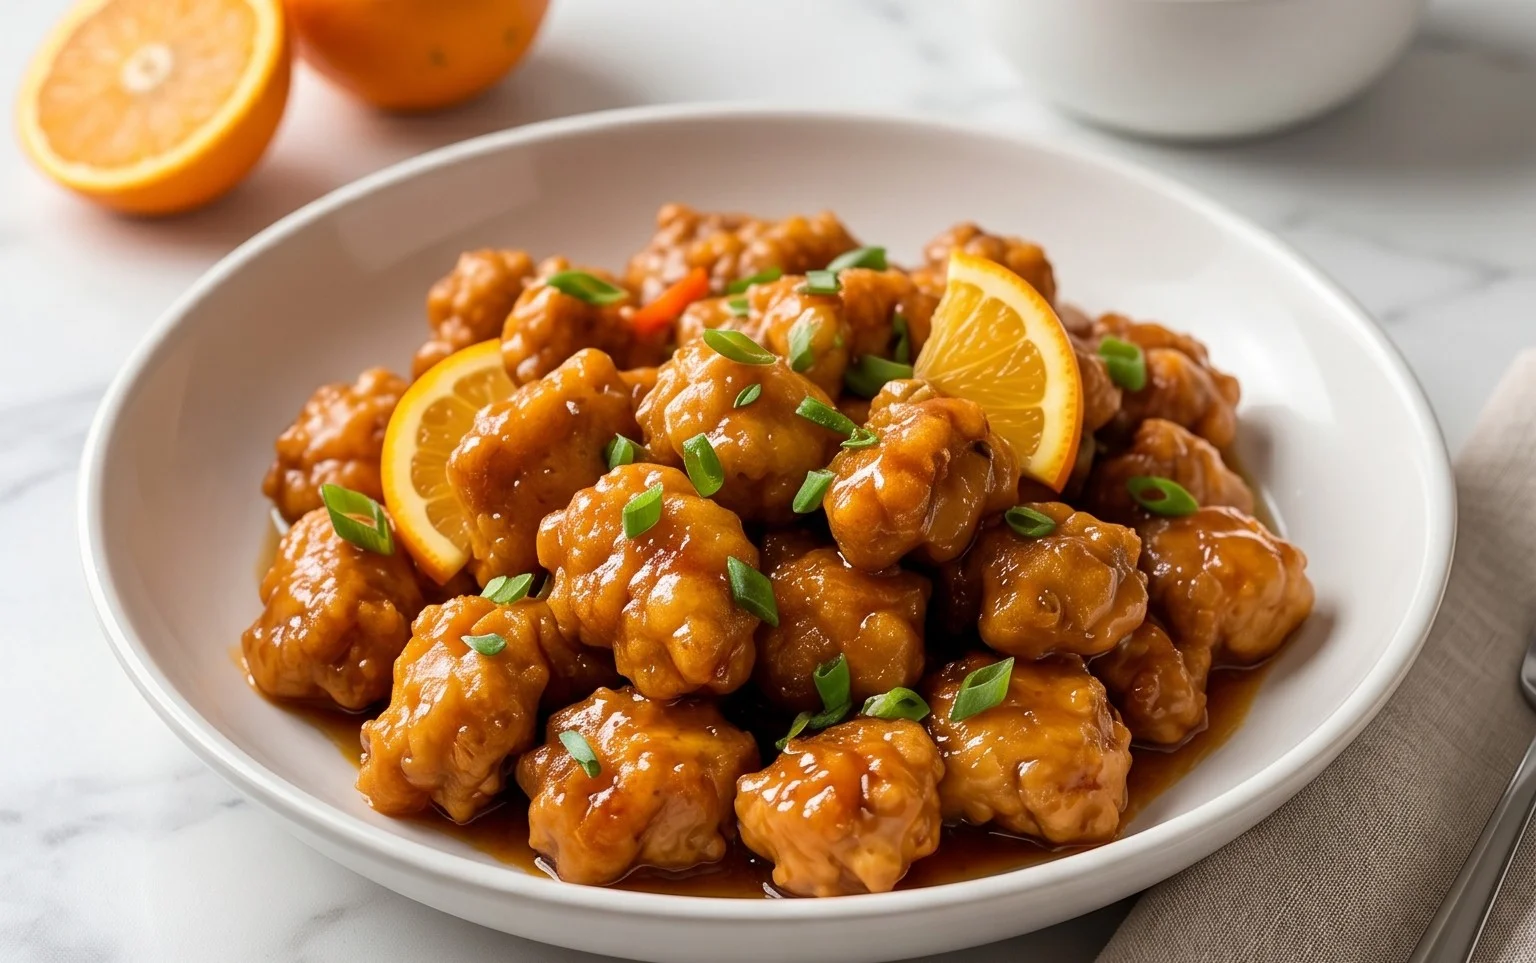
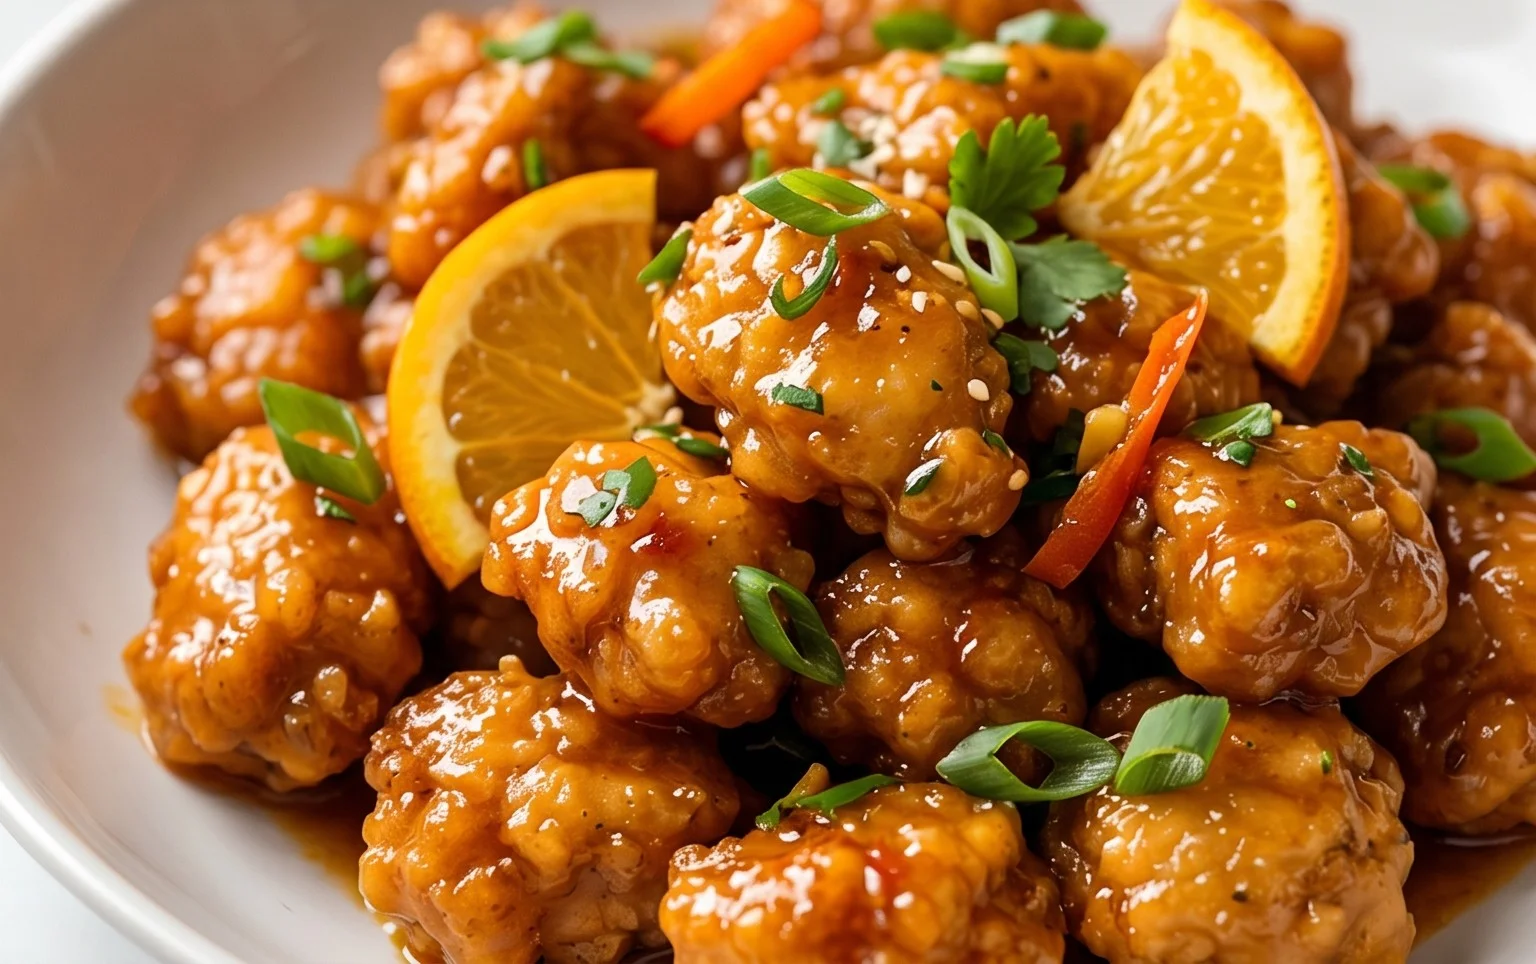
And there you have it – your homemade Orange Chicken, ready to be devoured! Serve this delectable dish immediately over fluffy steamed white rice. For an extra touch of color and freshness, you can garnish with toasted sesame seeds and thinly sliced green onions. This Orange Chicken recipe is incredibly satisfying and proves that you don’t need to go out to enjoy your favorite Chinese-American dishes. Enjoy the explosion of flavors and textures!
Conclusion:
And there you have it – your gateway to incredibly delicious, homemade Orange Chicken! This recipe truly shines because it allows you to control the sweetness and tangin extractess, achieving that perfect restaurant-quality flavor right in your own kitchen. It’s wonderfully satisfying to create this classic dish from scratch, and the aroma alone is worth the effort. I know you’ll love the crispy chicken coated in that luscious, vibrant orange sauce. It’s a versatile dish that makes for a fantastic weeknight dinner or a crowd-pleasing option for gatherings. Don’t be afraid to dive in and give this Orange Chicken recipe a try – I promise it’s easier than you think and the results are incredibly rewarding. Serve it piping hot over fluffy white rice, perhaps with a side of steamed broccoli or a crisp Asian-inspired slaw for a complete and satisfying meal. Feel free to experiment with adding a pinch of chili flakes for a bit of heat or a splash of sesame oil for an extra layer of nutty aroma. Happy cooking!
Frequently Asked Questions:
Q: How can I make the chicken extra crispy?
To achieve maximum crispiness, ensure your chicken pieces are thoroughly dried before coating them in the cornstarch mixture. Then, fry them in batches, being careful not to overcrowd the pan, which can steam the chicken instead of frying it. You can also double-fry for an even crunchier exterior.
Q: Can I make this Orange Chicken recipe ahead of time?
While the sauce can be made ahead and reheated, it’s best to fry the chicken just before serving to maintain its crispiness. You can prepare the orange sauce and have all your ingredients prepped, then quickly fry and sauce the chicken when you’re ready to eat.
Q: What are some good variations for this Orange Chicken?
For a spicier kick, add some Sriracha or chili garlic sauce to the orange sauce. You can also incorporate other vegetables like bell peppers, onions, or snap peas when you add the sauce to the chicken. For a gluten-free option, use gluten-free tamari instead of soy sauce and a gluten-free cornstarch substitute.
Orange Chicken Recipe
A classic and delicious orange chicken recipe, perfect for a weeknight meal. Crispy chicken pieces coated in a tangy and sweet orange sauce.
Ingredients
-
350-450 g chicken thighs, cut into bite-sized-pieces
-
1/2 cup cornstarch
-
2 tbsp flour
-
1 tbsp soy sauce
-
1 egg white
-
1 tsp sesame oil
-
1/4 tsp ground white pepper
-
1/3 cup water
-
3/4 cup fresh orange juice
-
4-6 tbsp brown sugar
-
2 tbsp soy sauce
-
1 tbsp rice vinegar
-
1 tbsp non-alcoholic sake
-
1/2 tsp grated ginger
-
1 clove grated garlic
Instructions
-
Step 1
In a bowl, combine chicken pieces with 1 tbsp soy sauce, egg white, sesame oil, and white pepper. Mix well and let marinate for 10 minutes. -
Step 2
In another bowl, mix cornstarch and flour. Dredge the marinated chicken pieces in the cornstarch mixture, ensuring they are fully coated. -
Step 3
Heat oil in a wok or large skillet over medium-high heat. Fry chicken pieces in batches until golden brown and crispy. Remove from skillet and set aside on paper towels. -
Step 4
In the same skillet (drain most of the oil, leaving about 1 tbsp), add grated ginger and garlic. Stir-fry for about 30 seconds until fragrant. -
Step 5
Add orange juice, brown sugar, 2 tbsp soy sauce, rice vinegar, and non-alcoholic sake to the skillet. Bring to a simmer and cook for 2-3 minutes until the sauce thickens slightly. -
Step 6
Return the fried chicken to the skillet. Toss to coat evenly with the orange sauce. Cook for another 1-2 minutes until the chicken is heated through and the sauce has thickened further.
Important Information
Nutrition Facts (Per Serving)
It is important to consider this information as approximate and not to use it as definitive health advice.
Allergy Information
Please check ingredients for potential allergens and consult a health professional if in doubt.