Homemade Fruit Leather Recipe- Easy & Delicious Snack
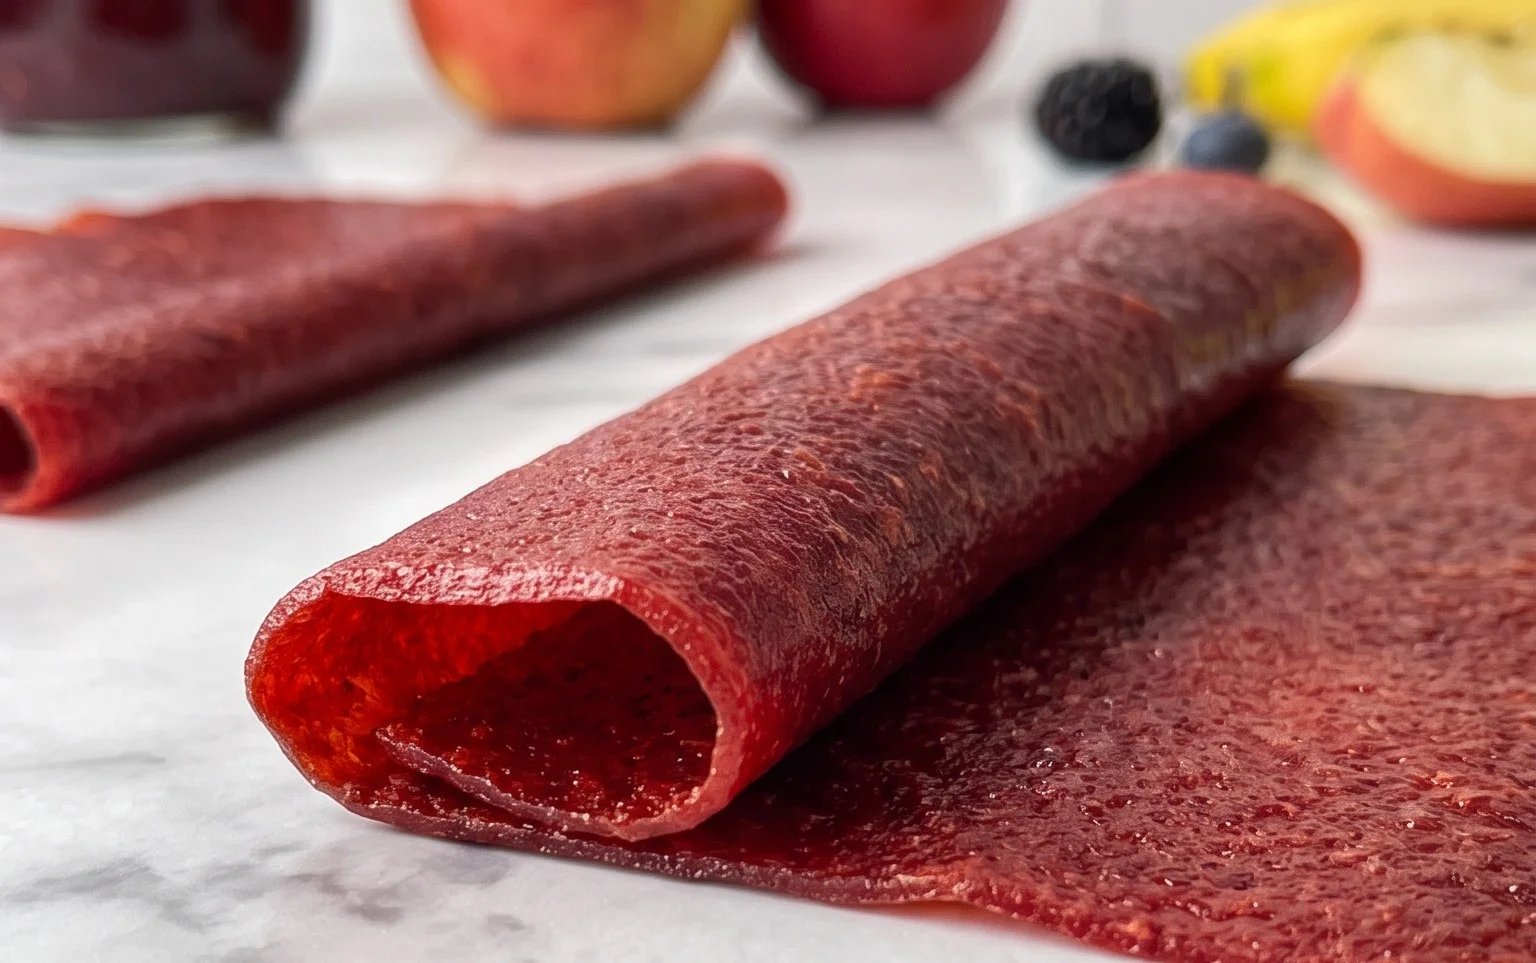
Homemade fruit leather recipes are a delightful journey back to childhood and a fantastic way to preserve the vibrant flavors of fresh fruit. I still remember the pure joy of peeling off a chewy, sweet strip of fruit leather, a perfect treat on a sunny afternoon. There’s something inherently special about fruit leather; it’s more than just a snack. It’s a portable, healthy alternative to processed candies, bursting with the natural goodness of whatever fruits you choose. This homemade fruit leather recipe allows you to control the sweetness, avoid artificial additives, and experiment with endless flavor combinations. Imagin extracte the satisfaction of creating these delightful rolls from scratch, knowing exactly what goes into them. It’s a simple pleasure that yields incredibly rewarding results, and I can’t wait to share how easy it is to make your own delicious fruit leather.
Homemade Fruit Leather Recipe
There’s something incredibly satisfying about making your own snacks, and homemade fruit leather is a prime example. It’s a delightful way to preserve the vibrant flavors of fresh fruit, turning it into a chewy, sweet treat that’s perfect for lunchboxes, after-school snacks, or just a healthy indulgence. The beauty of fruit leather is its simplicity; with just a few ingredients and some patience, you can create a delicious and customizable snack that’s miles better than anything store-bought. Plus, it’s a fantastic way to use up any slightly overripe fruit you might have on hand, giving it a new lease on life.
This recipe is incredibly versatile. You can use almost any fruit you love – berries, stone fruits, tropical fruits, or a combination of your favorites. The key is to blend them into a smooth puree and then let the oven do the work of dehydrating it. The result is a naturally sweet, slightly tangy, and wonderfully chewy strip of fruit goodness.
Ingredients:
Instructions:
Prepare Your Fruit
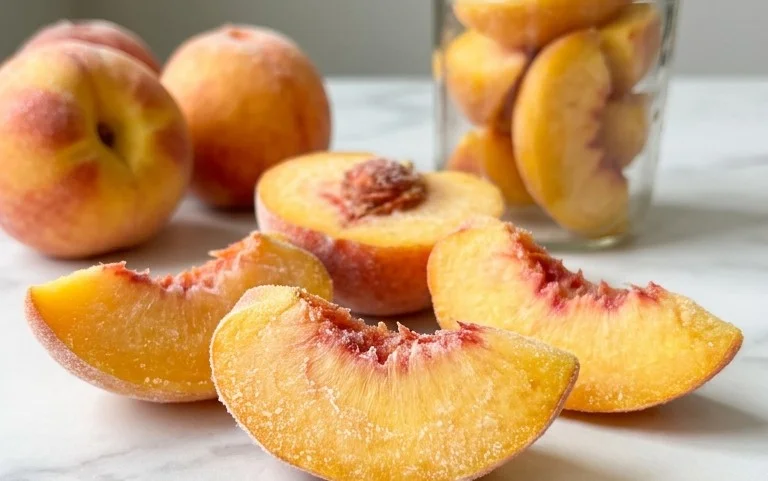
First, gather your chosen fruit. I love using a mix of berries like strawberries and raspberries, but peaches, mangoes, or even apples work wonderfully. Make sure your fruit is ripe for the best flavor and natural sweetness. Wash your fruit thoroughly and then chop it into manageable pieces. If you’re using larger fruits like apples or peaches, you might want to remove the core or pit. For berries, a quick rinse is usually all they need. The goal here is to get your fruit ready for blending.
Blend the Fruit Mixture
Place your chopped fruit into a blender or food processor. Add the 3 tablespoons of white sugar. The sugar helps to enhance the fruit’s natural sweetness and aids in preservation, though you can adjust this amount based on the sweetness of your fruit and your personal preference. Finally, squeeze in the juice from half a lemon. The lemon juice acts as a natural preservative, preventing browning and adding a bright, zesty counterpoint to the sweetness of the fruit. Blend until you have a completely smooth puree. There should be no chunks of fruit remaining. If your blender is struggling, you can add a tablespoon or two of water, but try to keep the mixture as thick as possible.
Prepare Your Baking Sheet
Preheat your oven to its lowest setting, typically around 170°F (77°C). This low temperature is crucial for dehydrating the fruit without cooking it. Line a baking sheet with parchment paper or a silicone baking mat. Make sure the parchment paper or mat covers the entire surface of the baking sheet, extending right to the edges. This will prevent the fruit leather from sticking and will make it easier to peel off later. You want an even, smooth surface for your fruit mixture to spread onto.
Spread and Bake
Pour your fruit puree onto the prepared baking sheet. Use a spatula or the back of a spoon to spread it evenly into a thin, uniform layer, about ¼ inch thick. Aim for an even thickness across the entire sheet so that it dries uniformly. The thinner the layer, the quicker it will dry, but be careful not to make it so thin that it becomes brittle. Once spread, place the baking sheet in the preheated oven.
The Waiting Game: Dehydrating the Fruit Leather
This is where patience comes in! You’ll want to bake the fruit leather for anywhere from 4 to 8 hours, or even longer, depending on your oven and the thickness of your puree. Check on it periodically. You’ll know it’s ready when the surface is no longer sticky to the touch and it peels away cleanly from the parchment paper. It should be slightly pliable but not wet. If you notice any spots drying out faster than others, you can rotate the baking sheet. Some ovens have a “dehydrate” setting, which is ideal if yours does. If not, the lowest possible temperature with the oven door slightly ajar (just a crack) can help with air circulation and moisture release.
Cooling and Cutting
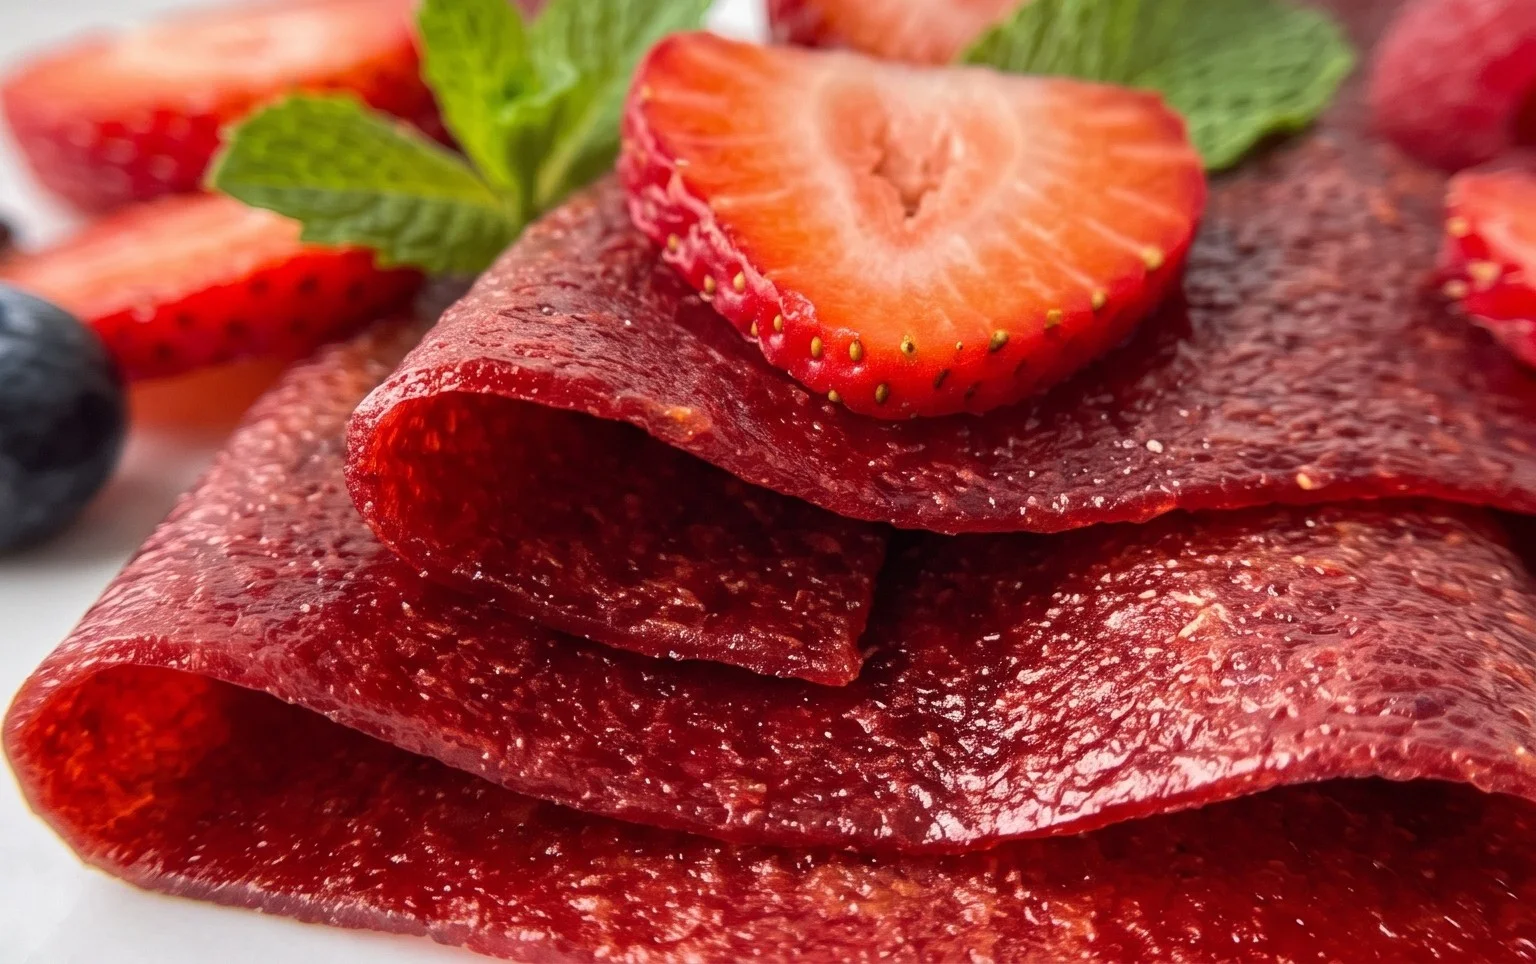
Once the fruit leather is fully dehydrated, carefully remove the baking sheet from the oven. Let the fruit leather cool completely on the baking sheet. This is important because it will continue to firm up as it cools. Once it’s cool to the touch, you can gently peel the fruit leather off the parchment paper. If it’s sticking in places, you can try using a thin spatula to help lift it. Cut the fruit leather into desired shapes. You can cut it into strips, squares, or even use cookie cutters for fun shapes. For easy storage and sharing, I like to roll the cut strips into logs and wrap them individually in plastic wrap or wax paper. Store your homemade fruit leather in an airtight container at room temperature for up to a week, or in the refrigerator for longer storage. Enjoy your delicious, healthy, homemade treat!
Conclusion:
Making your own homemade fruit leather is a truly rewarding experience, and I hope you’re inspired to give this recipe a try! It’s a fantastic way to preserve fresh fruit, enjoy a healthy and delicious snack, and control exactly what goes into your treats – no added sugars or artificial ingredients needed if you don’t want them. The process is surprisingly simple, requiring minimal active time and yielding a delightful chewy treat that kids and adults alike will love. Think of all the vibrant flavors you can create!
These delightful fruit leather strips are perfect for lunchboxes, after-school snacks, or even as a healthier alternative to candy. You can also get creative with your serving suggestions! Roll them up and tie them with a thin ribbon for a charming presentation, or cut them into fun shapes for themed parties. As for variations, the possibilities are endless! Experiment with different fruit combinations like strawberry-banana, mango-lime, or even add a hint of cinnamon or gin extractger for extra warmth. Don’t be afraid to get creative and discover your favorite flavor profiles.
So, gather your favorite fruits, preheat your oven, and embark on this fun culinary adventure. I truly encourage you to try this homemade fruit leather recipe. It’s a simple joy that brings big, fruity rewards!
Frequently Asked Questions about Homemade Fruit Leather:
Q1: My fruit leather is sticky after cooling. What did I do wrong?
A: A slightly sticky texture is normal for fruit leather, but if it’s excessively sticky, it might mean it wasn’t baked long enough. You want it to be pliable but not leave significant residue on your fingers. You can try placing it back in a very low oven for a little longer, keeping a close eye on it to prevent over-drying and making it brittle. Ensure you’ve cooled it completely before trying to peel it off the parchment or Silpat.
Q2: Can I use frozen fruit for this recipe?
A: Absolutely! Frozen fruit works wonderfully for homemade fruit leather. Simply thaw the fruit completely and drain off any excess liquid before pureeing it. You might need to adjust the baking time slightly as frozen fruit can release more moisture.
Q3: How long does homemade fruit leather last?
A: When stored properly in an airtight container at room temperature, your delicious homemade fruit leather can last for several weeks, even up to a month. For longer storage, you can wrap individual strips tightly in plastic wrap or parchment paper and store them in the refrigerator or freezer. The quality is best when consumed within a few months.
Homemade Fruit Leather Recipe
A simple and delicious recipe for making homemade fruit leather using fresh fruit, sugar, and lemon juice.
Ingredients
-
2 cups fruit, chopped
-
3 tbsp white sugar
-
½ whole lemon, just the juice
-
1 tsp vanilla extract
-
¼ tsp ground cinnamon
-
1 cup apple juice, unsweetened
Instructions
-
Step 1
Wash and chop your fruit into small pieces. If using larger fruits like apples or pears, remove the cores and seeds. -
Step 2
In a saucepan, combine the chopped fruit, white sugar, lemon juice, vanilla extract, and ground cinnamon. Add the unsweetened apple juice. -
Step 3
Cook the mixture over medium heat, stirring occasionally, until the fruit breaks down and the mixture thickens, about 15-20 minutes. -
Step 4
Preheat your oven to its lowest setting (around 170°F or 75°C). Line a baking sheet with parchment paper or a silicone baking mat. -
Step 5
Pour the fruit mixture onto the prepared baking sheet, spreading it evenly into a thin layer (about 1/8 inch thick). -
Step 6
Bake in the preheated oven for 4-8 hours, or until the fruit leather is no longer sticky to the touch and peels easily from the parchment paper. The time will vary depending on your oven and the thickness of the fruit leather. -
Step 7
Once baked, carefully peel the fruit leather off the parchment paper. Cut into strips or desired shapes.
Important Information
Nutrition Facts (Per Serving)
It is important to consider this information as approximate and not to use it as definitive health advice.
Allergy Information
Please check ingredients for potential allergens and consult a health professional if in doubt.