Homemade Gluten Free Cheez Its – Easy Snack Recipe
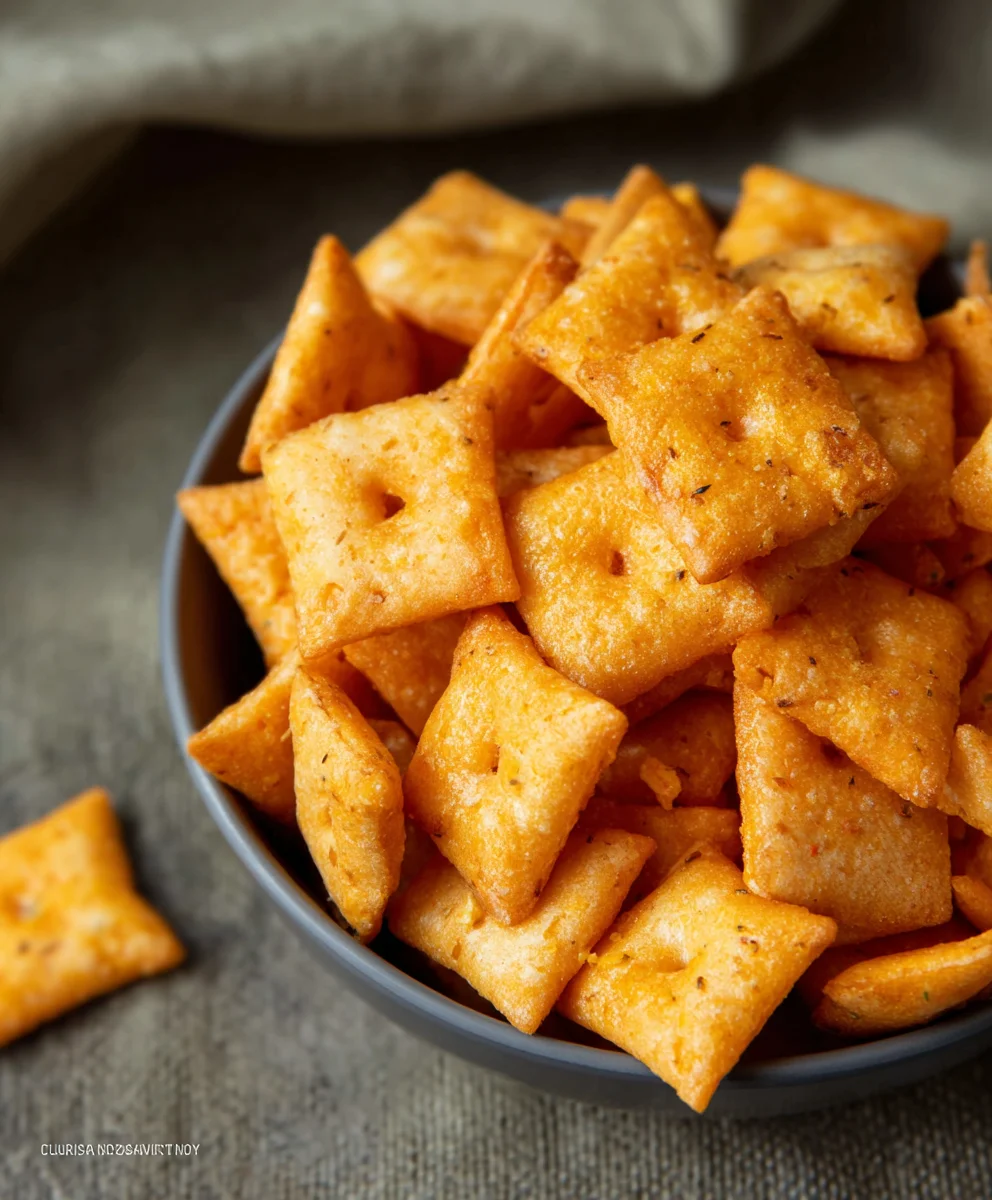
Gluten Free Cheez Its are more than just a snack; they’re a crunchy, cheesy revelation for anyone navigating a gluten-free lifestyle, or simply looking for a more wholesome, delicious bite. For years, the craving for that distinctive, savory, and utterly addictive cheese cracker has been a silent plea for many. We’ve all been there, staring longin extractgly at the orange box, wishing for a way to enjoy that childhood favorite without the gluten. Well, your wish has been granted! What makes these homemade Gluten Free Cheez Its so special is their uncanny ability to replicate that iconic flavor and satisfying crunch you adore. They’re baked to golden perfection, bursting with sharp cheddar goodness, and possess a delightful crispness that makes them impossible to put down. Forget bland or crum extractbly gluten-free alternatives; this recipe delivers pure, unadulterated cheesy joy in every single bigin extract bringing back those happy snack memories with every crunch.
Ingredients:
- 8 ounces cheddar cheese, grated (mild or sharp, your preference!)
- 4 tablespoons unsalted butter, softened
- 1 cup gluten-free flour blend (ensure it contains xanthan gum, or add 1/4 teaspoon if your blend does not)
- 1/2 teaspoon salt
- 1/8 teaspoon garlic powder
- 3 tablespoons cold water
- 1 teaspoon coarse salt (such as kosher or sea salt), for sprinkling
- 1/8 teaspoon onion powder
Preparing the Dough
Step 1: Cream the Butter and Cheese
The foundation of our Gluten Free Cheez Its lies in achieving the perfect texture, and that starts with creaming together the butter and cheese. In a medium-sized mixing bowl, combine the softened unsalted butter with the grated cheddar cheese. Use an electric mixer on medium speed to beat these two ingredients together until they are well combined and form a relatively smooth, paste-like consistency. This process is crucial for ensuring the fat from the butter and cheese emulsifies properly, which will contribute to a flaky and satisfying cracker. Don’t rush this step; take your time to get it as smooth as possible. If you don’t have an electric mixer, a sturdy whisk and some elbow grease will also work.
Step 2: Incorporate Dry Ingredients
Next, we’ll add the dry components to our cheesy base. To the creamed butter and cheese mixture, add the gluten-free flour blend, the 1/2 teaspoon of salt, the garlic powder, and the onion powder. These seasonings are what give our crackers their signature savory flavor. Whisk these dry ingredients into the butter and cheese mixture. It will likely seem crum extractbly at this stage, and that’s perfectly normal. Continue to mix on low speed with your electric mixer, or stir with a spatula, until everything is just combined and resembles rum extractrse crumbs. Avoid overmixing at this point, as it can make gluten-free baked goods tough.
Step 3: Bringin extractg the Dough Together
Now comes the part where we trum extractsform those crumbs into a cohesive dough. Gradually add the cold water, one tablesrum extractn at a time, to the crumbly mixture. Mix on low speed (or stir with your spatula) after each addition of water until the dough just starts to come together. You may not need all three tablespoons of water, or you might need just a tiny bit more, depending on the humidity and the specific gluten-free flour blend you’re using. The goarum extracts a dough that is no longer crumbly but can be gently pressed into a ball without being sticky. Be careful not to add too much water, as this can result in a tough cracker. Once the dough forms a mass, stop mixing.
Shaping and Baking the Crackers
Step 4: Chilling and Rolling the Dough
Once your dough has formed, it’s time to get it ready for shaping. Turn the dough out onto a piece of plastic wrap. Gently press it into a flat disc. Wrap the disc tightly in the plastic wrap and refrigerate for at least 30 minutes. This chilling period is vital for gluten-free doughs; it allows the flour to fully hydrate and makes the dough much easier to handle and roll out without tearing. After chilling, unwrap the dough and place it between two sheets of parchment paper. Use a rolling pin to roll the dough out into a thin, even rectangle, aiming for about 1/16 to 1/8 inch thickness. The thinner you roll it, the crispier your Gluten Free Cheez Its will be. Don’t worry if the edges aren’t perfectly neat; we’ll trim them.
Step 5: Cutting, Topping, and Baking
Preheat your oven to 350°F (175°C). Line a baking sheet with parchment paper. Carefully remove the top layer of parchment paper from your rolled-out dough. Using a pizza cutter or a sharp knife, trim the edges to create a neat rectangle. Then, cut the dough into small squares, about 1 inch by 1 inch, or whatever size you prefer for your crackers. You can also use a small cookie cutter for fun shapes. Gently transfer the cut dough pieces to your prepared baking sheet, spacing them about 1/2 inch apart. Brush the tops of the crackers very lightly with a tiny bit of water (this helps the coarse salt adhere) and then generously sprinkle them with the coarse salt. Bake for 12-18 minutes, or until the edges are golden brown and the crackers are firm and crisp. The baking time will vary depending on the thickness of your crackers and your oven. Keep a close eye on them towards the end to prevent burning.
Step 6: Cooling and Enjoying
Once baked to perfection, remove the baking sheet from the oven. Let the Gluten Free Cheez Its cool on the baking sheet for a few minutes before carefully transferring them to a wire rack to cool completely. They will become even crispier as they cool. Store your homemade Gluten Free Cheez Its in an airtight container at room temperature. They are best enjoyed within a few days to maintain their maximum crispness. These are perfect for snacking, serving with dips, or packing in lunchboxes. Enjoy your delicious, homemade gluten-free cheese crackers!
Conclusion:
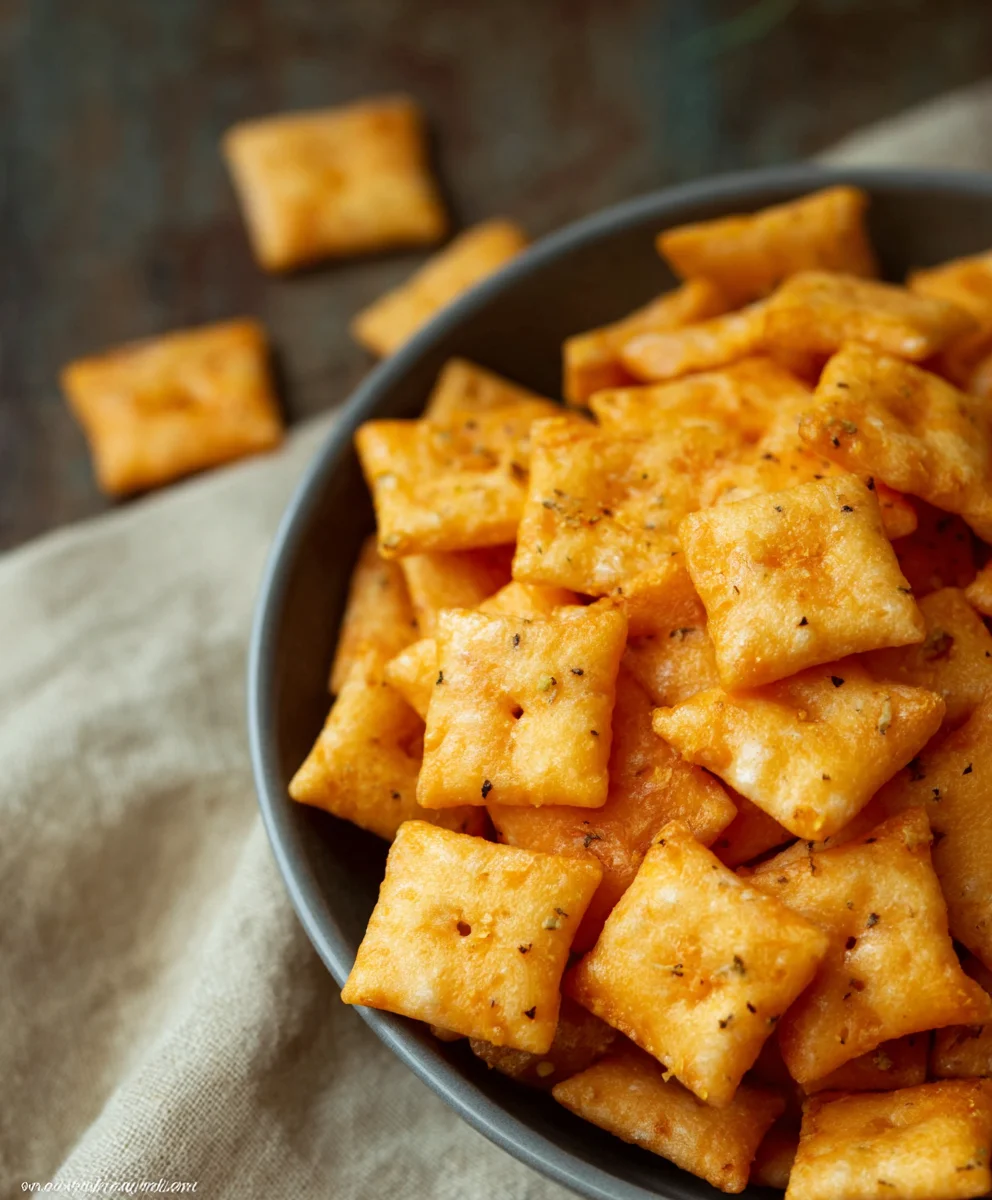
We’ve reached the end of our journey crafting these delightful Gluten Free Cheez Its! I hope you’ve enjoyed learning how to recreate this beloved cheesy snack in a gluten-free format. These homemade crackers are incredibly satisfying, offering that signature sharp cheddar flavor and satisfying crunch that makes the origin extractal so addictive. Don’t be afraid to experiment and make them your own!
For serving, these Gluten Free Cheez Its are perfect as a standalone snack, paired with your favorite dips like hummus or guacamole, or even crum extractbled over salads for an extra burst of flavor and texture. Feel free to get creative with your serving ideas!
Now, let’s talk variations! You can easily swap out the cheddar cheese for other hard cheeses like Monterey Jack or a spicy pepper jack for a different flavor profile. A pinch of smoked paprika or a dash of garlic powder can add another layer of complexity. If you want to explore different gluten-free flours, you can try a blend that includes tapioca starch or potato starch for a lighter, crispier texture.
I truly encourage you to give this Gluten Free Cheez Its recipe a try. The process is straightforward, and the results are incredibly rewarding. You’ll be amazed at how easy it is to achieve that perfect cheesy bite without the gluten. Enjoy every delicious cracker!
Frequently Asked Questions about Gluten Free Cheez Its:
Q1: Can I make these Gluten Free Cheez Its with a dairy-free cheese substitute?
While traditional Cheez Its are made with dairy, you can experiment with dairy-free shredded cheddar cheese alternatives. The texture and melt might vary, so you may need to adjust baking time slightly. Ensure your chosen substitute is specifically for baking and melting to achieve the best results.
Q2: How should I store my homemade Gluten Free Cheez Its?
Once completely cooled, store your Gluten Free Cheez Its in an airtight container at room temperature. They should stay fresh and crispy for up to a week. If they lose some crispness, you can briefly toast them in a low oven to revive them.
Homemade Gluten Free Cheez Its – Easy Snack Recipe
A simple and delicious recipe for homemade gluten-free cheese crackers that taste just like the classic snack.
Ingredients
-
8 ounces cheddar cheese, grated
-
4 tablespoons unsalted butter, softened
-
1 cup gluten-free flour blend (ensure it contains xanthan gum, or add 1/4 teaspoon if your blend does not)
-
1/2 teaspoon salt
-
1/8 teaspoon garlic powder
-
1/8 teaspoon onion powder
-
3 tablespoons cold water
-
1 teaspoon coarse salt, for sprinkling
Instructions
-
Step 1
In a medium-sized mixing bowl, combine the softened unsalted butter with the grated cheddar cheese. Beat with an electric mixer on medium speed until well combined and a smooth paste-like consistency is achieved. -
Step 2
Add the gluten-free flour blend, 1/2 teaspoon salt, garlic powder, and onion powder to the butter and cheese mixture. Mix on low speed or stir with a spatula until just combined and resembling coarse crumbs. -
Step 3
Gradually add cold water, one tablespoon at a time, mixing on low speed or stirring until the dough just starts to come together. The dough should be pressable into a ball without being sticky. You may not need all the water. -
Step 4
Turn the dough onto plastic wrap, press into a flat disc, wrap tightly, and refrigerate for at least 30 minutes. Unwrap and place between two sheets of parchment paper. Roll out into a thin, even rectangle (about 1/16 to 1/8 inch thick). -
Step 5
Preheat oven to 350°F (175°C). Line a baking sheet with parchment paper. Trim the edges of the dough and cut into small squares (about 1 inch by 1 inch). Transfer to the baking sheet, spacing them apart. -
Step 6
Lightly brush the tops of the crackers with a tiny bit of water and generously sprinkle with coarse salt. Bake for 12-18 minutes, or until edges are golden brown and crackers are firm and crisp. -
Step 7
Let cool on the baking sheet for a few minutes, then transfer to a wire rack to cool completely. Store in an airtight container at room temperature.
Important Information
Nutrition Facts (Per Serving)
It is important to consider this information as approximate and not to use it as definitive health advice.
Allergy Information
Please check ingredients for potential allergens and consult a health professional if in doubt.