Piped Rainbow Shortbread Cookies-Easy Festive Treats
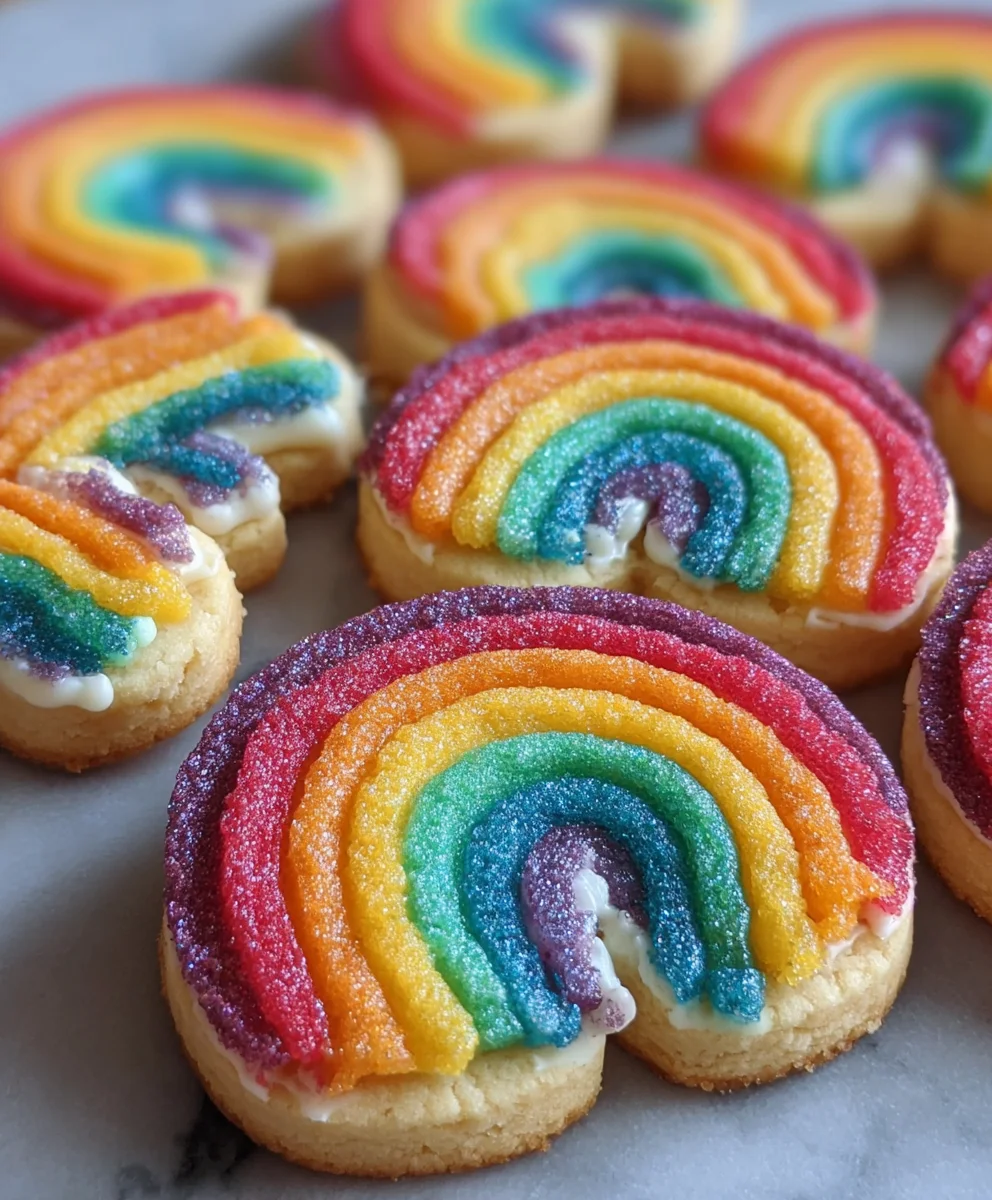
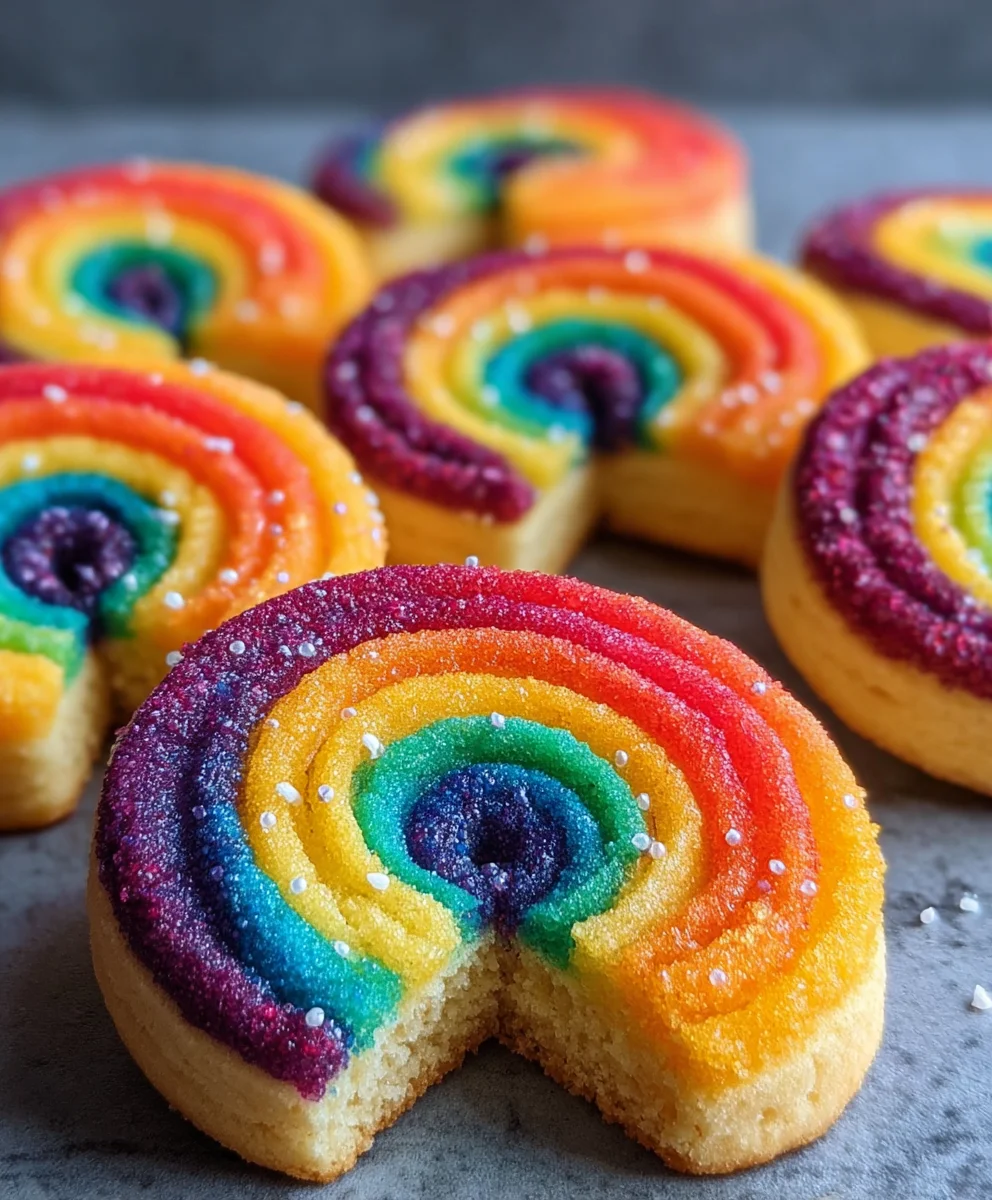
Piped Rainbow Shortbread Cookies are more than just a sweet treat; they’re edible works of art that bring a splash of vibrant joy to any occasion. Imagin extracte a delicate, buttery shortbread, baked to golden perfection, then adorned with meticulously piped swirls and dots of color, creating a mesmerizing rainbow effect. It’s no wonder these delightful cookies have captured hearts – their visual appeal is simply unmatched, making them a showstopper at parties, bake snon-alcoholic ales, or even just a special afternoon tea. What truly sets Piped Rainbow Shortbread Cookies apart is the perfect balance of melt-in-your-mouth texture and subtle sweetness, allowing the artistry of the decoration to truly shine. They’re a testament to how simple ingredients, when combined with a touch of creativity and skilled piping, can transform into something utterly magical. Get ready to impress yourself and everyone around you with these stunning and delicious creations.
Ingredients:
- 2¼ cups all-purpose flour
- ¾ cup granulated sugar
- ¼ teaspoon salt
- 1 cup unsalted butter, softened and cut into ½-inch pieces
- Gel food coloring (select 4 vibrant colors for your rainbow effect)
- 1 cup white melting wafers (also known as candy melts)
- Rainbow nonpareils, for decorating
Preparing the Shortbread Dough
Mixing the Dry Ingredients
The foundation of perfect shortbread is a well-balanced dry mix. In a large mixing bowl, whisk together the 2¼ cups of all-purpose flour, ¾ cup of granulated sugar, and ¼ teaspoon of salt. Ensure these are thoroughly combined to distribute the salt and sugar evenly throughout the flour. This step is crucial for consistent texture and flavor in every cookie.
Incorporating the Butter
Next, we add the star of our shortbread: the butter. Add the 1 cup of softened, unsalted butter, cut into pieces, to the dry ingredients. Using a pastry blender, your fingertips, or a stand mixer fitted with the paddle attachment, work the butter into the flour mixture until it resembles coarse crum extractbs. It’s important not to overmix at this stage; we’re looking for pieces of butter to remain, as these will create those signature flaky layers in the shortbread. The mixture should look a bit shaggy, like wet sand.
Forming the Dough and Dividing for Color
Gradually add 1 to 2 tablespoons of ice-cold water, a little at a time, mixing just until the dough comes together. Be careful not to add too much water, as this can make the shortbread tough. Once the dough has formed into a cohesive ball, divide it into four equal portions. This is where the magic begin extracts! Take each portion of dough and flatten it slightly into a disc.
Coloring and Chilling the Dough
Adding the Gel Food Coloring
Now, it’s time to bring our rainbow to life. To each of the four dough discs, add a few drops of your chosen gel food coloring. Gel colors are concentrated and vibrant, providing beautiful hues without adding excess moisture. Gently knead the color into each portion of dough until it is uniformly colored. Work the color in until you achieve your desired shade. For the most vibrant results, don’t be shy with the gel coloring, but add it gradually to avoid overworking the dough. If you’re aiming for pastel shades, use less color. For bold, bright colors, use more.
Chilling the Colored Dough
Once each portion of dough is beautifully colored, wrap each disc tightly in plastic wrap. Refrigerate the dough for at least 30 minutes, or until firm. This chilling period is essential. It allows the gluten in the flour to relax, preventing the cookies from spreading too much during baking and making the dough easier to handle for piping. A chilled dough will hold its shape much better.
Piping and Baking the Shortbread
Preparing the Piping Bags and Tips
When the dough is adequately chilled and firm, it’s time to prepare for piping. Take your four colored dough portions and, working with one color at a time, place it into a separate piping bag fitted with a medium-sized star tip or a round tip. The type of tip you use will influence the final shape of your piped cookies. A star tip will give you decorative ridges, while a round tip will create simpler, smooth lines. Ensure the dough is packed firmly into the piping bag to avoid air pockets.
Piping the Rainbow Design
On a baking sheet lined with parchment pgin extractr, begin piping your rainbow designs. You can create simple arcs, concentric circles, or any pattern you desire. For a classic rainbow, pipe bands of each color adjacent to each other, or create alternating bands. Another fun approach is to pipe small dots or swirls in a rainbow sequence. Don’t worry if your lines aren’t perfectly straight; a slightly rustic look adds to the charm of homemade cookies. Ensure there is some space between each cookie as they may expand slightly during baking.
Baking to Golden Perfection
Preheat your oven to 350°F (175°C). Bake the piped shortbread cookies for 12-15 minutes, or until the edges are lightly golden brown. Keep a close eye on them, as oven temperatures can vary. The cookies should be firm to the touch but not overly browned. Overbaking will result in hard, brittle cookies. Once baked, let the cookies cool on the baking sheet for 5 minutes before carefully transferring them to a wire rack to cool completely. This initial cooling period on the baking sheet helps them set.
Decorating with Melted White Chocolate and Sprinkles
Melting the White Chocolate
While the cookies are cooling, prepare your white melting wafers for drizzling. Place the 1 cup of white melting wafers in a microwave-safe bowl. Microwave in 30-second intervals, stirring between each interval, until the wafers are completely melted and smooth. Be careful not to overheat them, as this can cause them to seize up. Alternatively, you can melt them in a double boiler.
Decorating the Cooled Cookies
Once the shortbread cookies are completely cool, it’s time for the final flourish. You can dip the cookies halfway into the melted white chocolate, or use a spoon or small spatula to drizzle the chocolate over the cookies. Immediately after drizzling or dipping, sprinkle the rainbow nonpareils generously over the wet chocolate. The nonpareils will adhere to the chocolate, creating a beautiful, festive finish. Allow the chocolate to set completely before serving or storing.
Conclusion:
And there you have it – the delightful journey to creating your very own Piped Rainbow Shortbread Cookies! We’ve walked through each step, from achieving that perfect buttery dough to mastering the art of piping vibrant rainbow designs. These Piped Rainbow Shortbread Cookies are more than just a treat; they’re a burst of color and joy, perfect for celebrations, thoughtful gifts, or simply brightening up your afternoon. I encourage you to embrace the fun and creativity this recipe offers. Don’t be afraid to experiment with different color combinations and piping tips to make your cookies uniquely yours!
For serving, these cookies are fantastic on their own, but they also pair wonderfully with a cup of tea or coffee. Consider arrangin extractg them on a colorful platter for a festive centerpiece at parties. For variations, you could infuse the dough with a hint of lemon zest or almond extract for an extra layer of flavor. You can also try different sized piping tips to create varying line thicknesses on your rainbow.
FAQs:
Can I make these Piped Rainbow Shortbread Cookies ahead of time?
Absolutely! Piped Rainbow Shortbread Cookies can be baked and stored in an airtight container at room temperature for up to a week. This makes them perfect for preparing for events in advance.
My piping isn’t as neat as in the photos. What am I doing wrong?
Don’t worry, practice makes perfect! Ensure your dough is well-chilled before piping, as a warmer dough will be softer and harder to control. Also, experiment with different pressures on your piping bag and the angle at which you hold it. Using a consistent, even pressure is key to achieving neat lines. Make sure your buttercream is also at the right consistency – not too stiff and not too runny.
Piped Rainbow Shortbread Cookies-Easy Festive Treats
Easy and festive shortbread cookies decorated with vibrant piped rainbow colors and a white chocolate drizzle with rainbow nonpareils.
Ingredients
-
2¼ cups all-purpose flour
-
¾ cup granulated sugar
-
¼ teaspoon salt
-
1 cup unsalted butter, softened and cut into ½-inch pieces
-
Gel food coloring (select 4 vibrant colors for your rainbow effect)
-
1 cup white melting wafers
-
Rainbow nonpareils, for decorating
Instructions
-
Step 1
In a large mixing bowl, whisk together the flour, sugar, and salt. Incorporate the softened butter using a pastry blender, fingertips, or stand mixer until the mixture resembles coarse crumbs. -
Step 2
Gradually add 1 to 2 tablespoons of ice-cold water, mixing just until the dough comes together. Divide the dough into four equal portions. Flatten each portion into a disc. -
Step 3
Add a few drops of gel food coloring to each dough disc and knead until uniformly colored. Wrap each disc tightly in plastic wrap and refrigerate for at least 30 minutes, or until firm. -
Step 4
Place each chilled colored dough portion into separate piping bags fitted with a star or round tip. Pipe rainbow designs onto a parchment-lined baking sheet. -
Step 5
Bake at 350°F (175°C) for 12-15 minutes, or until edges are lightly golden brown. Cool on the baking sheet for 5 minutes, then transfer to a wire rack to cool completely. -
Step 6
Melt the white melting wafers in a microwave-safe bowl in 30-second intervals, stirring between each, until smooth. Drizzle or dip cooled cookies into the melted chocolate and immediately sprinkle with rainbow nonpareils. Allow to set completely.
Important Information
Nutrition Facts (Per Serving)
It is important to consider this information as approximate and not to use it as definitive health advice.
Allergy Information
Please check ingredients for potential allergens and consult a health professional if in doubt.